Simplified Roubo Workbench Build Part 5 - Flattening the Benchtop and Finishing with Tung Oil
This post is part 5 in my Simplified Roubo Workbench build which covers flatting the benchtop and finishing with Tung oil. For part 4 see: Simplified Roubo Workbench Build Part 4 - Final Workbench Assembly
Flattening Benchtop with Jack Plane
For flattening the benchtop, I decided to go with the hand plane approach. The best suited hand plane I had available for this task was my jack plane. As a general rule, you should use the largest plane you have available, or at least start with your largest plane.
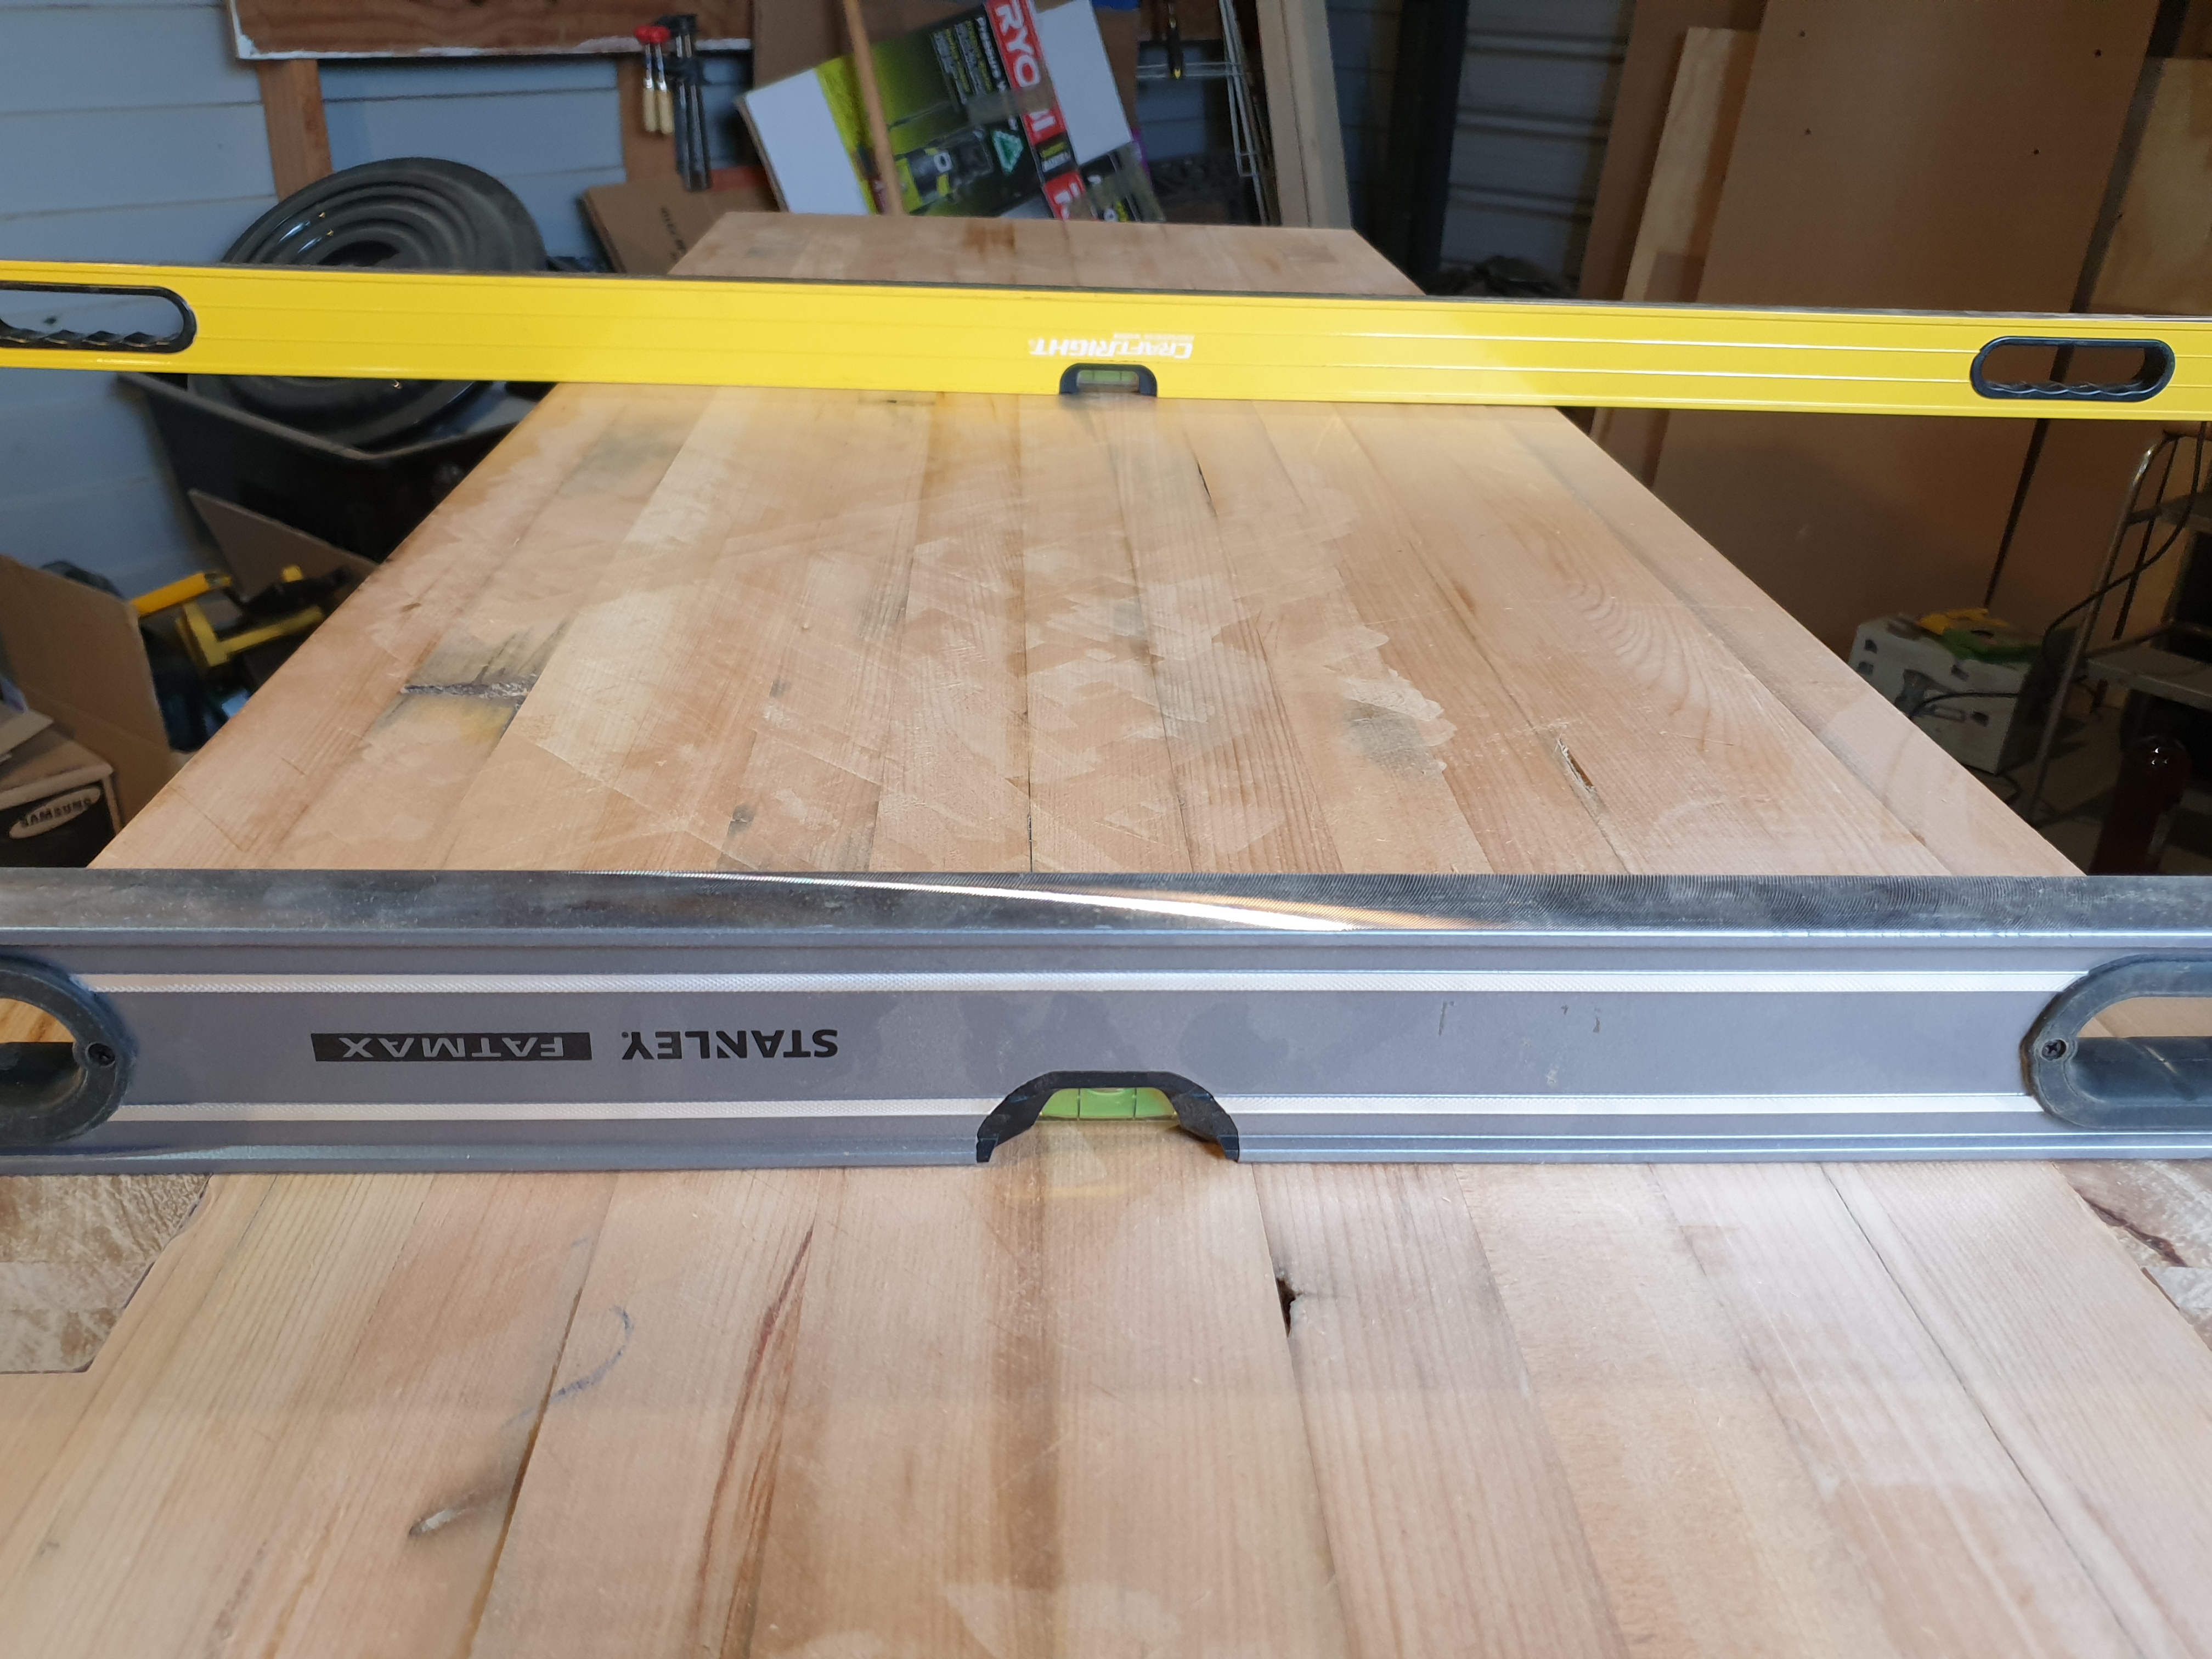
Before taking to my benchtop with my jack plane, I needed a method of determining how flat my benchtop was. For this purpose, I used two long levels as winding sticks. Starting with a level placed at one end of the benchtop, I moved the other one down in gradual steps looking for any high spots in the benchtop and marking them.
I started with a relatively aggressive depth set on my jack plane for taking out any high spots. Once I was happy that the workbench was flat and had no twist, I set my jack plane to a shallower angle and planed the entire benchtop to smooth it off. You could also use a smoothing plane for this purpose if you had one. When planing the benchtop, I worked at opposing 45 degree angles, i.e. plane at 45 degrees in one direction then change direction and plane at 45 degrees. This method produced a nice and even result.
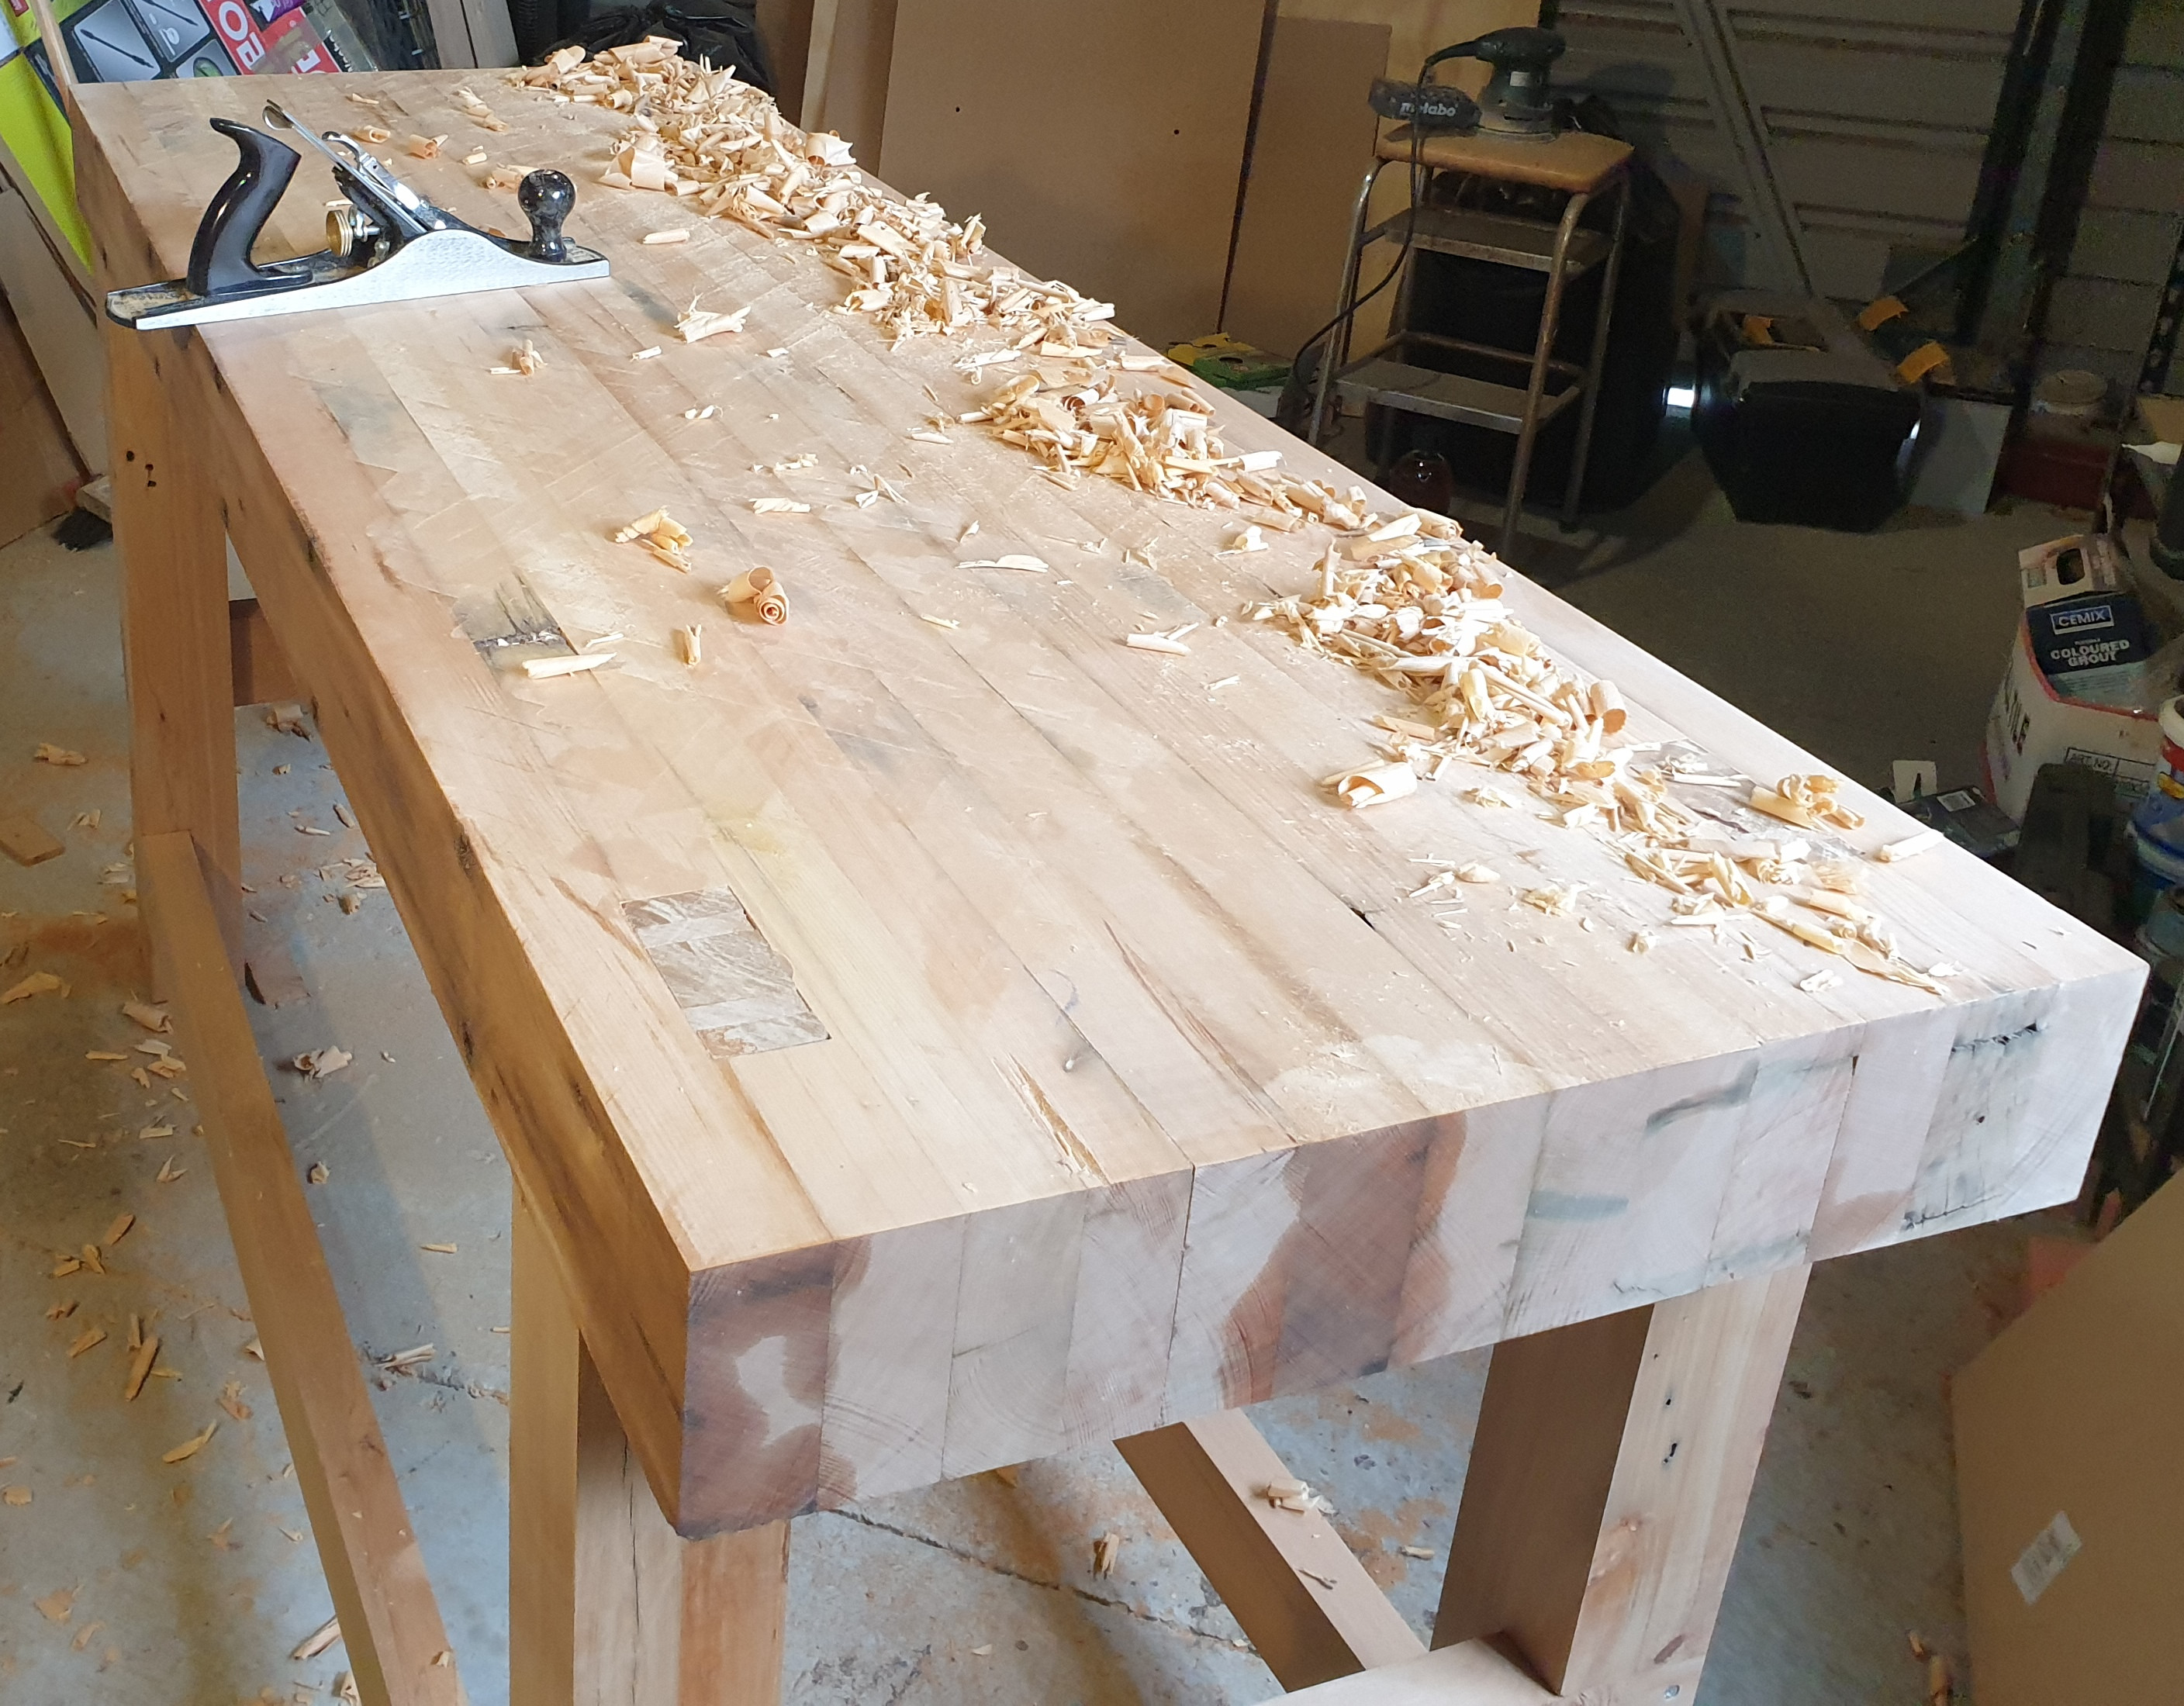
Once I was happy that the benchtop was flat and I had it as smooth as I could get with my jack plane, I gave it another sand with my orbital sander. I started at 80 grit and worked up to 180. Keeping in mind that I did not want a very slippery benchtop, I decided not to go any higher than 180 grit.

Finishing Benchtop with Tung Oil
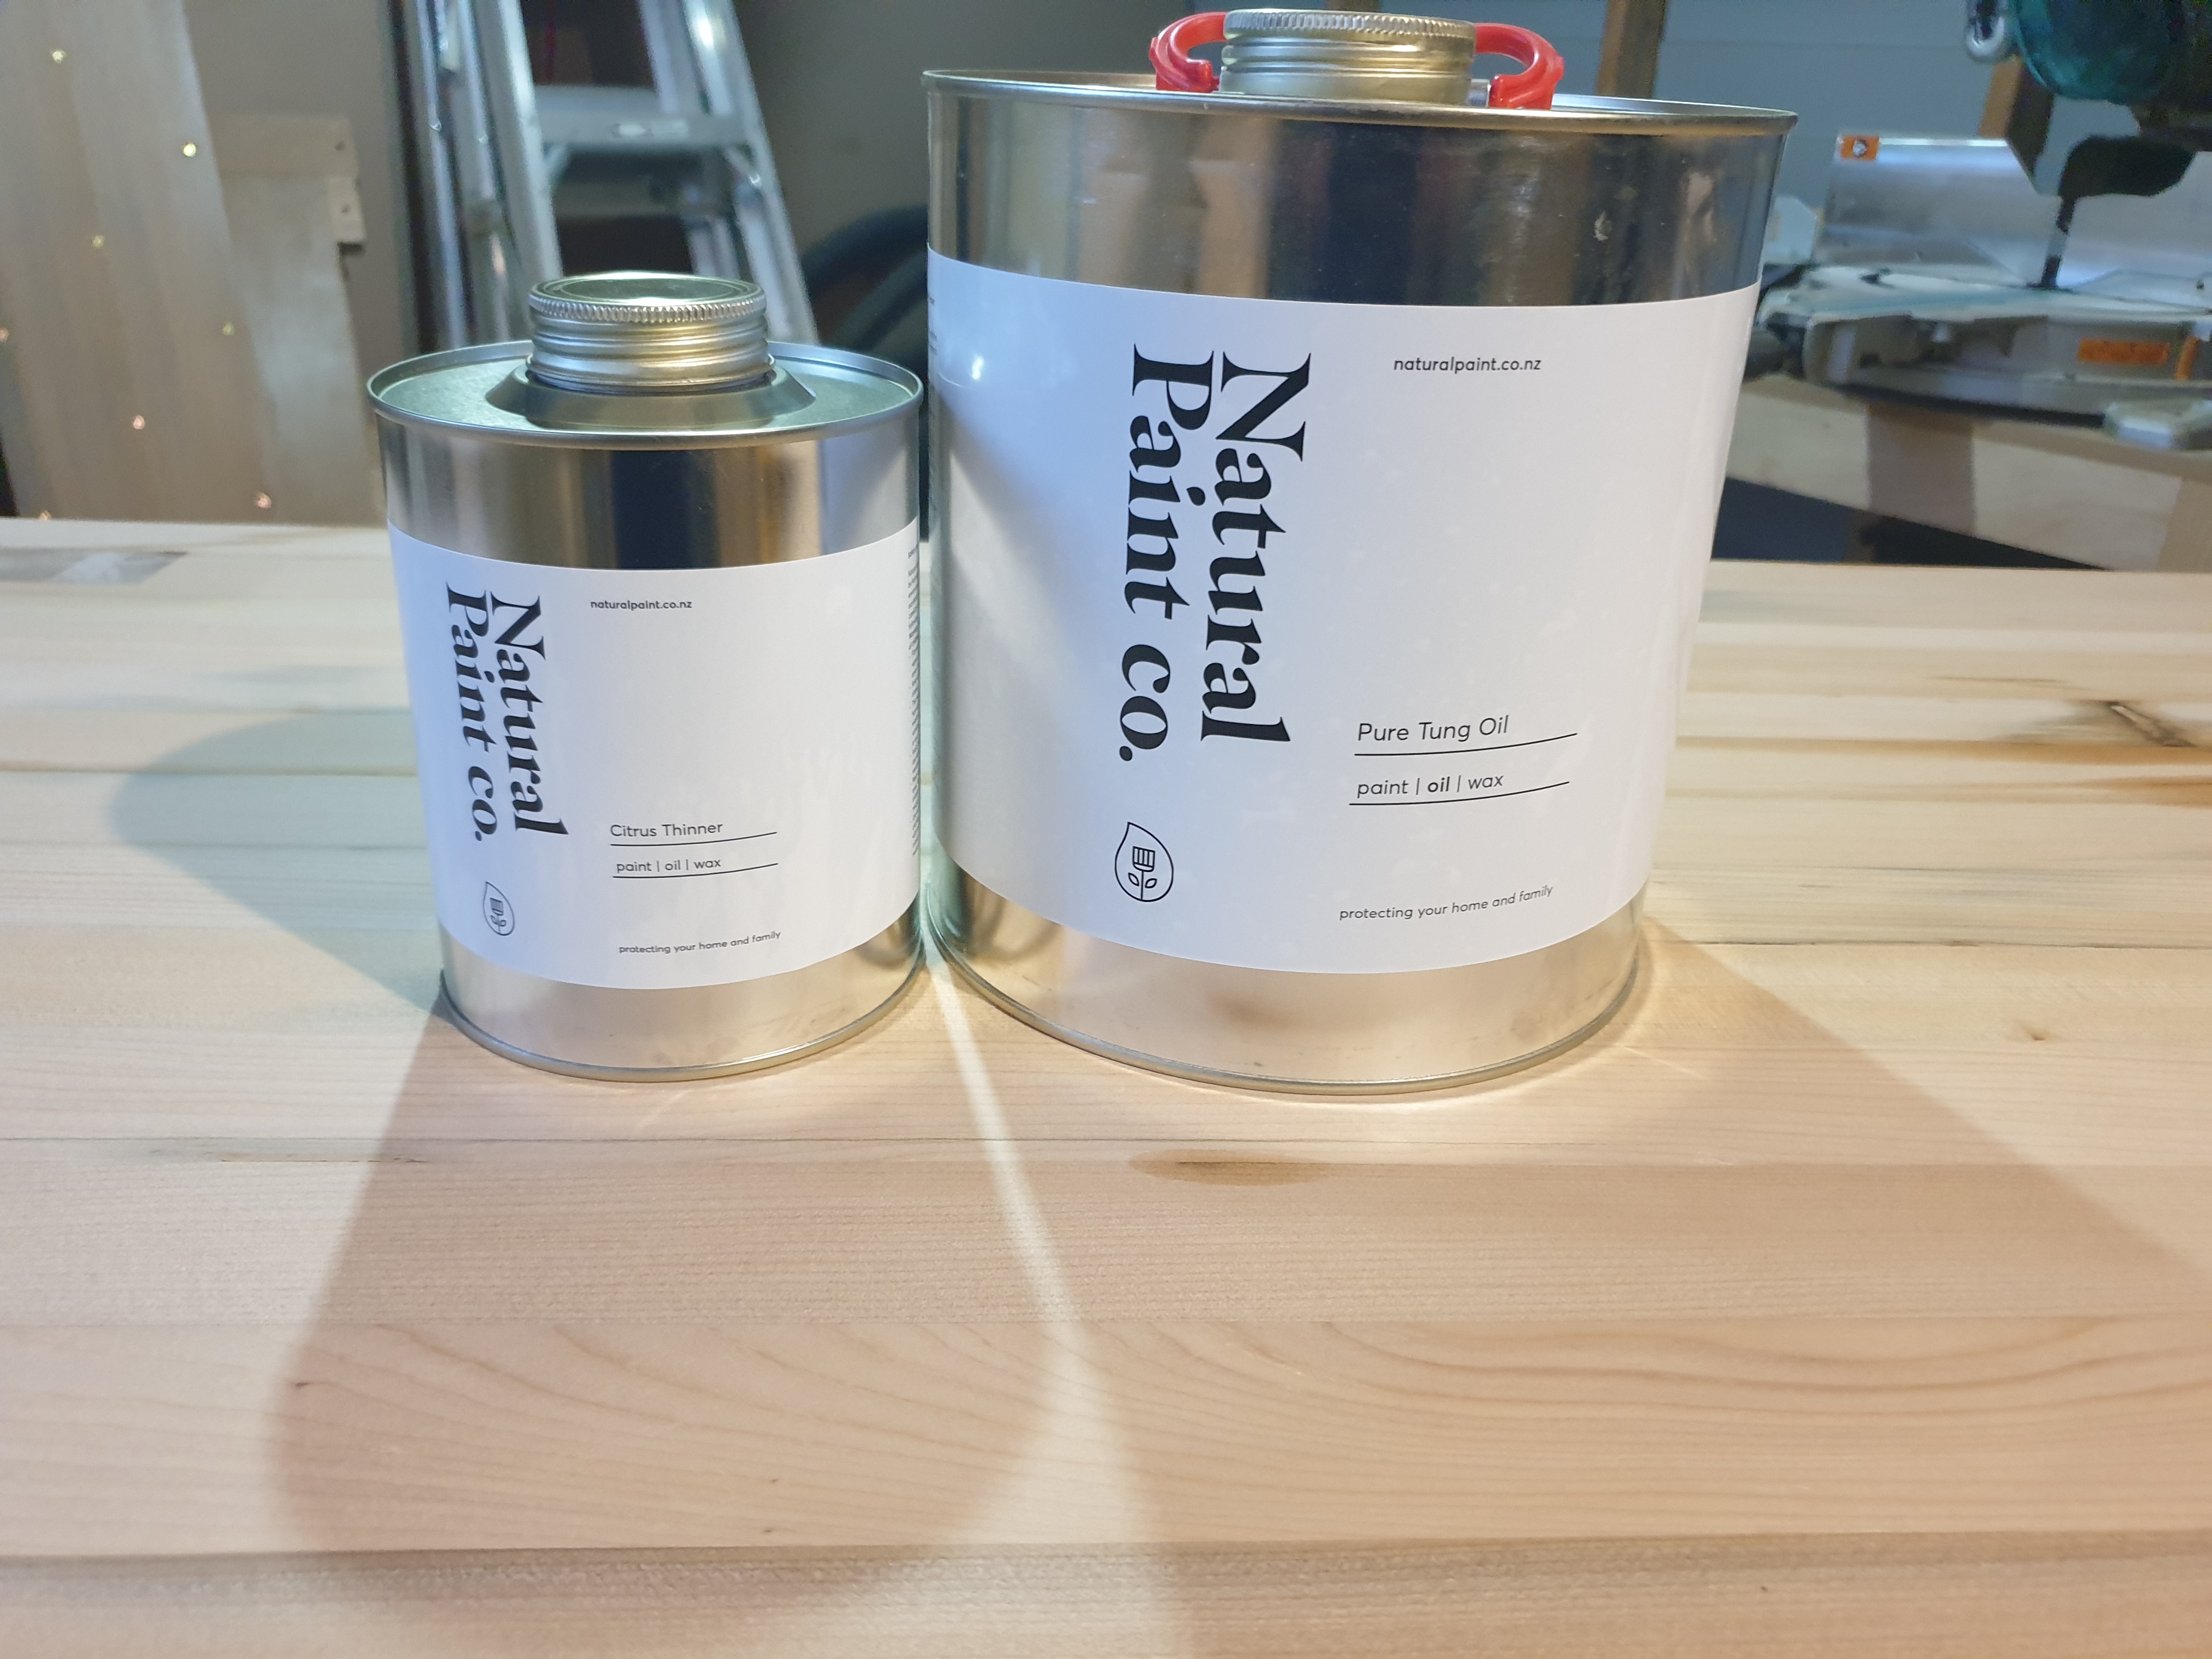
After researching several different options for finishing my benchtop, I decided to go with pure Tung oil. My preference is to use natural products where possible and pure Tung oil felt like the right choice. Boiled Linseed oil was another option I looked into but was put off by some of the chemicals added to speed up the drying time. Note that Boiled Linseed oil you buy off the shelf is not actually boiled, it has chemicals added to give it the properties of true Boiled Linseed oil (i.e. faster drying time). Pure Tung oil requires 1 to 2 days between coats, multiple coats and around 2 to 4 weeks to fully cure. Given how long I had spent on my workbench so far, I was happy to wait a few extra days until the Tung oil finishing was complete. I knew I could use the workbench once the Tung oil had dried but before it had fully cured.
For the first two coats of Tung oil, I added citrus oil as a thinner. Citrus oil also helps the Tung oil penetrate deep into the timber. For the first coat I used a 50:50 ratio of Tung oil to Citrus oil, 75:25 ratio on the second coat and for the third coat 100% Tung oil. I decided to stop after three coats since I didn't want the benchtop to become too shiny and slippery. To get a complete finish with Tung oil, five or six coats are usually required.
I found it reasonably difficult to track down a supplier for pure Tung oil and Citrus oil here in New Zealand. The only supplier I could find locally was the Natural Paint co.
I used a paint brush for applying the Tung oil and left it to sit for around 30 minutes before wiping off the excess. This step is important since you don't want a layer of Tung oil curing on the surface of your timber. This would prevent any future coats from penetrating into the timber. The other risk with excess oil left on the surface, is that it may not dry and result in a sticky layer.
It's very satisfying when the first coat of oil is applied and you see the natural colors in the wood revealed. The photo below shows the workbench after the first layer of Tung oil and Citrus oil had dried.
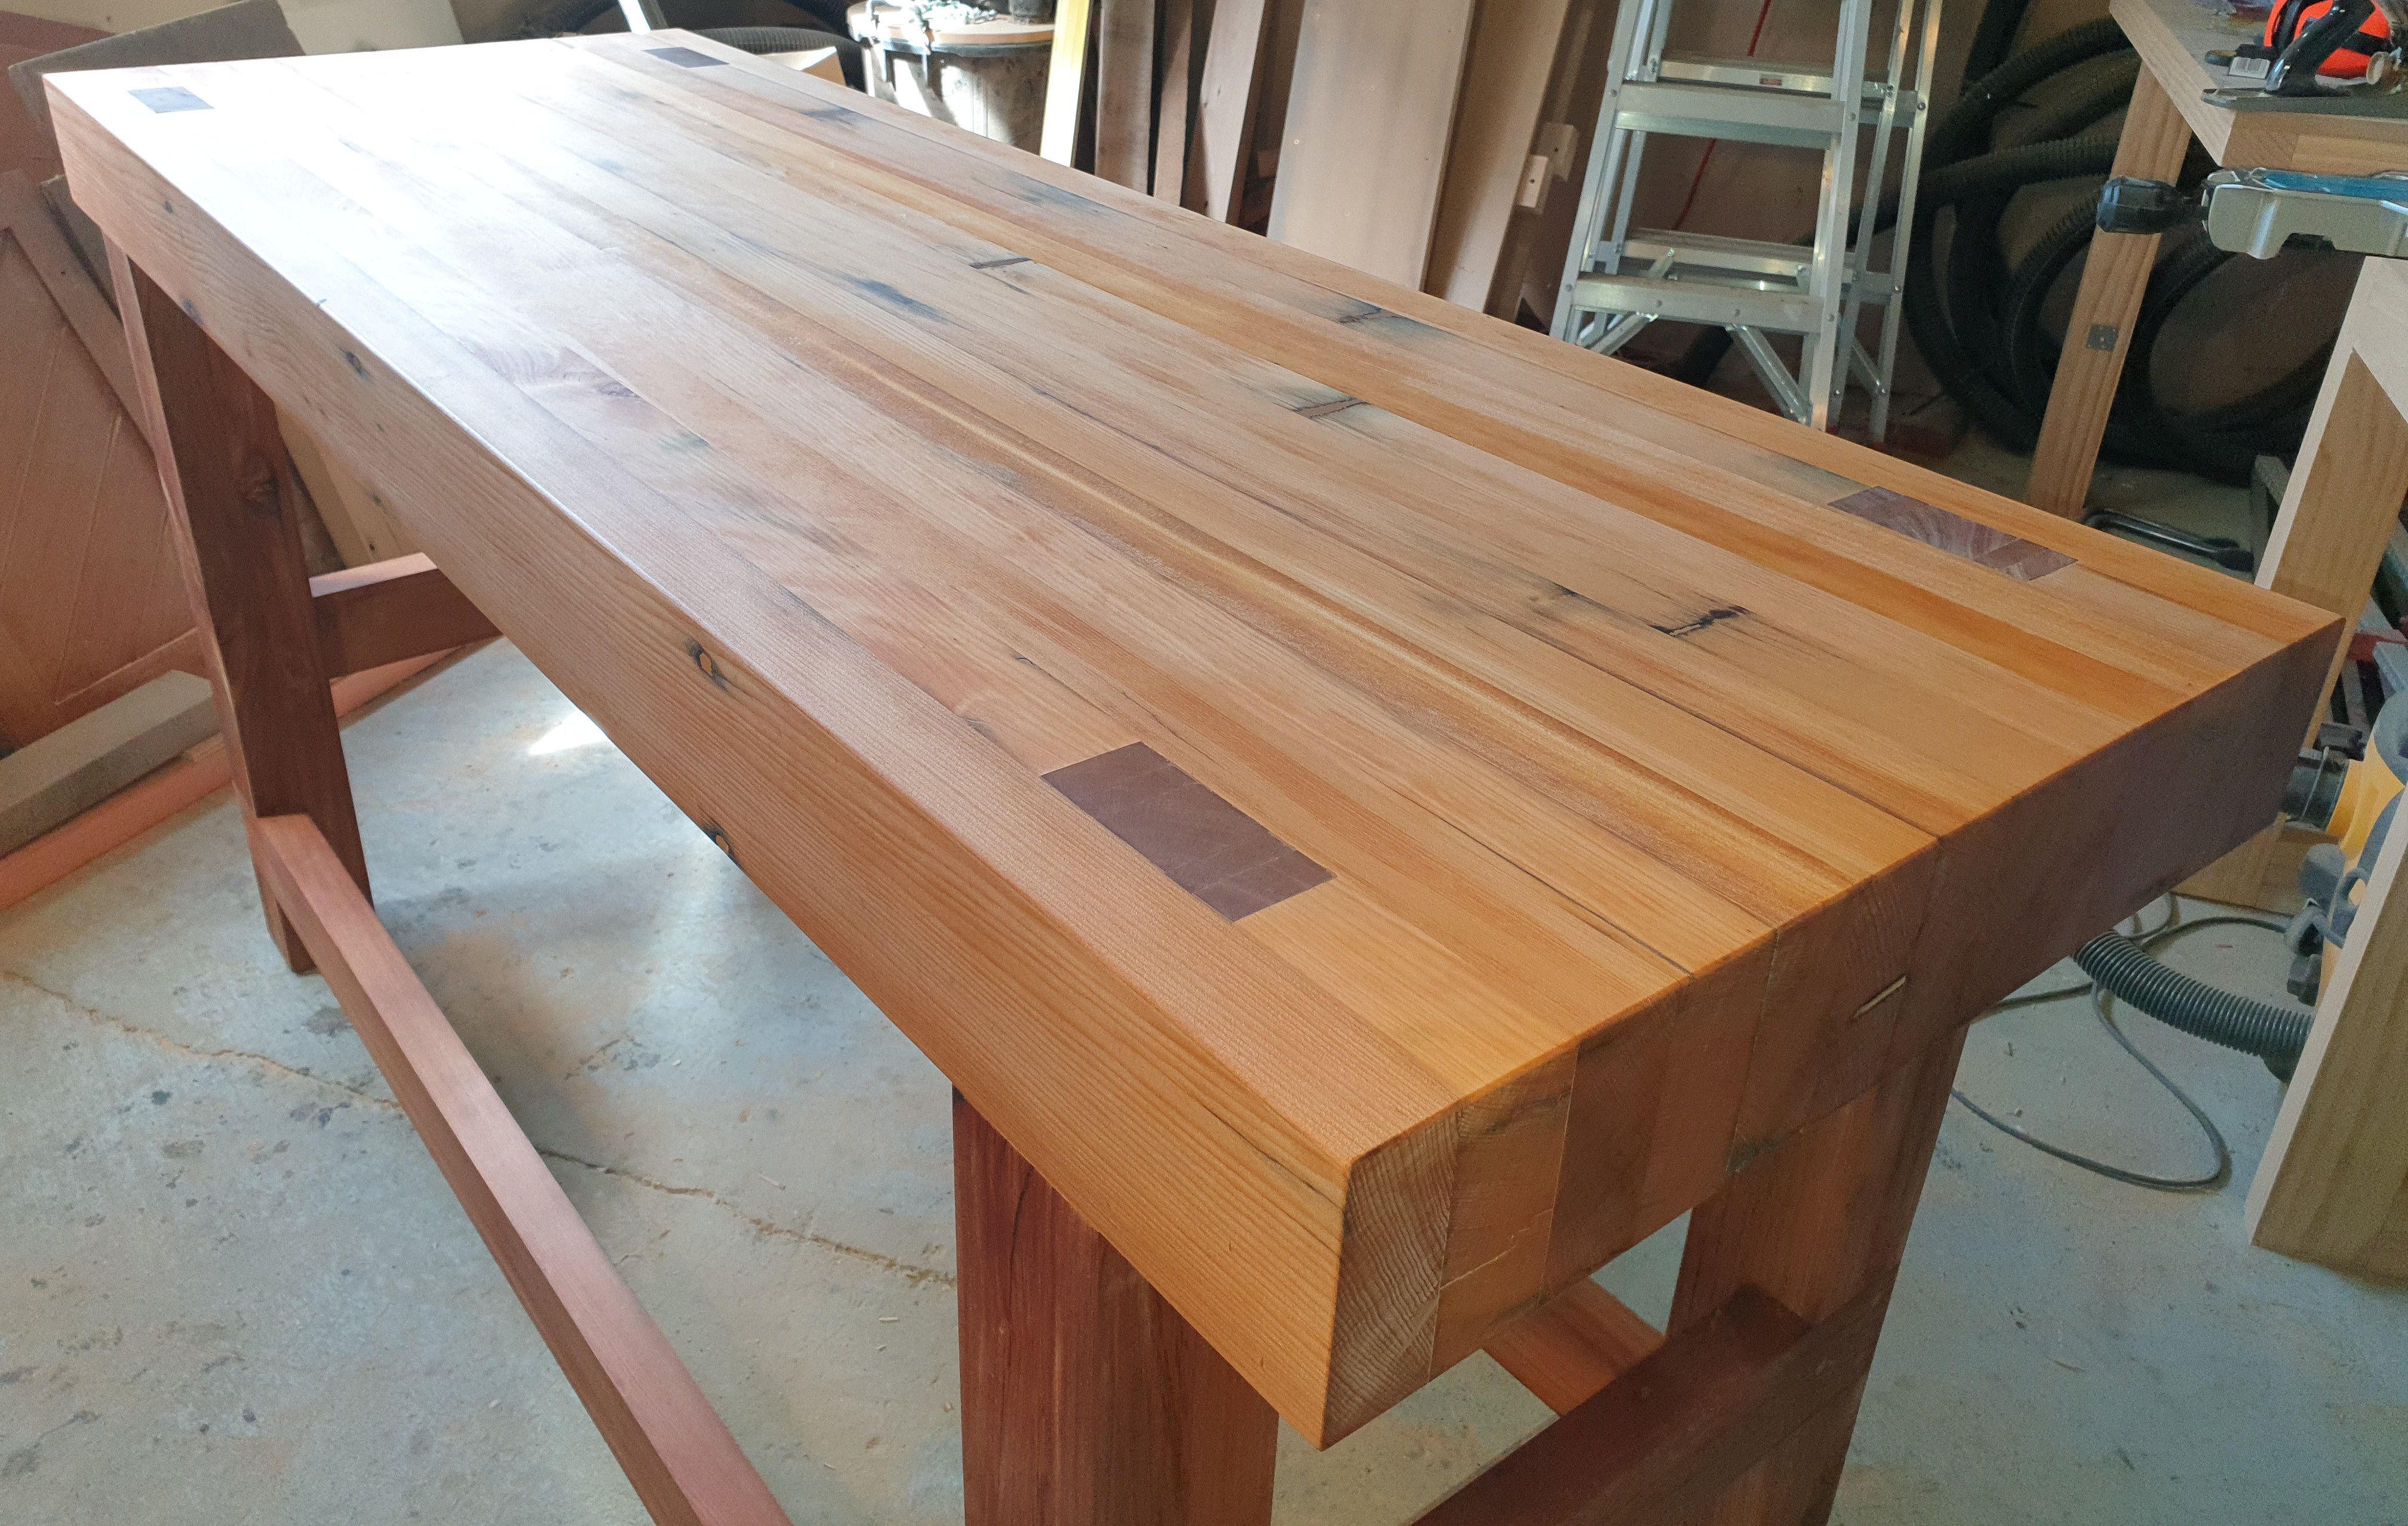
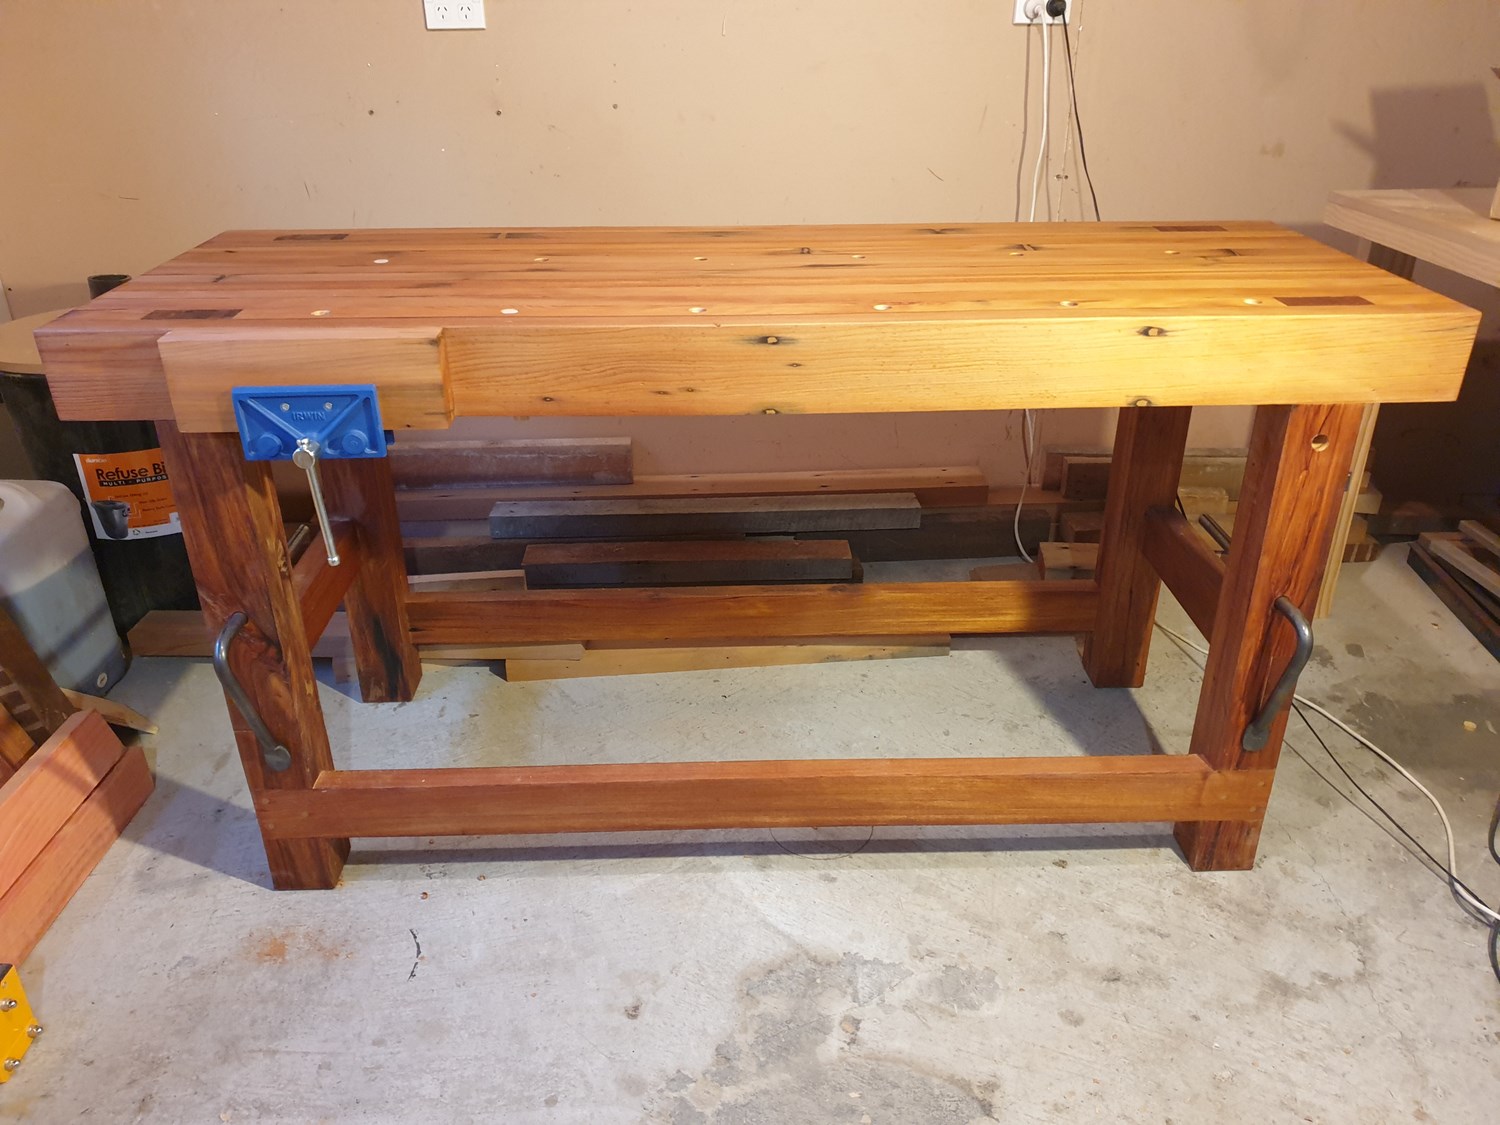
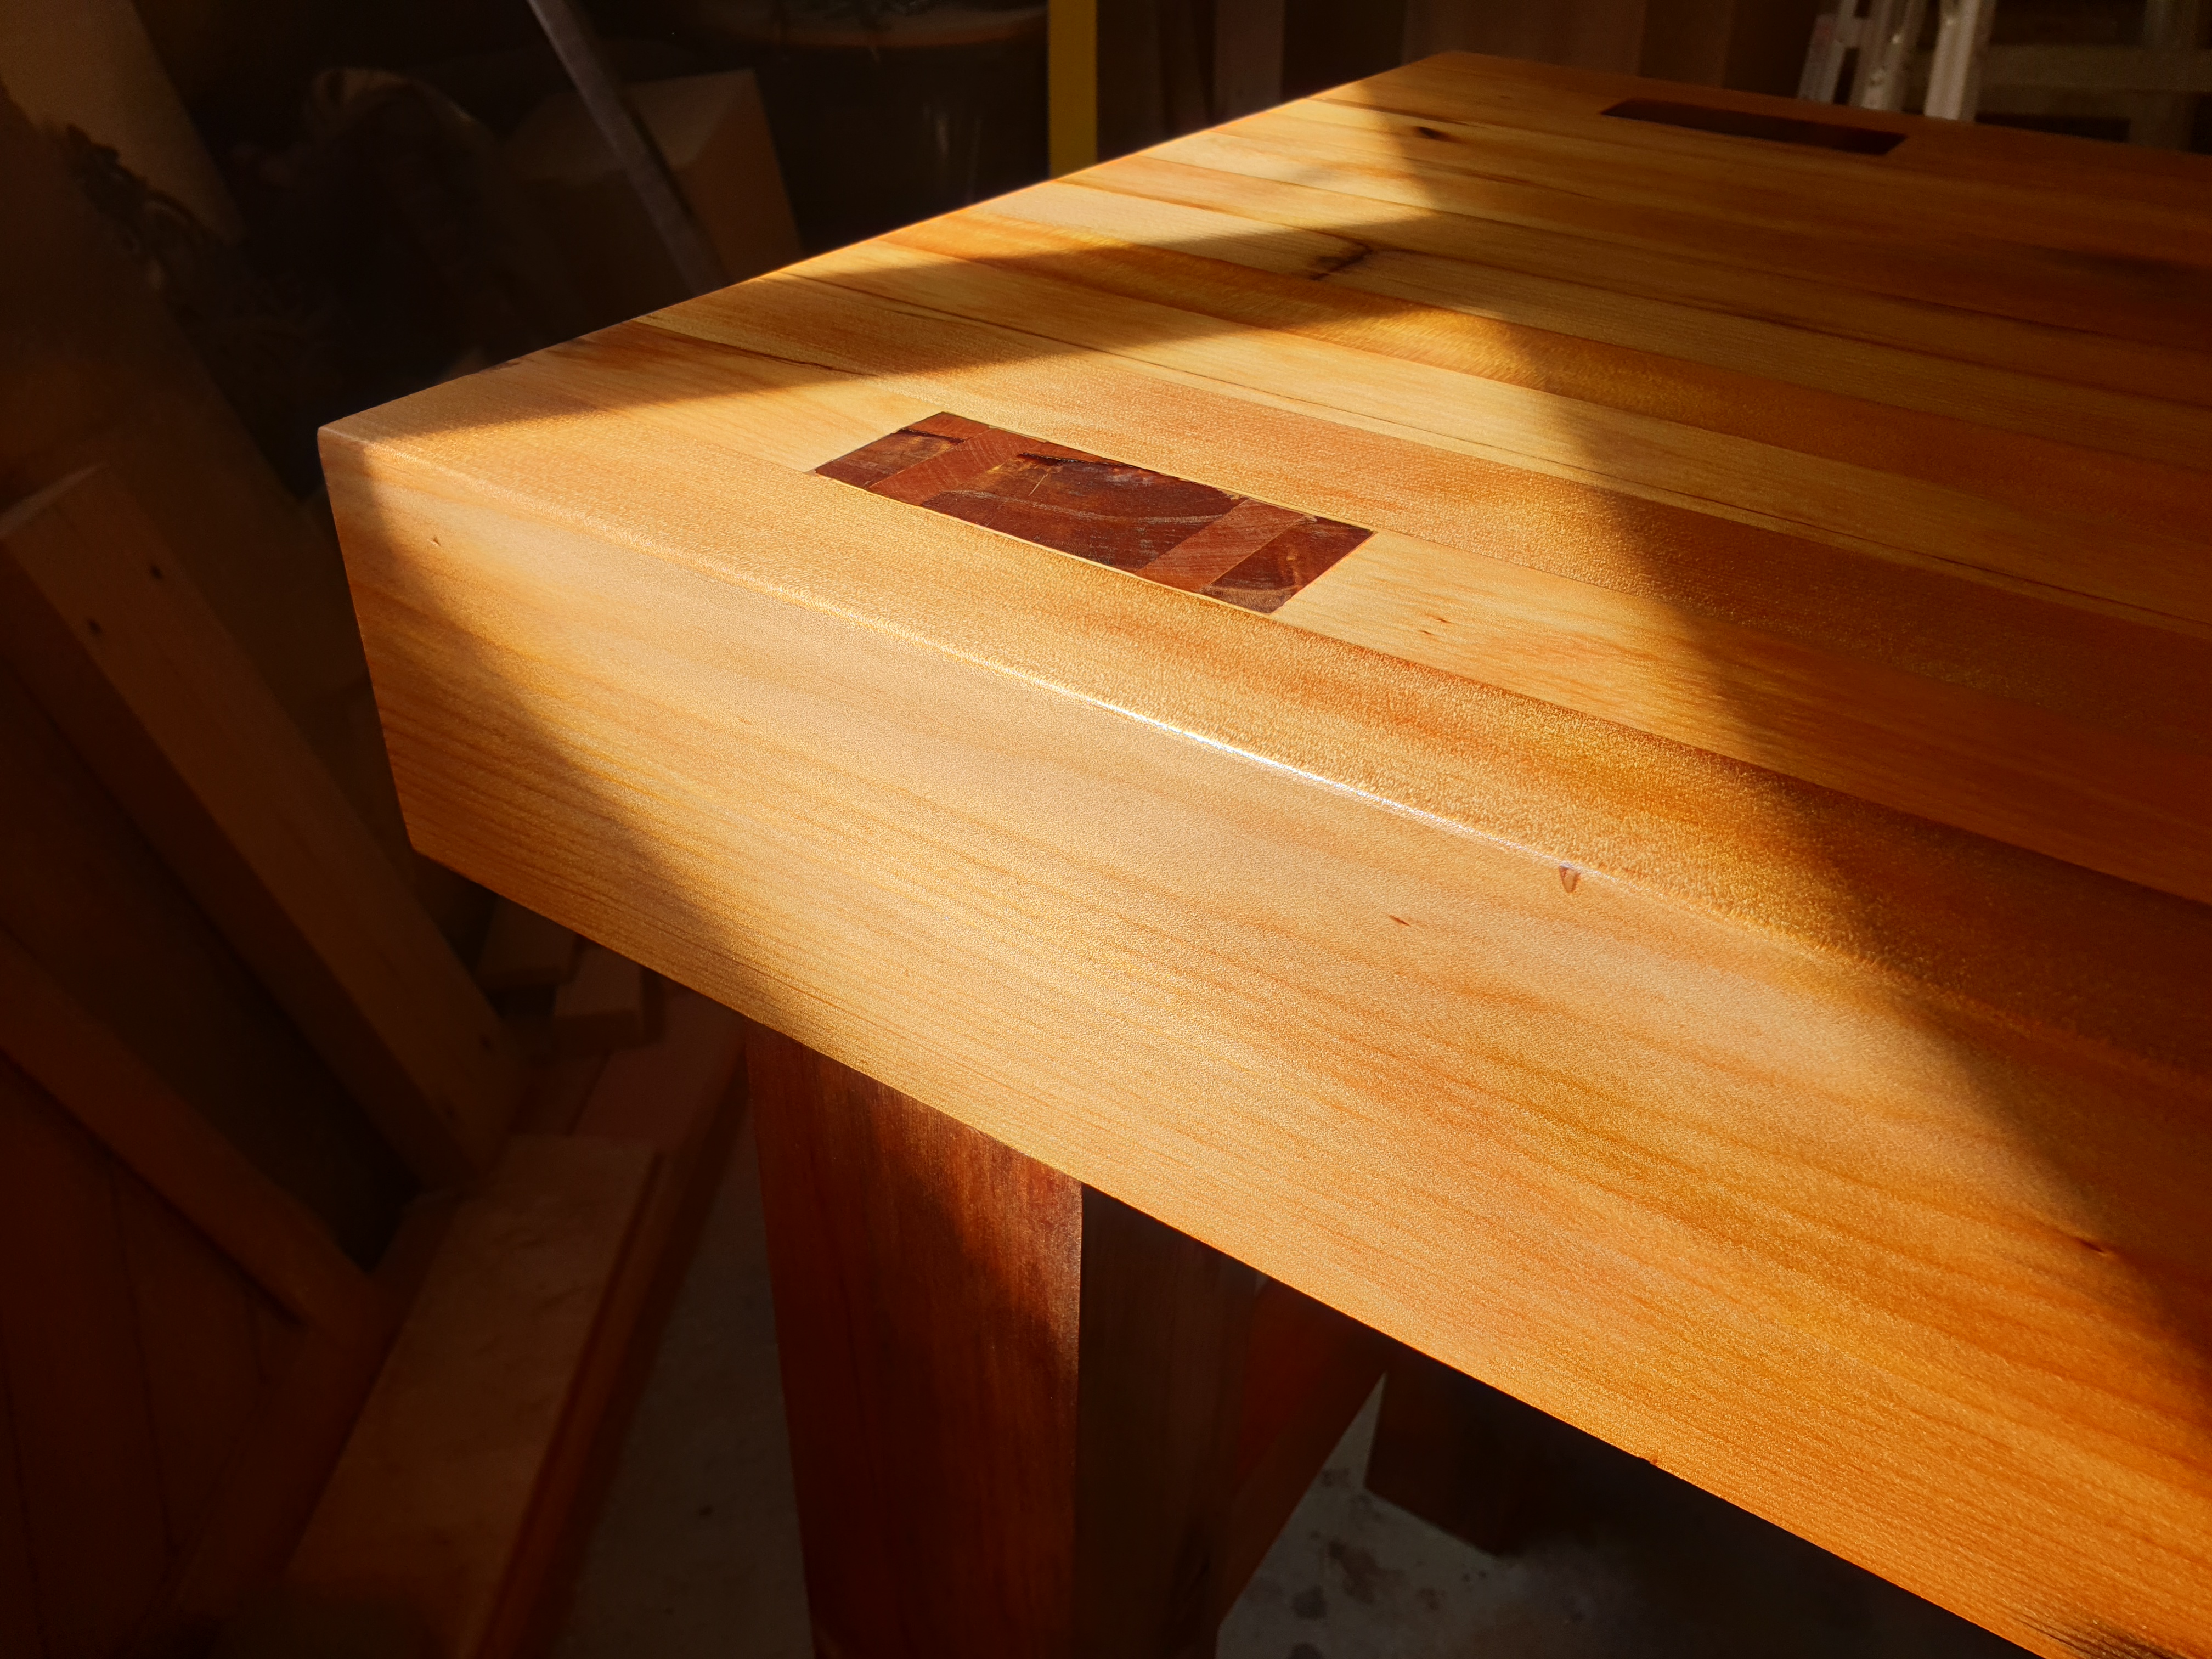
Here is the workbench after the third and final coat of Tung oil was applied. The Kauri has a brilliant 3D golden effect under light.
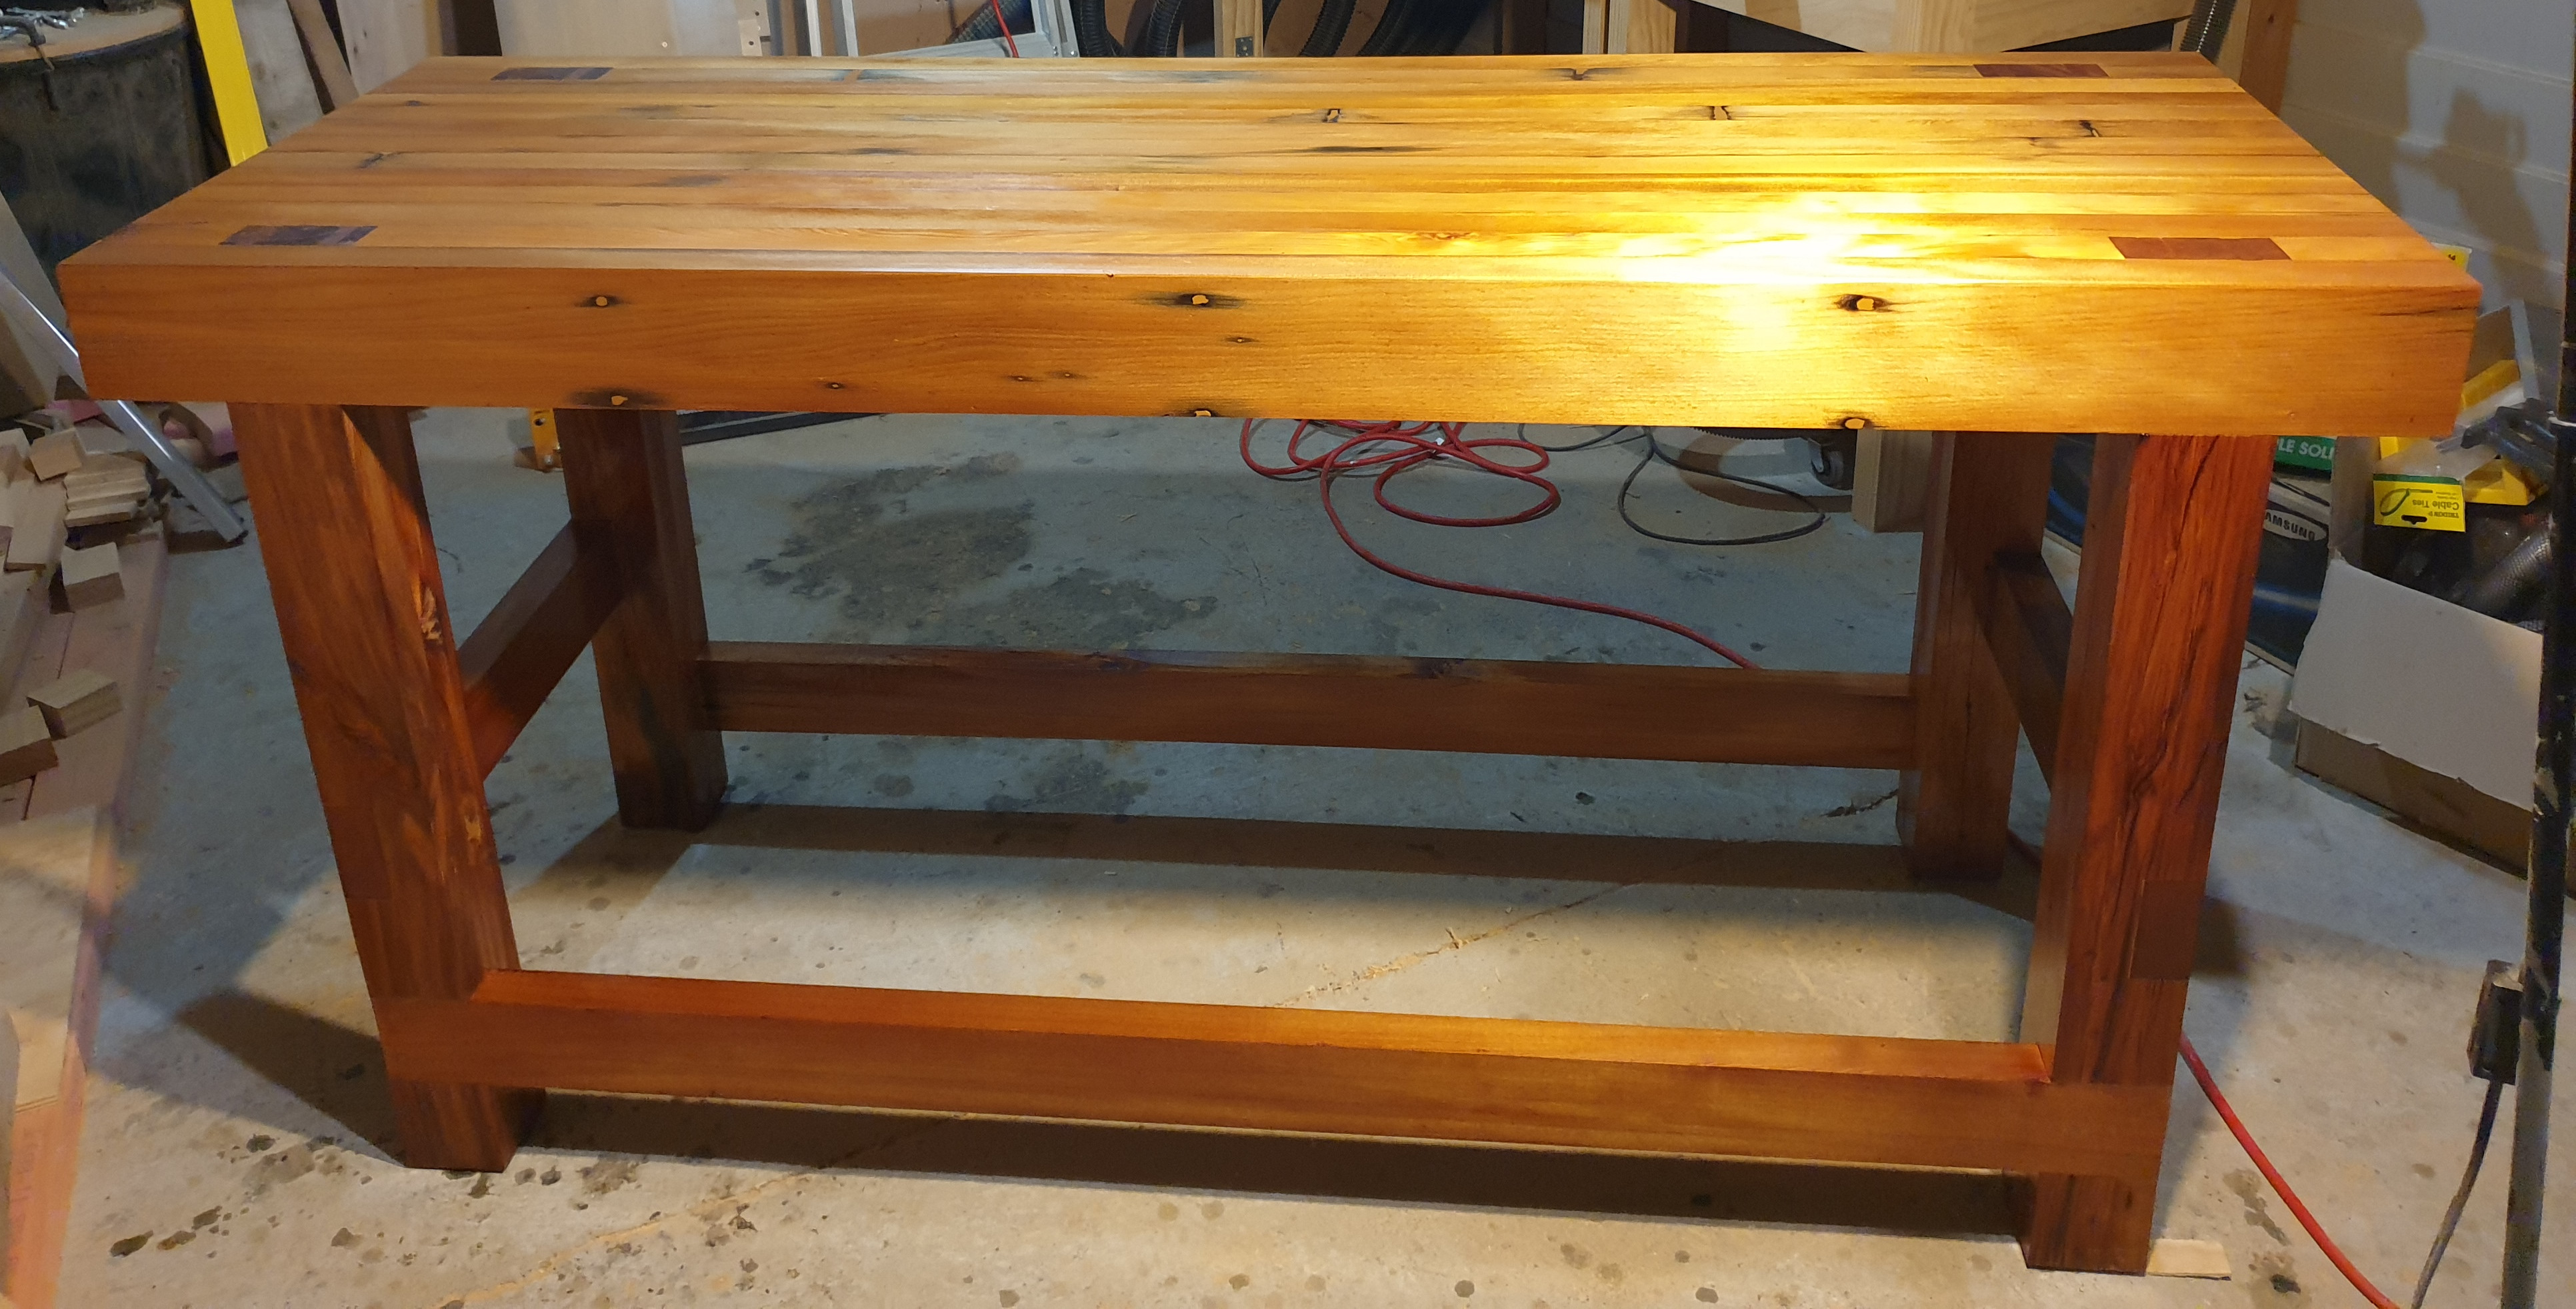
Using a darker timber color for the legs, resulted in a nice contrast between the tenons and benchtop.
That almost wraps it up for my Simplified Roubo Workbench build. For the sixth and final part, see Simplified Roubo Workbench Build Part 6 - Installing Bench Vise and Drilling Workbench Dog Holes