Simplified Roubo Workbench Build Part 4 - Final Workbench Assembly
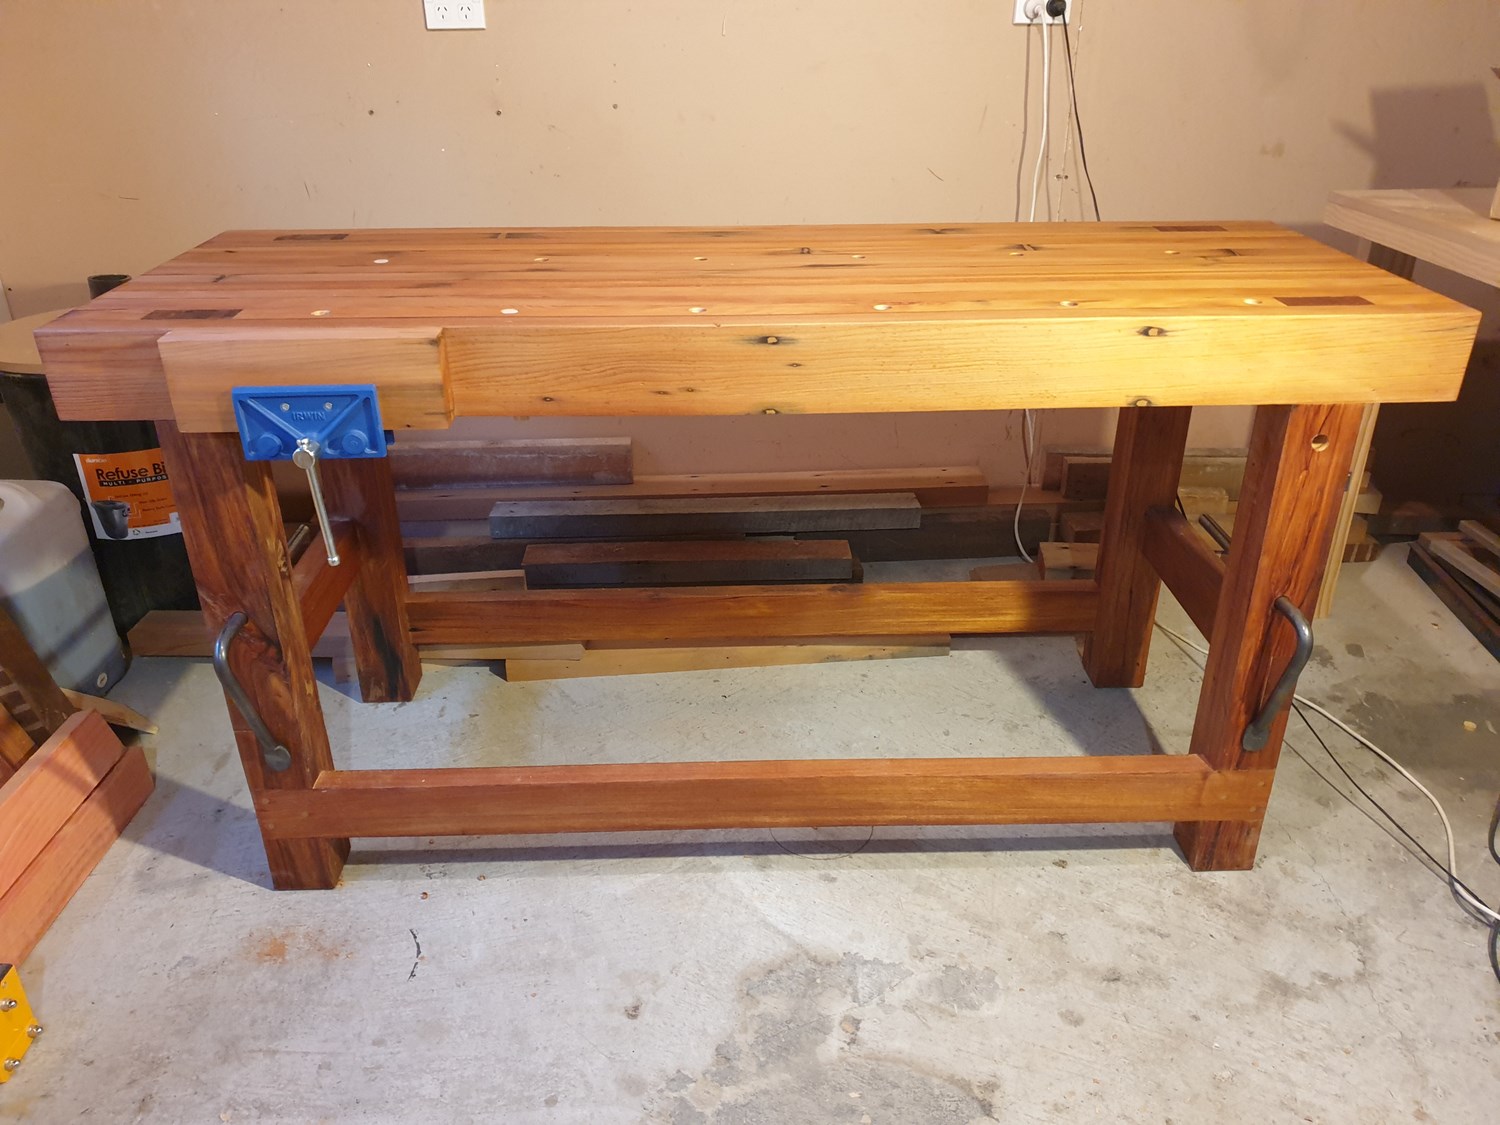
This post is part 4 in my Simplified Roubo Workbench build and covers the final workbench assembly. For part 3 see: Simplified Roubo Workbench Build Part 3 - Wedged Mortise and Tenon Joints
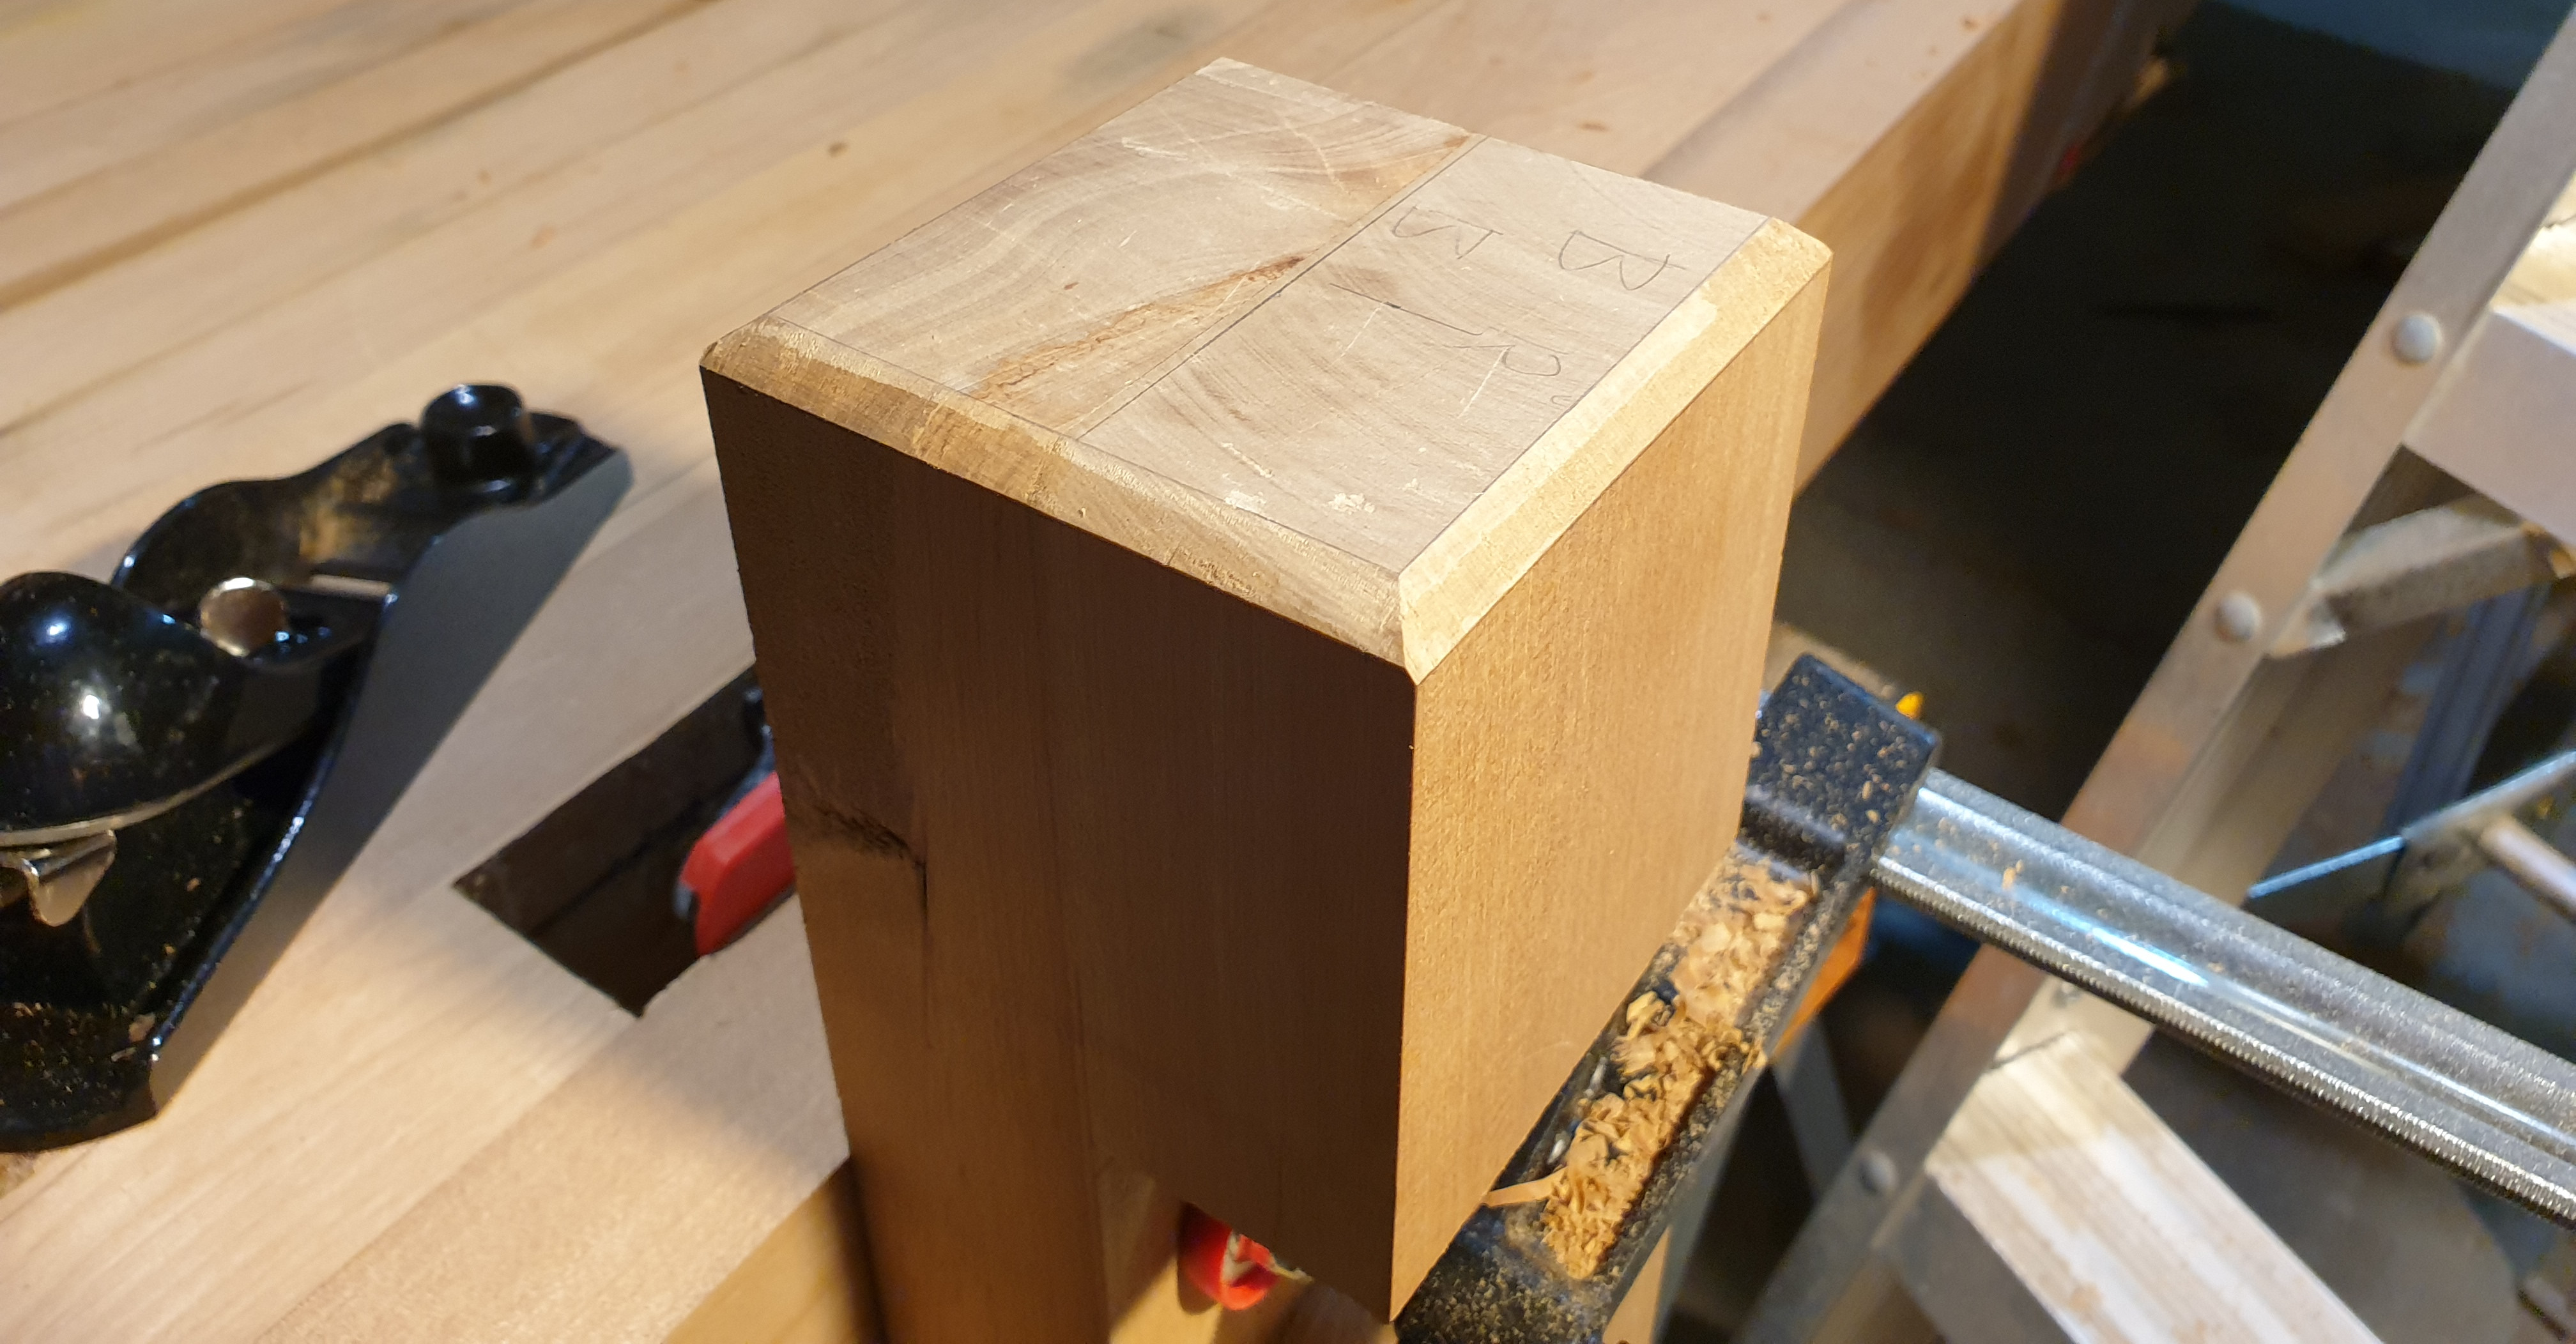
Leg Chamfers
Before starting the workbench assembly, I added chamfers to the bottoms of the legs to prevent the timber from splitting as the workbench is moved around the floor. For the chamfers, I marked out a line 5mm from the edge at the base and bottom of each leg. Next, I used my block plane to create a 45 degree chamfer.
Clamped Assembly
Now that I was ready to start the workbench assembly, I had to decide which approach I would take. I've seen a few people assemble the workbench upside down then flip it over. Given how heavy the benchtop is, I decided to assemble the workbench the right way up. To start with, I clamped the legs and stretchers together with f-clamps.
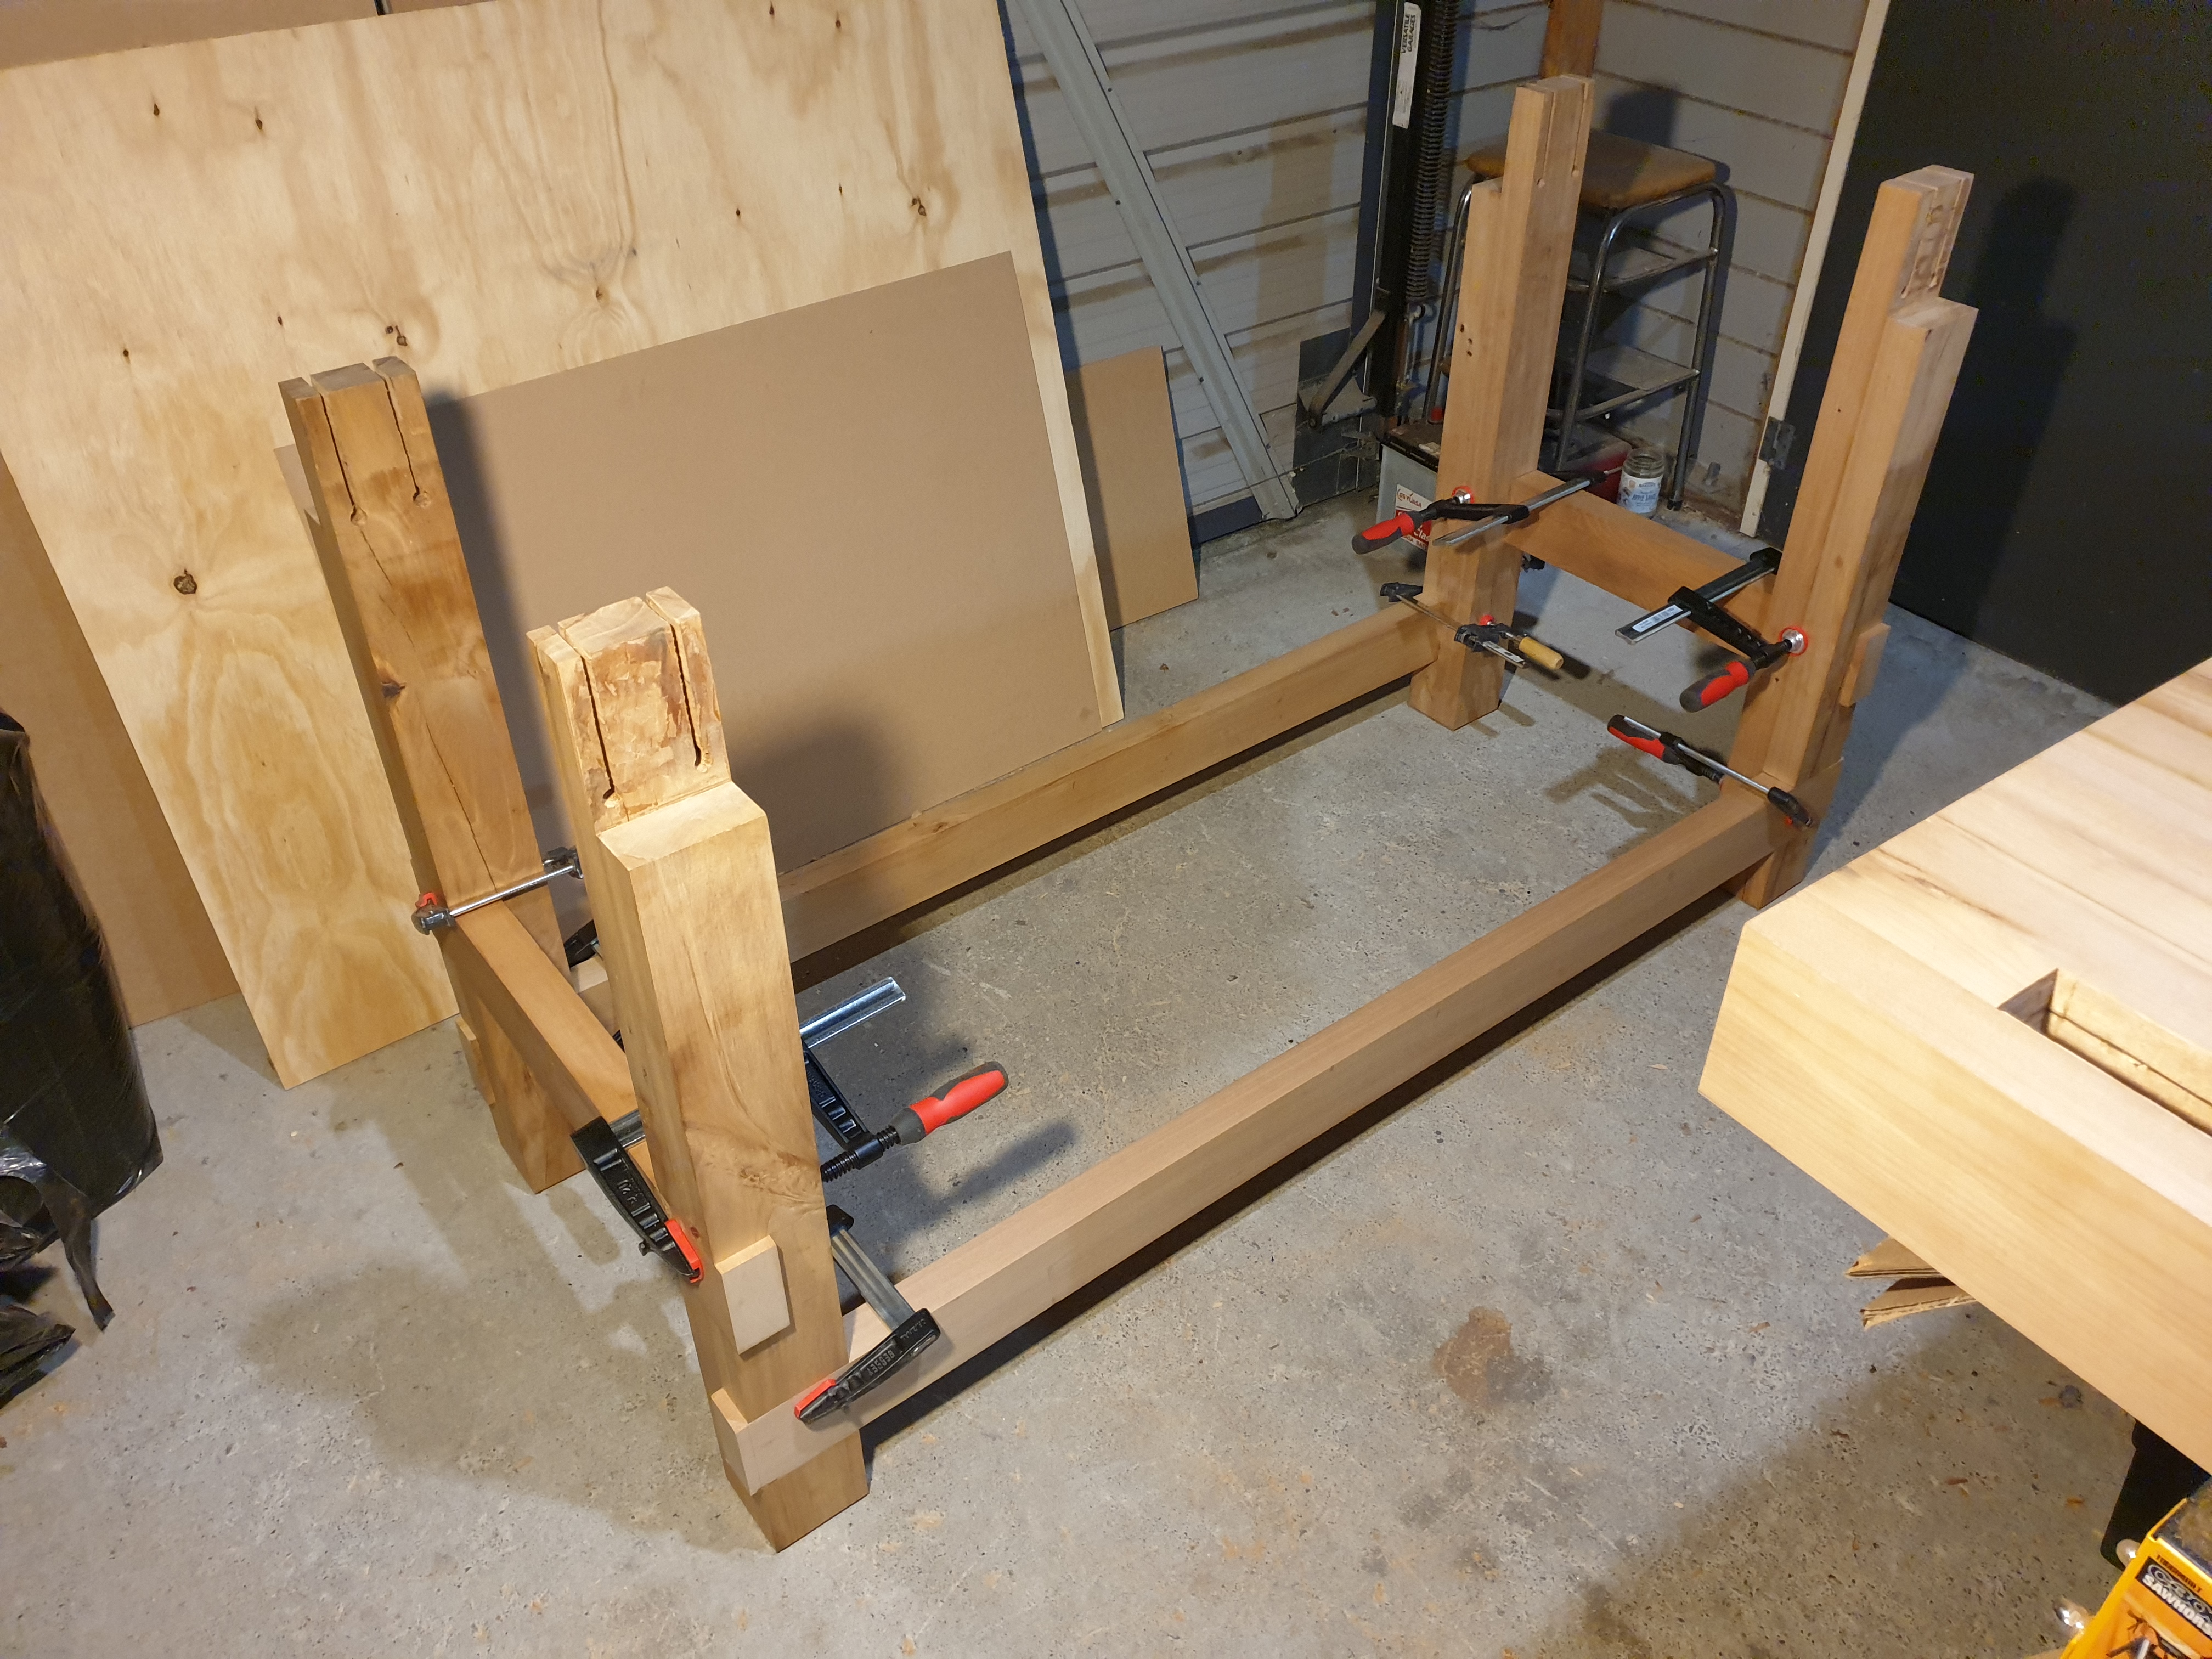
Note that the legs and stretchers were intentionally cut too long, by about 10mm, since this allows for flush cutting the joints later on.
Fitting the Benchtop
Once the base assembly was clamped together, I was faced with the slightly daunting task of fitting the benchtop. This step would have been easier if I had assembled the workbench upside down. The approach I went with was to slide the benchtop over the legs at one end at 90 degrees to the workbench assembly. Then lift and pivot the other end of the bench top until it was over the adjacent legs. Finally, I shuffled the benchtop sideways until the tenons were aligned with the mortises. To fit the tenons into the mortises, I went through a process of lifting and dropping each end of the benchtop. Keep in mind that you will need to lift the benchtop off again when it comes time to glue the mortise and tenon joints.
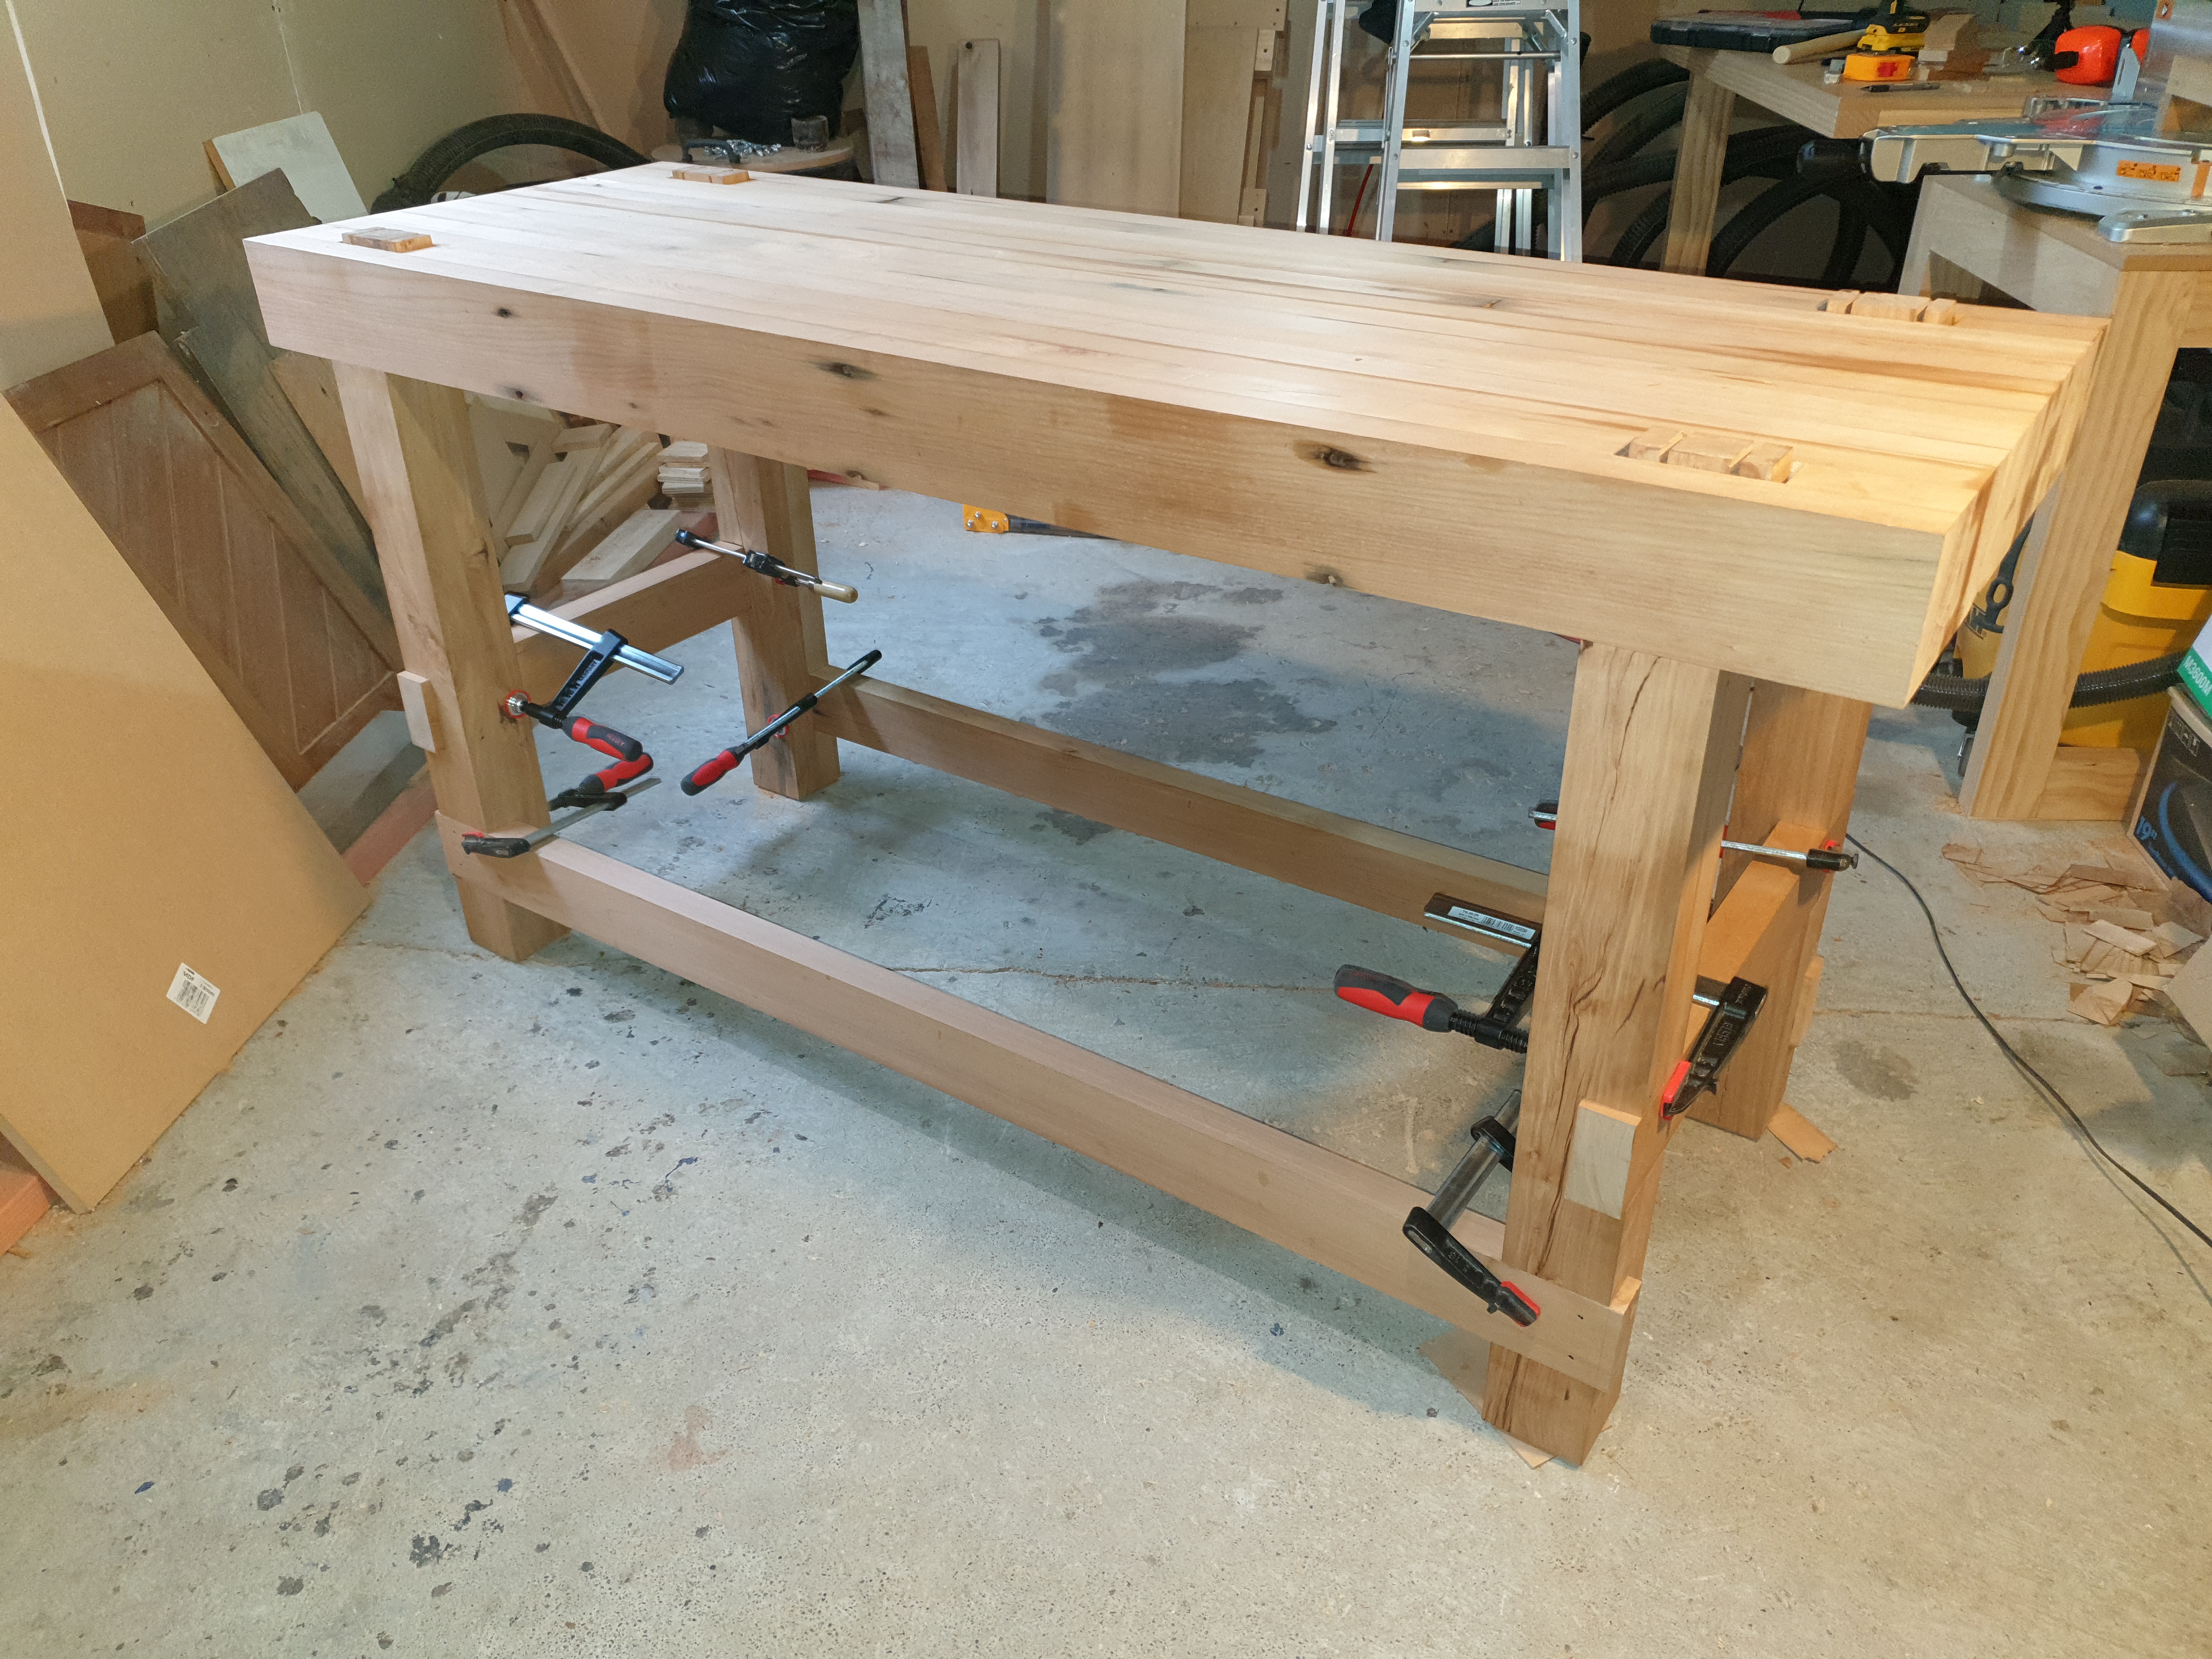
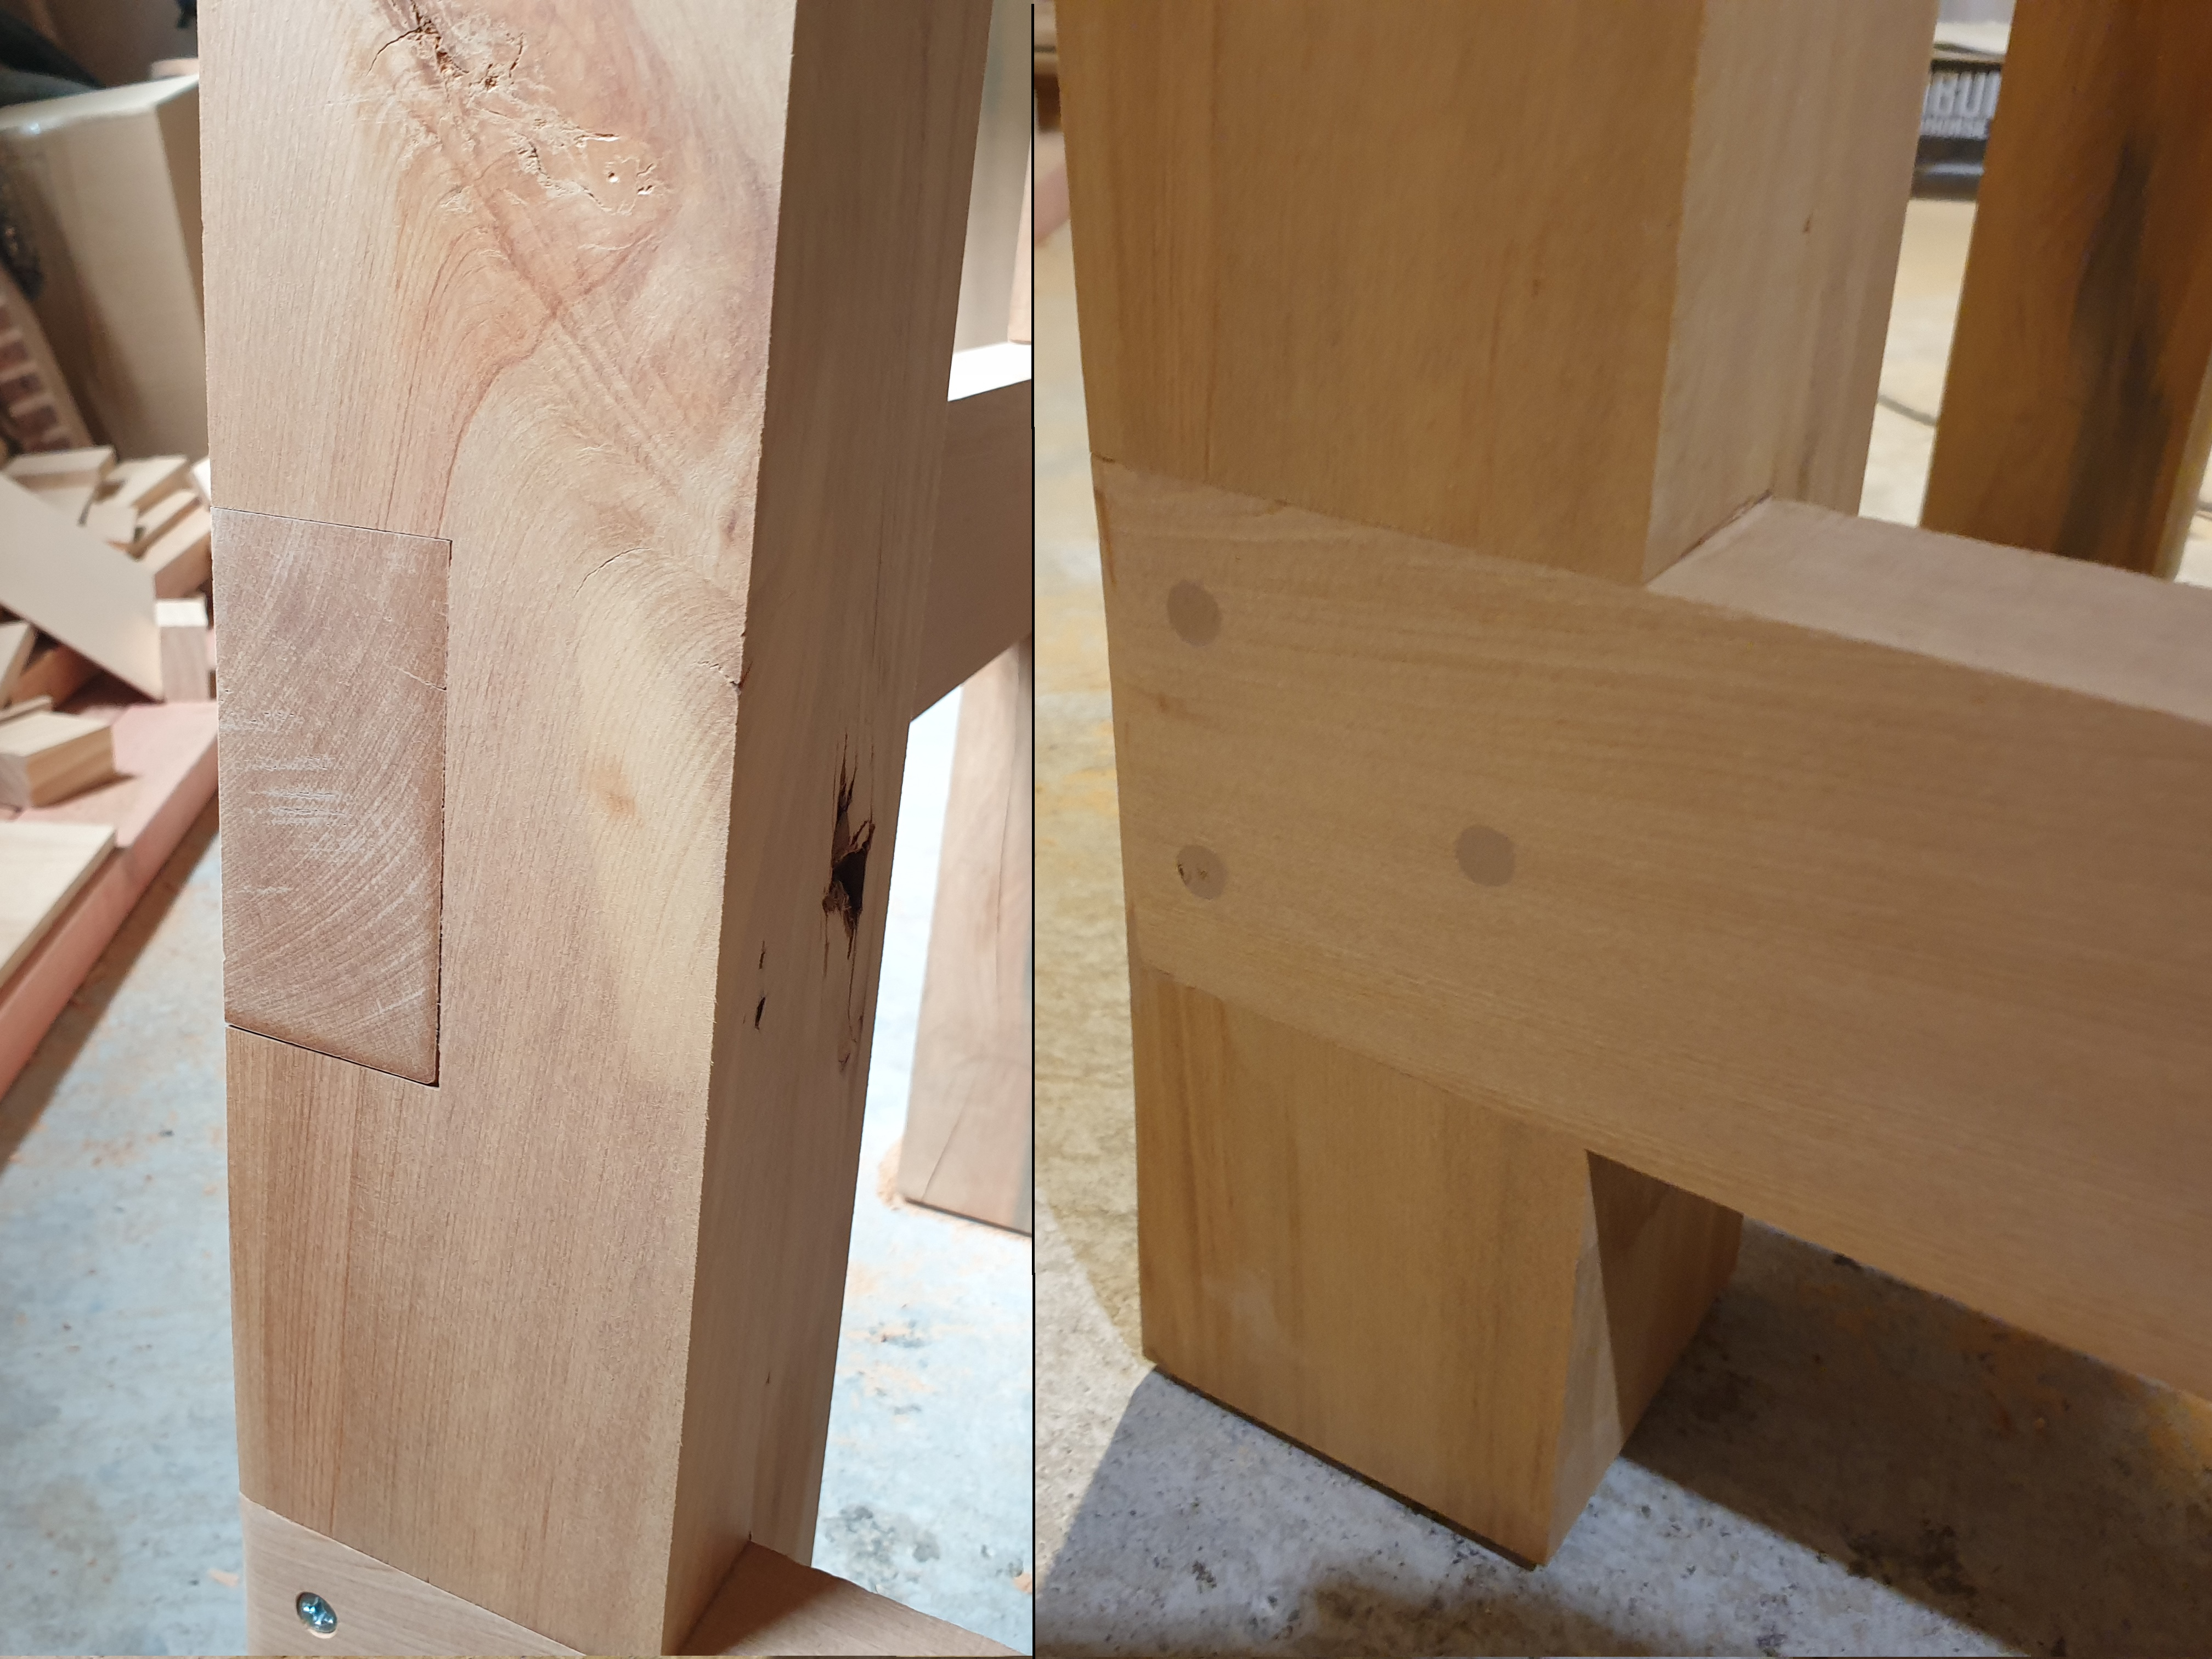
Leg and Stretcher Lap Joints
Now the trial assembly showed that all the components were properly aligned, I started the final assembly with the leg and stretcher lap joints. I first glued and clamped each lap joint, then drilled and screwed three wood screws to complete the joint. Not as elegant as a mortise and tenon joint, but gets the job done. Next, I filled each countersunk screw hole with some wood filler and sanded once dry. The final step was flush cutting each joint with my pull saw.
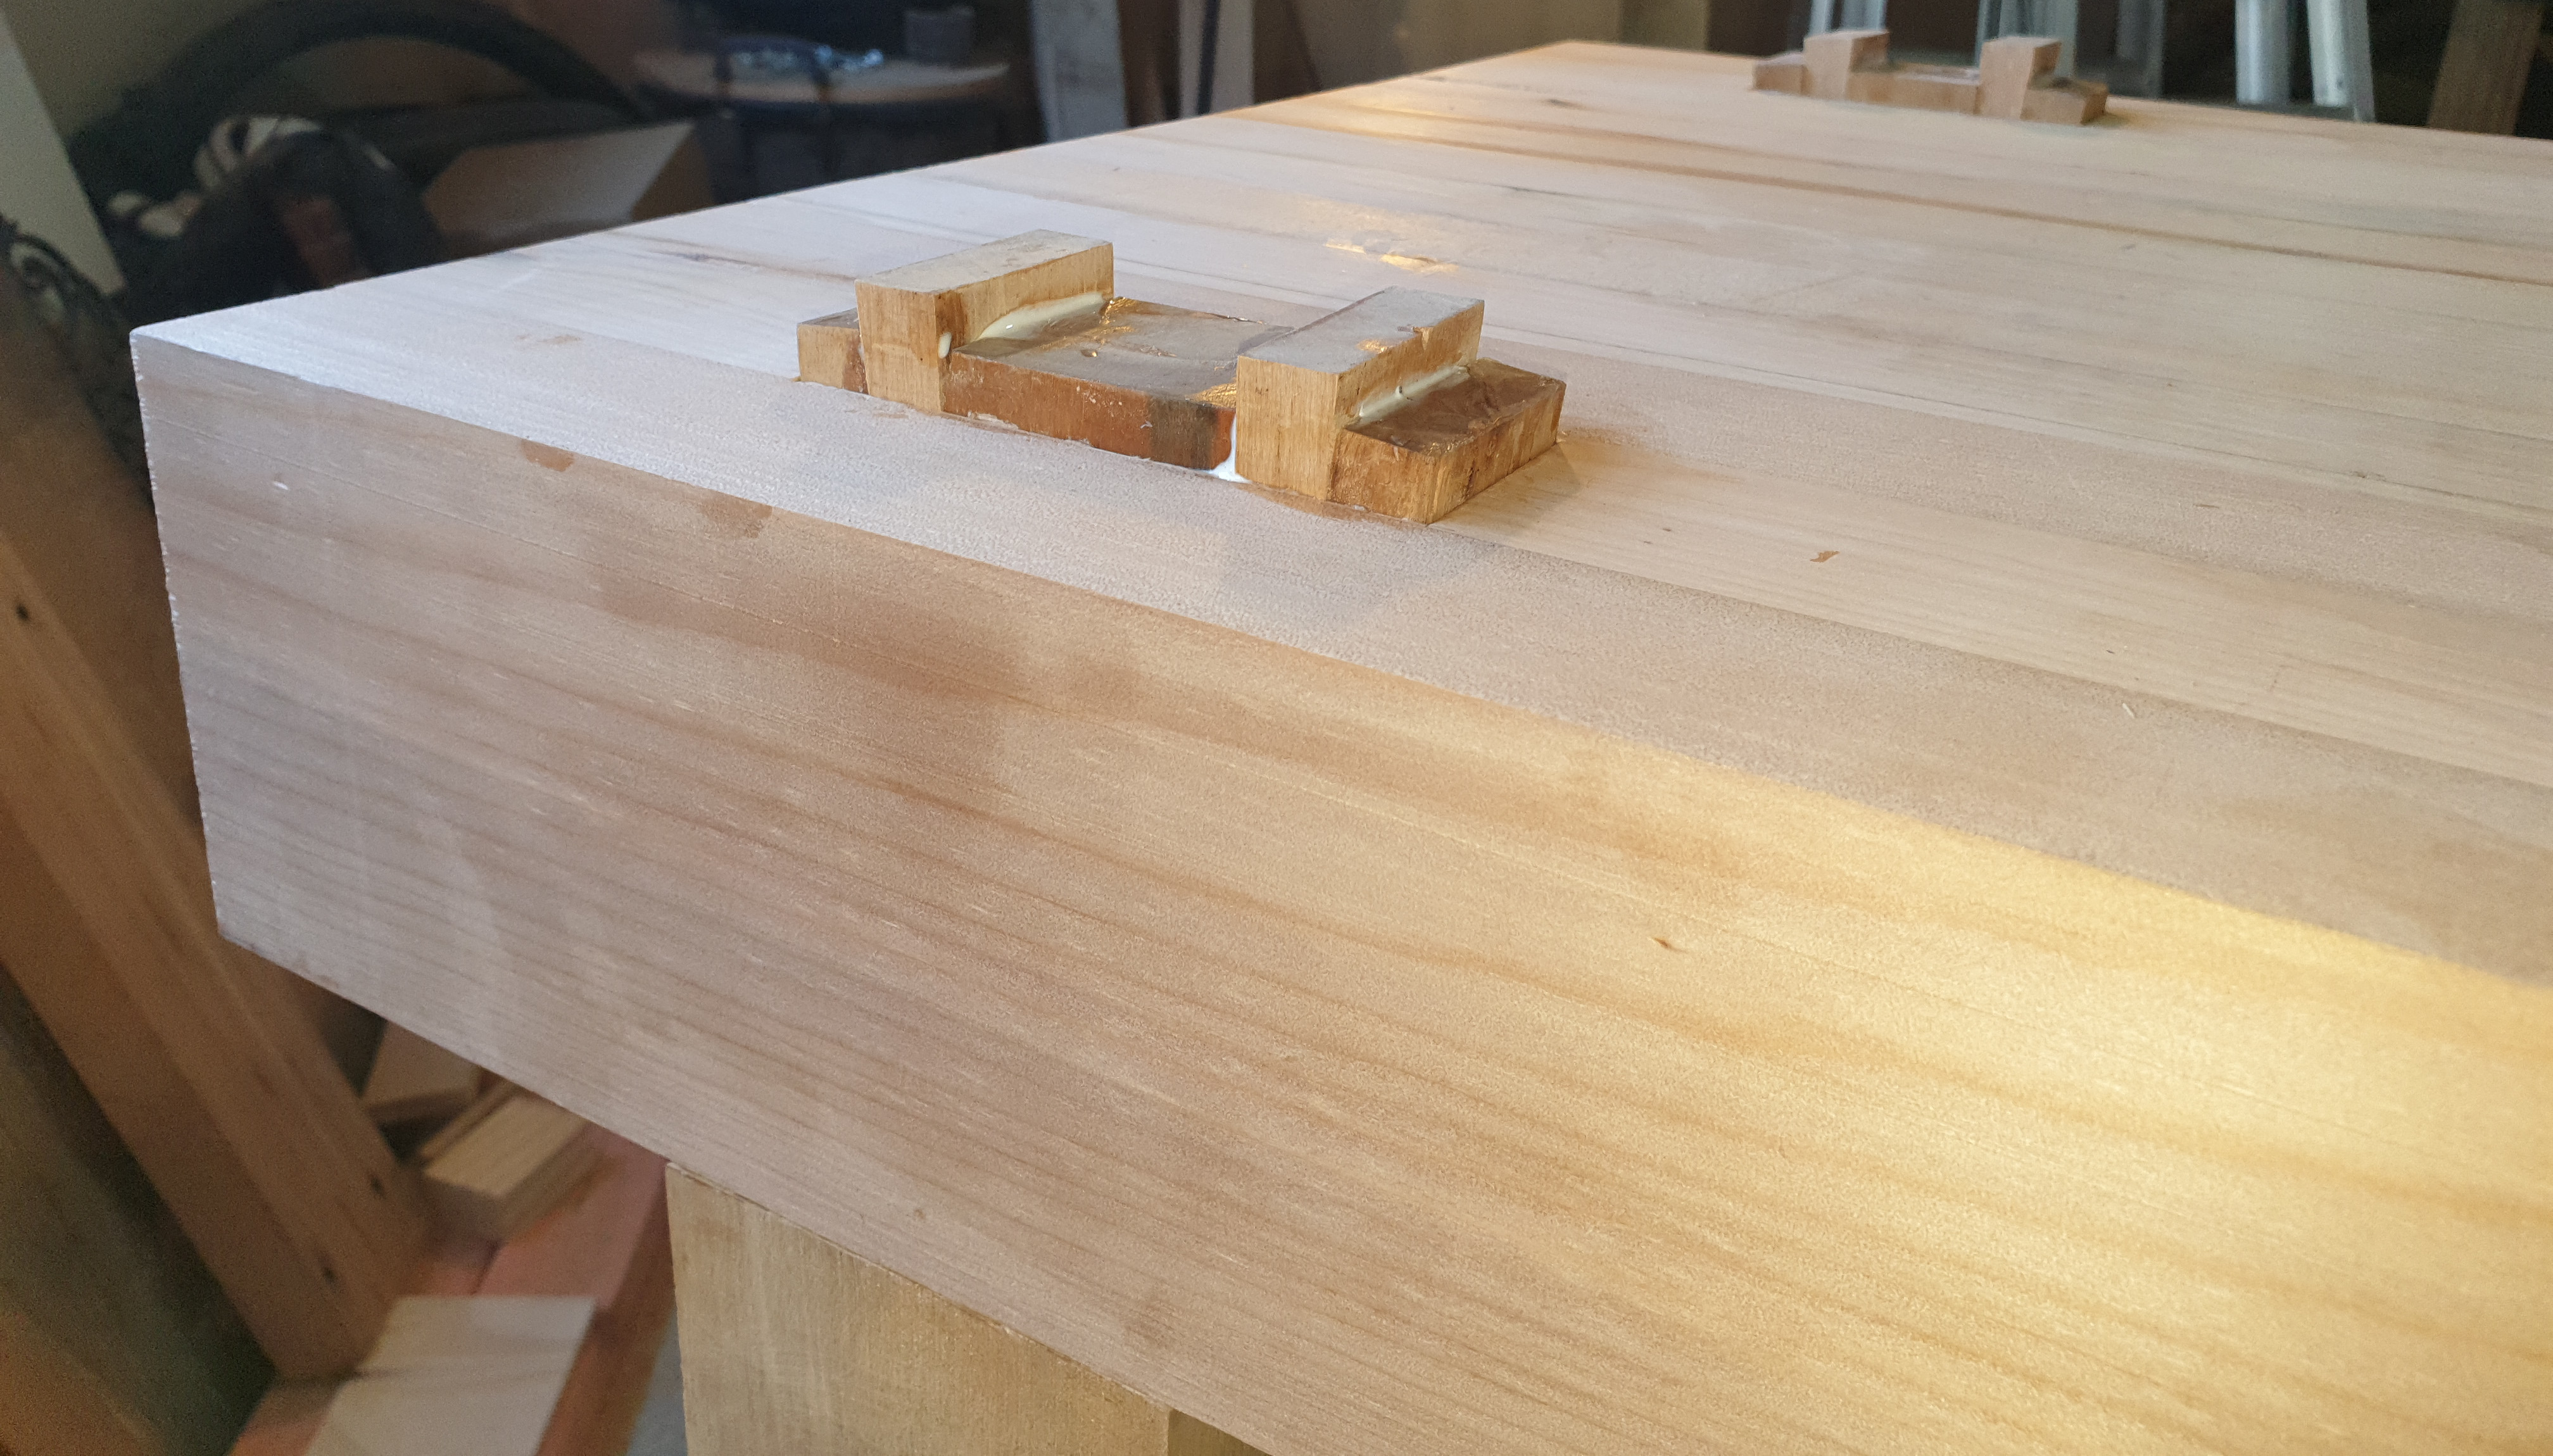
Finishing the Wedged Mortise and Tenon Joints
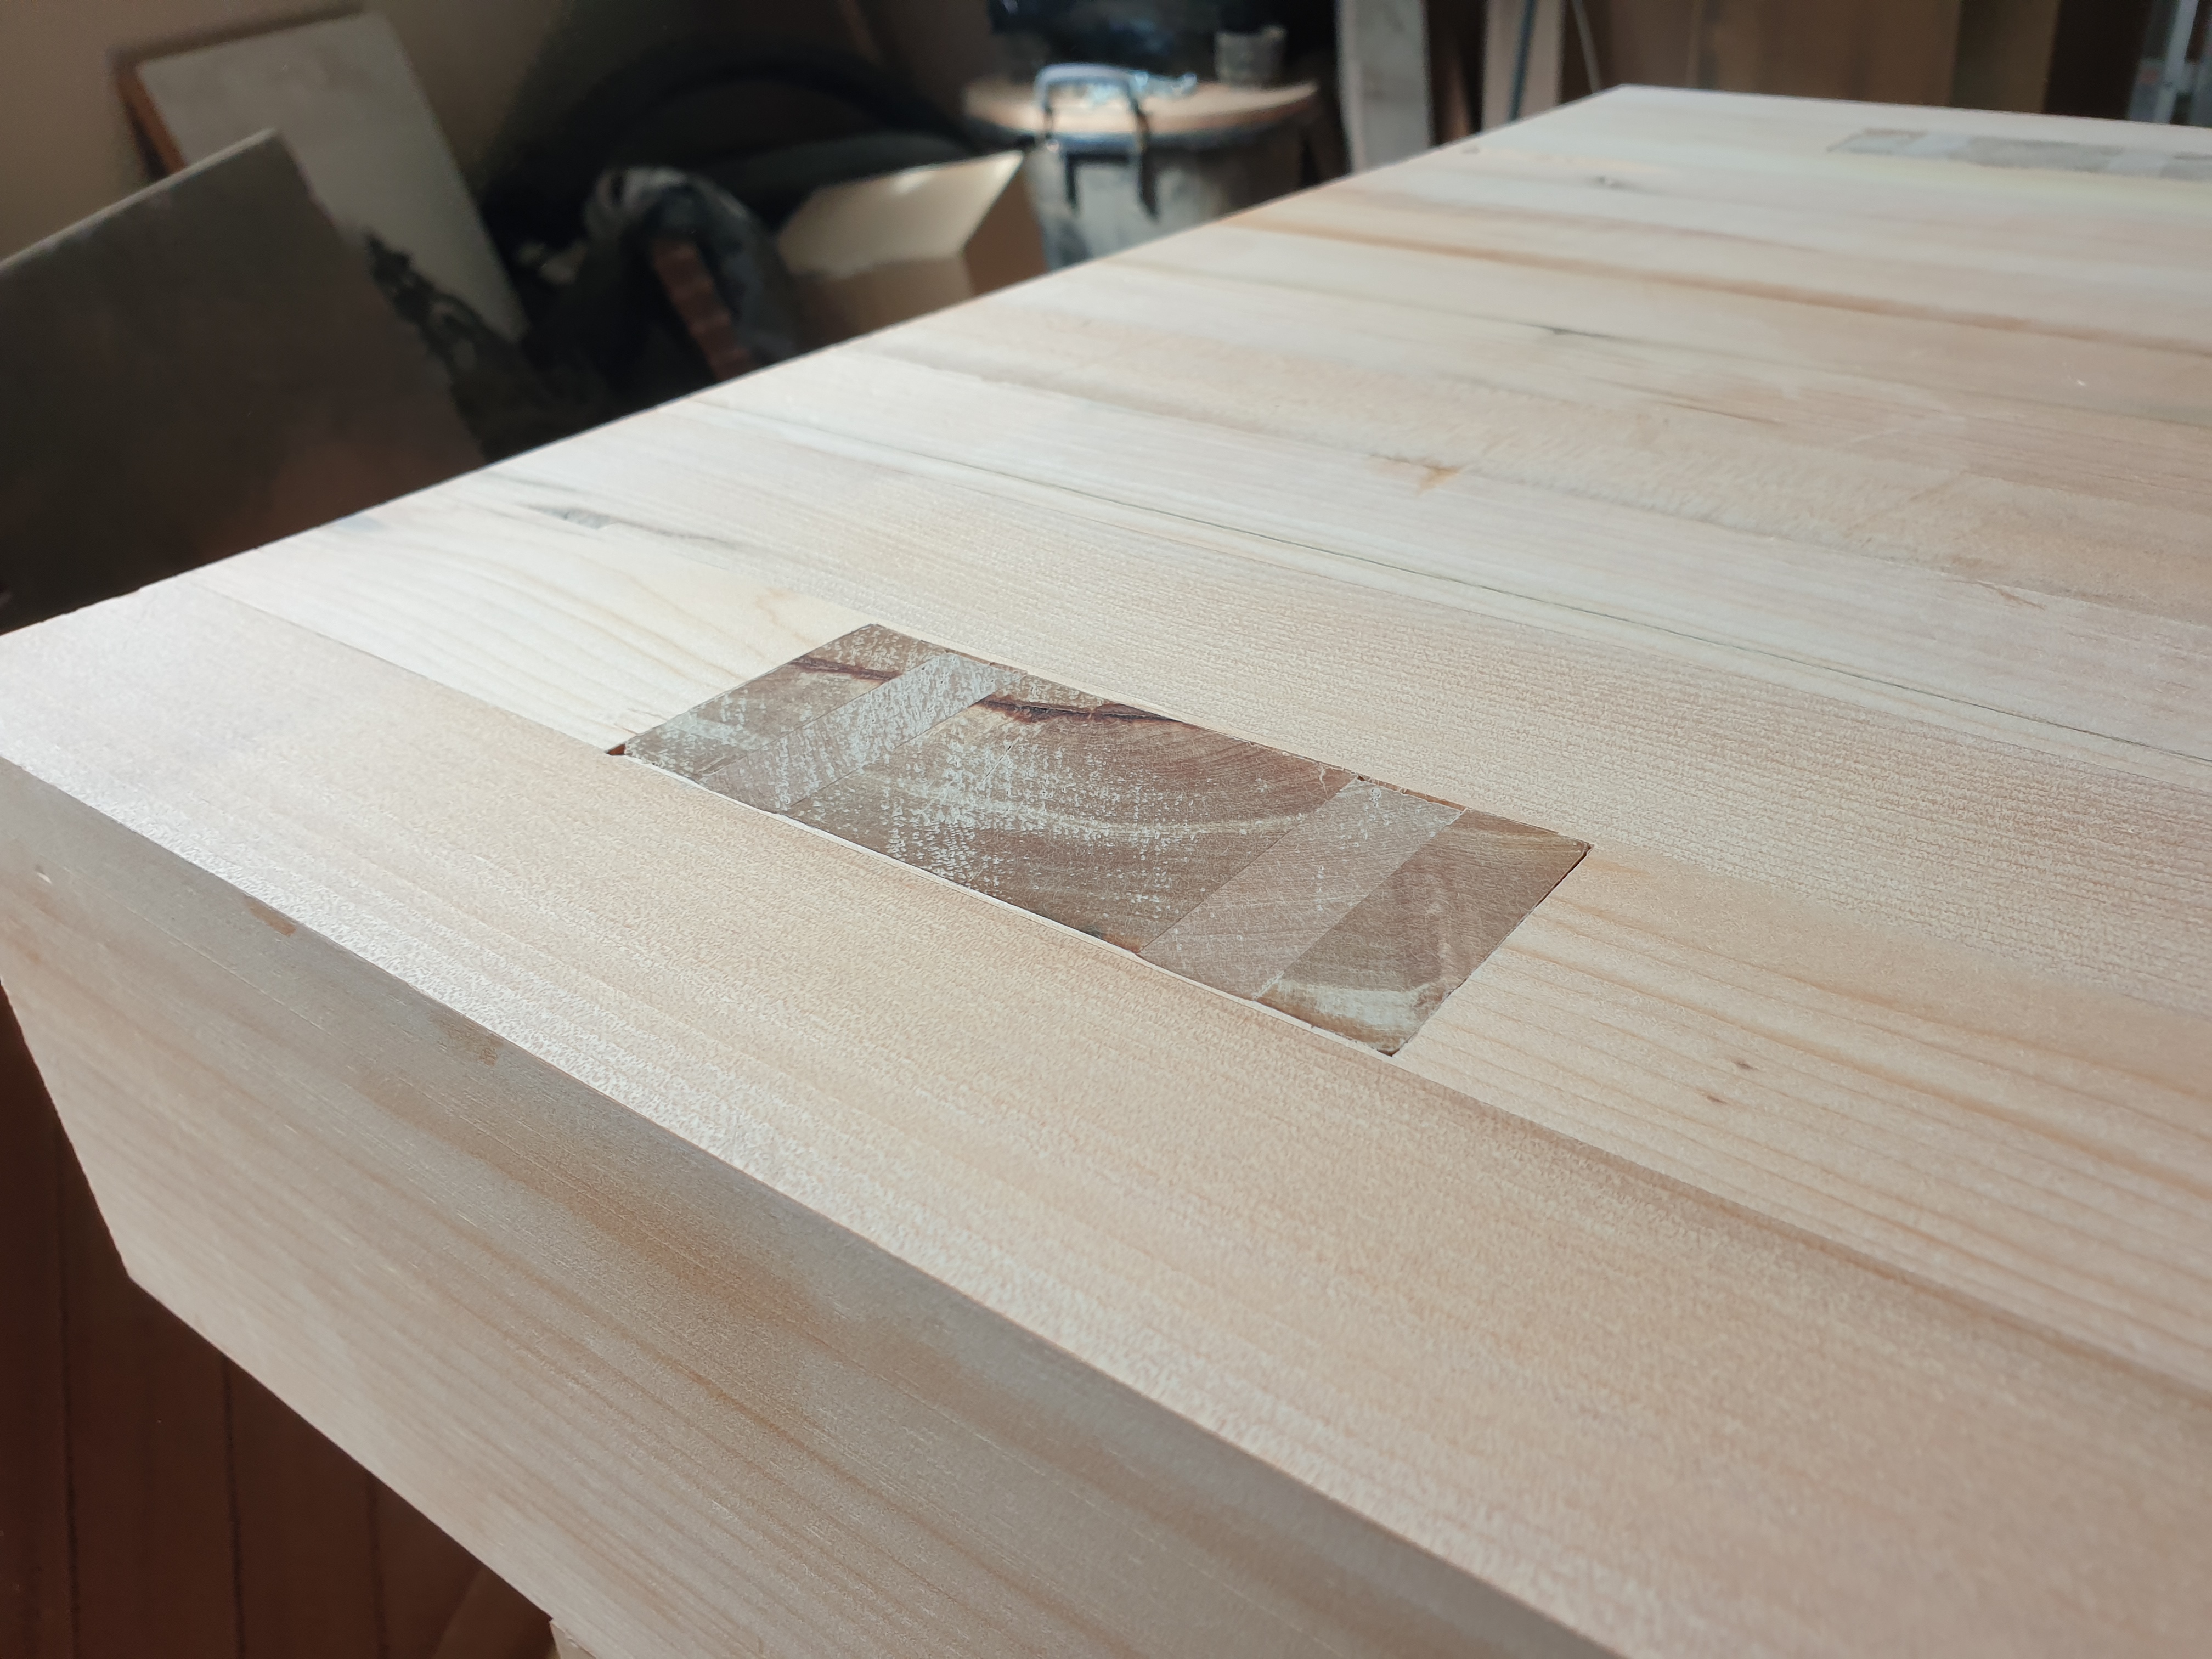
With the legs and stretchers now securely assembled, I could move up with finishing the wedged mortise and tenon joints. First of all I had to lift the benchtop off the tenons and position it slightly to one side. For this step you need to move reasonably quickly so it's good to plan ahead. I started by placing two wedges on the bench top next to each mortise ready for the mallet. Next, I started with applying glue to all four sides of each mortise as well as the shoulder of each tenon joint. Once each mortise and tenon was glued, I dropped the workbench back onto the tenons and repeated my method of lifting and dropping each end of the benchtop until all the mortise and tenon joints were fully seated. I then worked quickly to glue each wedge and drive into place with my mallet. To make sure each wedge was equally positioned with the other, I took turns with one or two blows on each wedge until they were fully driven into the joint.
Once the glue was dry in the mortise and tenon joints, I used my pull saw to cut them flush with the workbench surface. I also sanded each joint to remove the saw marks.
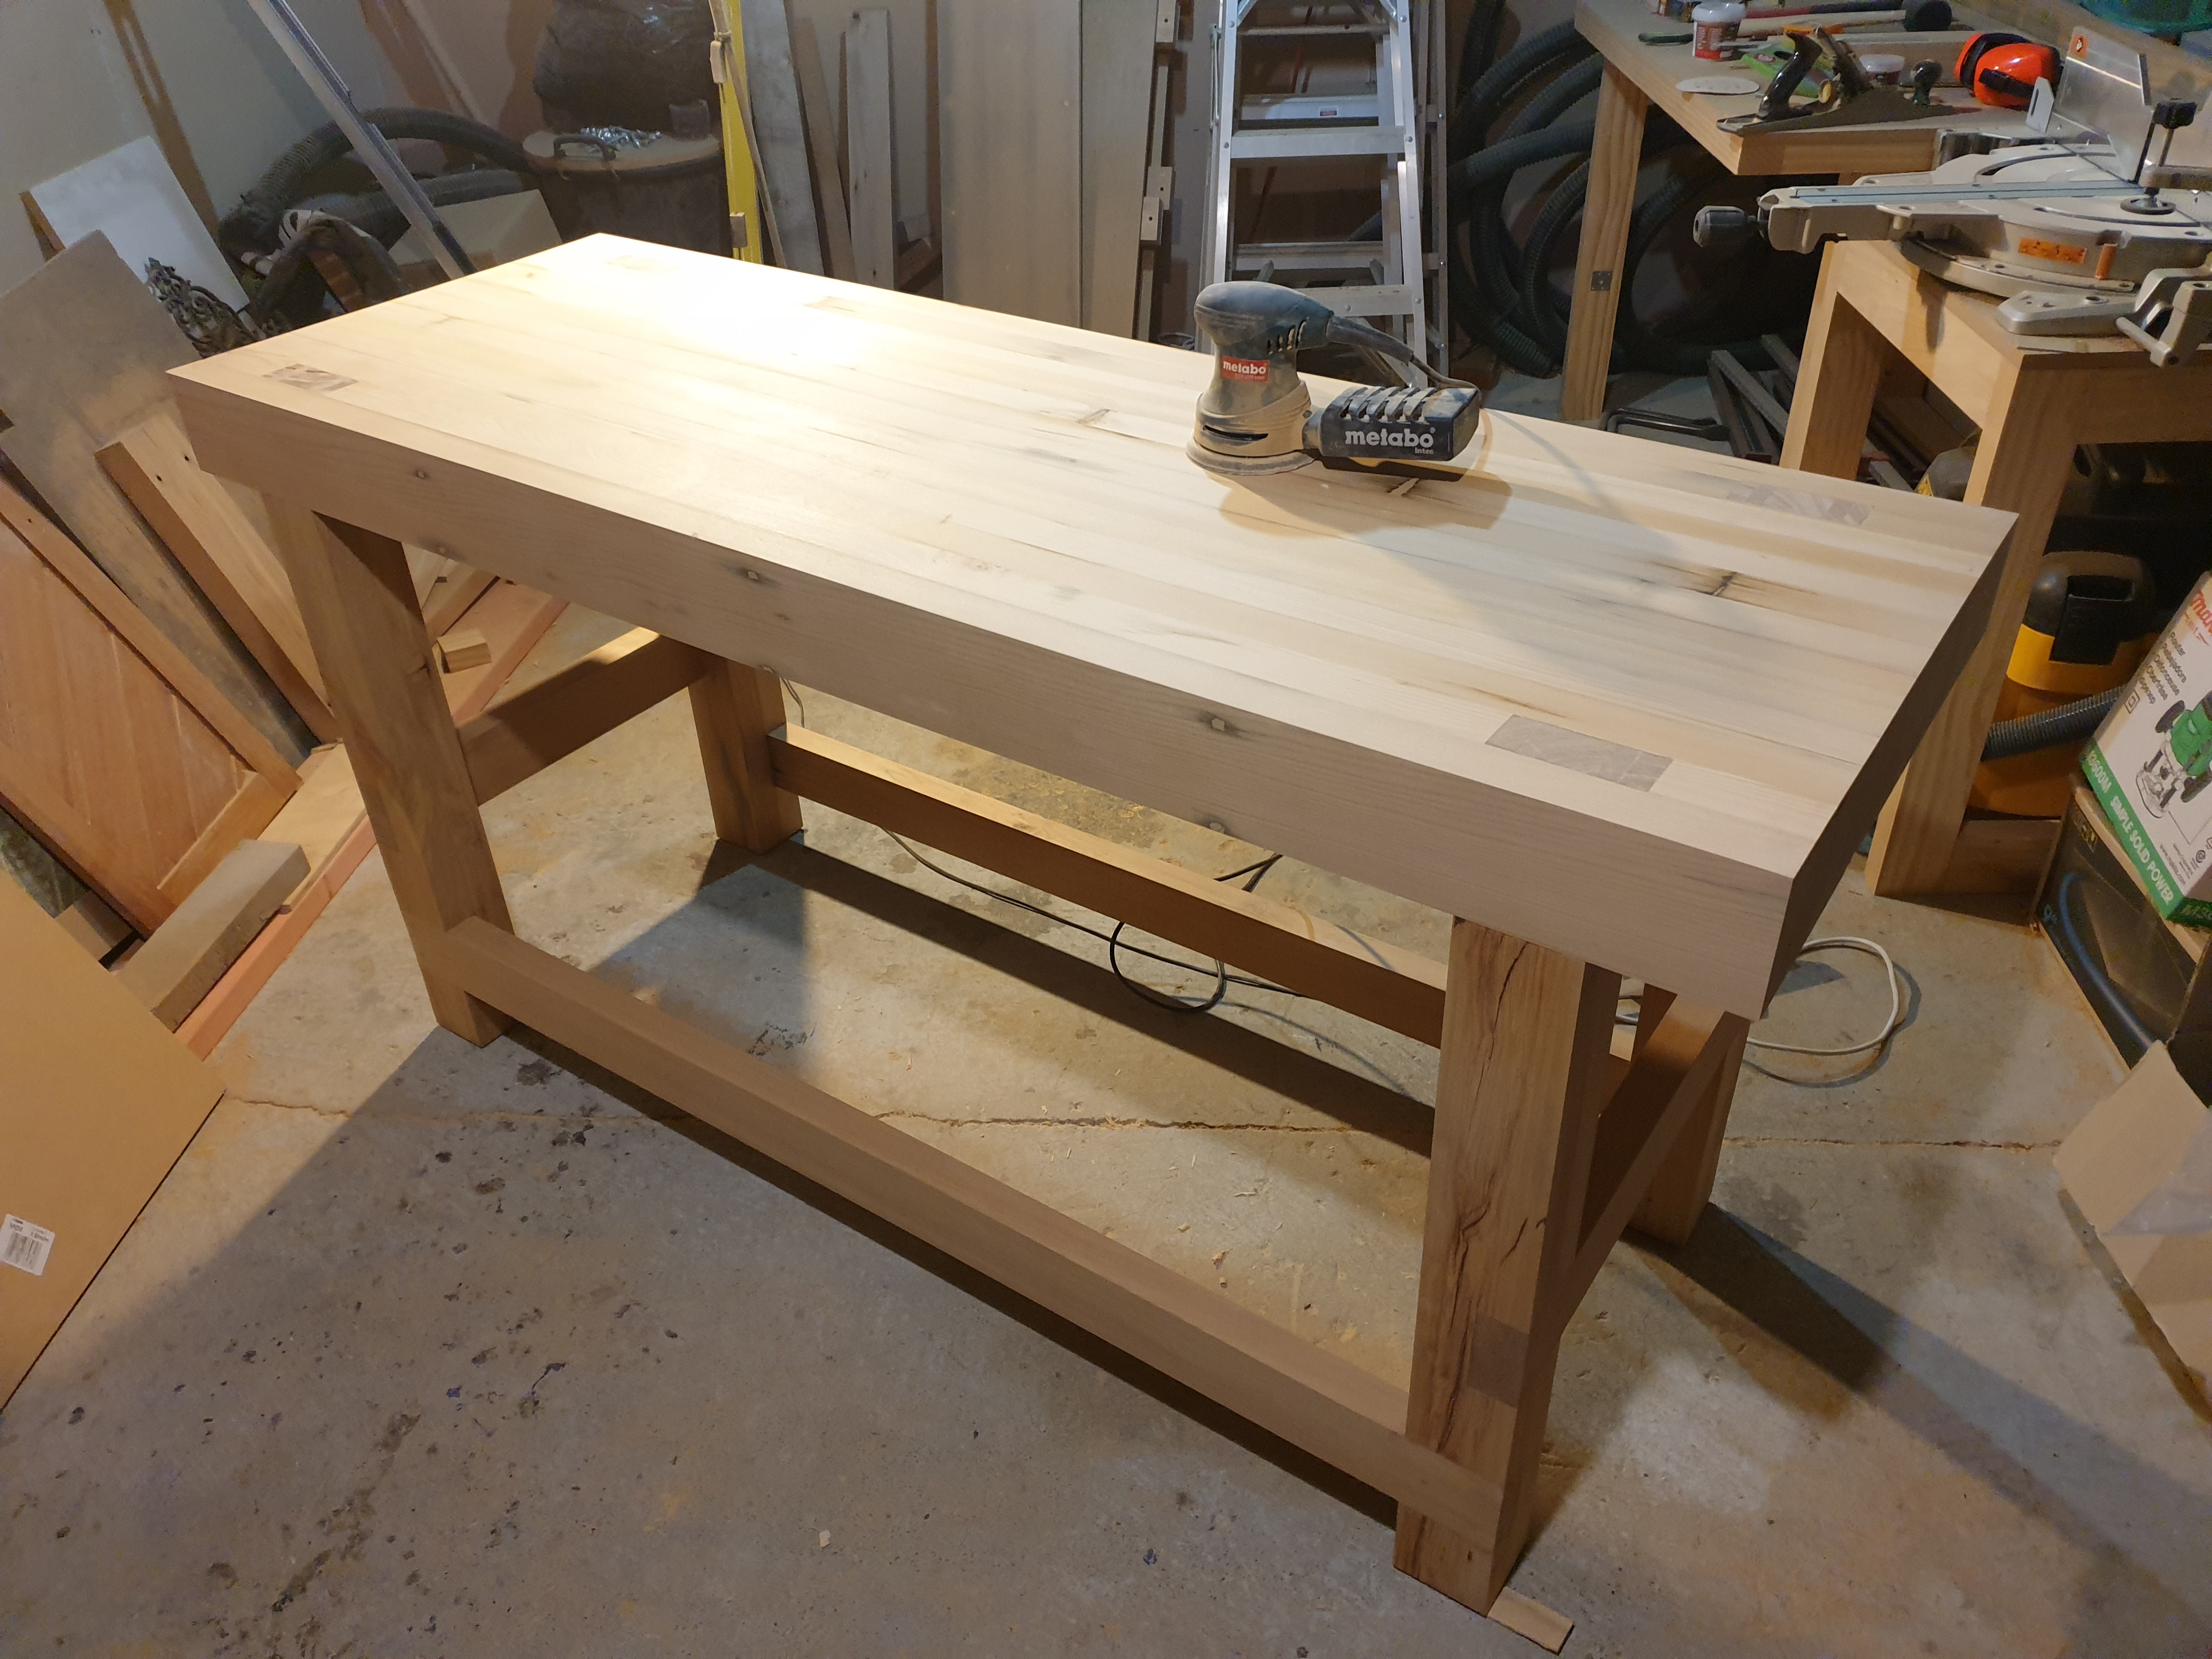
Sanding the Assembled Workbench
I next proceeded with sanding the entire workbench (benchtop, legs and stretchers) with my orbital sander. I could probably have left out sanding the benchtop at this stage, since I still had to square the benchtop with my jack plane (discussed in the next post). This is a very rewarding part of the build, since you finally get to see all your hard work come together.
That concludes this part of my Simplified Roubo workbench build. For part 5 see Simplified Roubo Workbench Build Part 5 - Flattening the Benchtop and Finishing with Tung Oil