Simplified Roubo Workbench Build Part 6 - Installing Bench Vise and Drilling Workbench Dog Holes
This post is part 6 in my Simplified Roubo Workbench build, covering installing a woodworking bench vise and drilling the workbench dog holes. For part 5 see: Simplified Roubo Workbench Build Part 5 - Flattening the Benchtop and Finishing with Tung Oil
Installing Irwin Woodworking Bench Vise
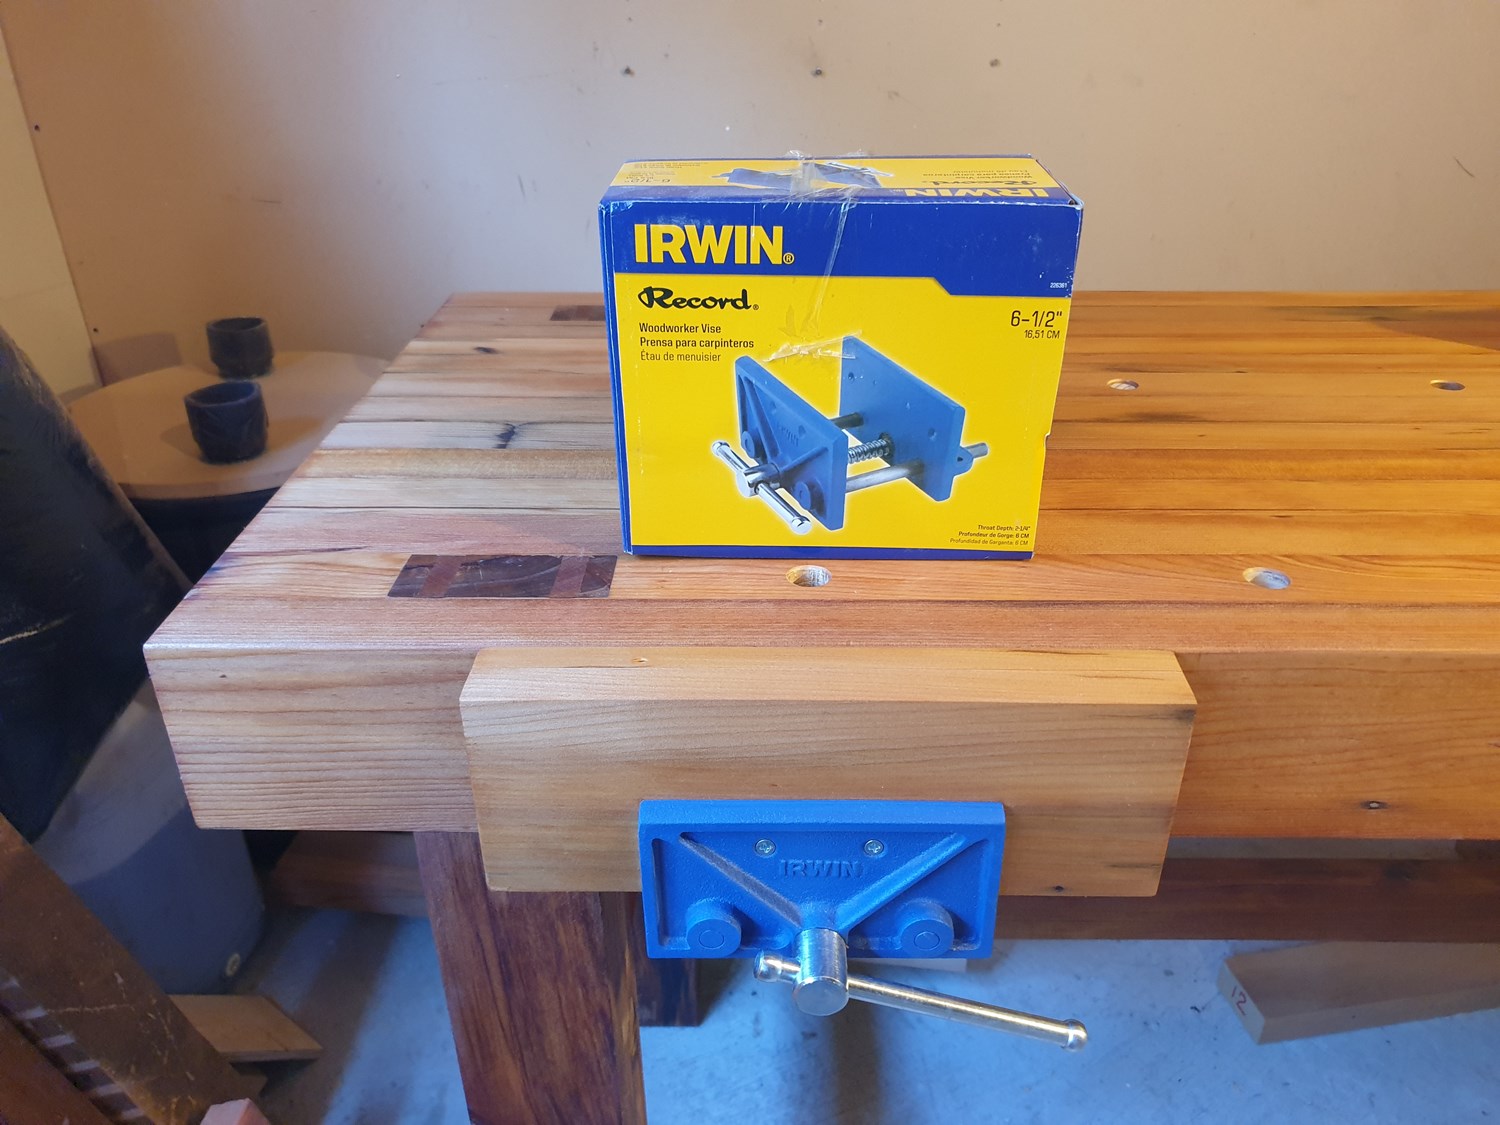
At my local hardware store, Bunnings, the only woodworking bench vise they had was the Irwin Woodworkers vise. Initially I thought it was going to be too small, but from a quick google search I saw some photos where people had installed decent sized wooden cheeks on this vise. Other reviews suggested the quality was decent and this vise was good value for money, so I went ahead with the purchase.
Once I had the vise home and unboxed, I started with measuring up some wood for the wooden cheeks. The dimensions I chose for the wooden cheeks were 315x110x24mm (12.4x4.3x0.9") for the outer cheek and 315x110x17mm (12.4x4.3x0.66") for the inner cheek. The objective was to provide suitable strength without limiting the clamping depth of the vise too much. The depth of the inner cheek only needed to be deep enough to cover the inner metal cheek of the bench vise. I went for a slightly non-standard installation of this vise where I routed a section out of the inner cheek to allow it to install flush with the benchtop. Other installations of this vise that I've seen had a gap between the inner check and benchtop.
The timber I used for the bench vise cheeks was Kauri, the same as the bench top. After locating an offcut that would cover the dimensions I needed, I ripped it down into two cheeks slightly above the required depth. Next, I fed each cheek through my thicknesser (planer) until they were at the required depth.

The splits on the inner cheek were present in the reclaimed timber before I started. This was the best section of the Kauri I had left so had to make do with it. I glued up the split and made sure the split was on the inner side of the inner cheek facing the workbench where it would be fully supported.
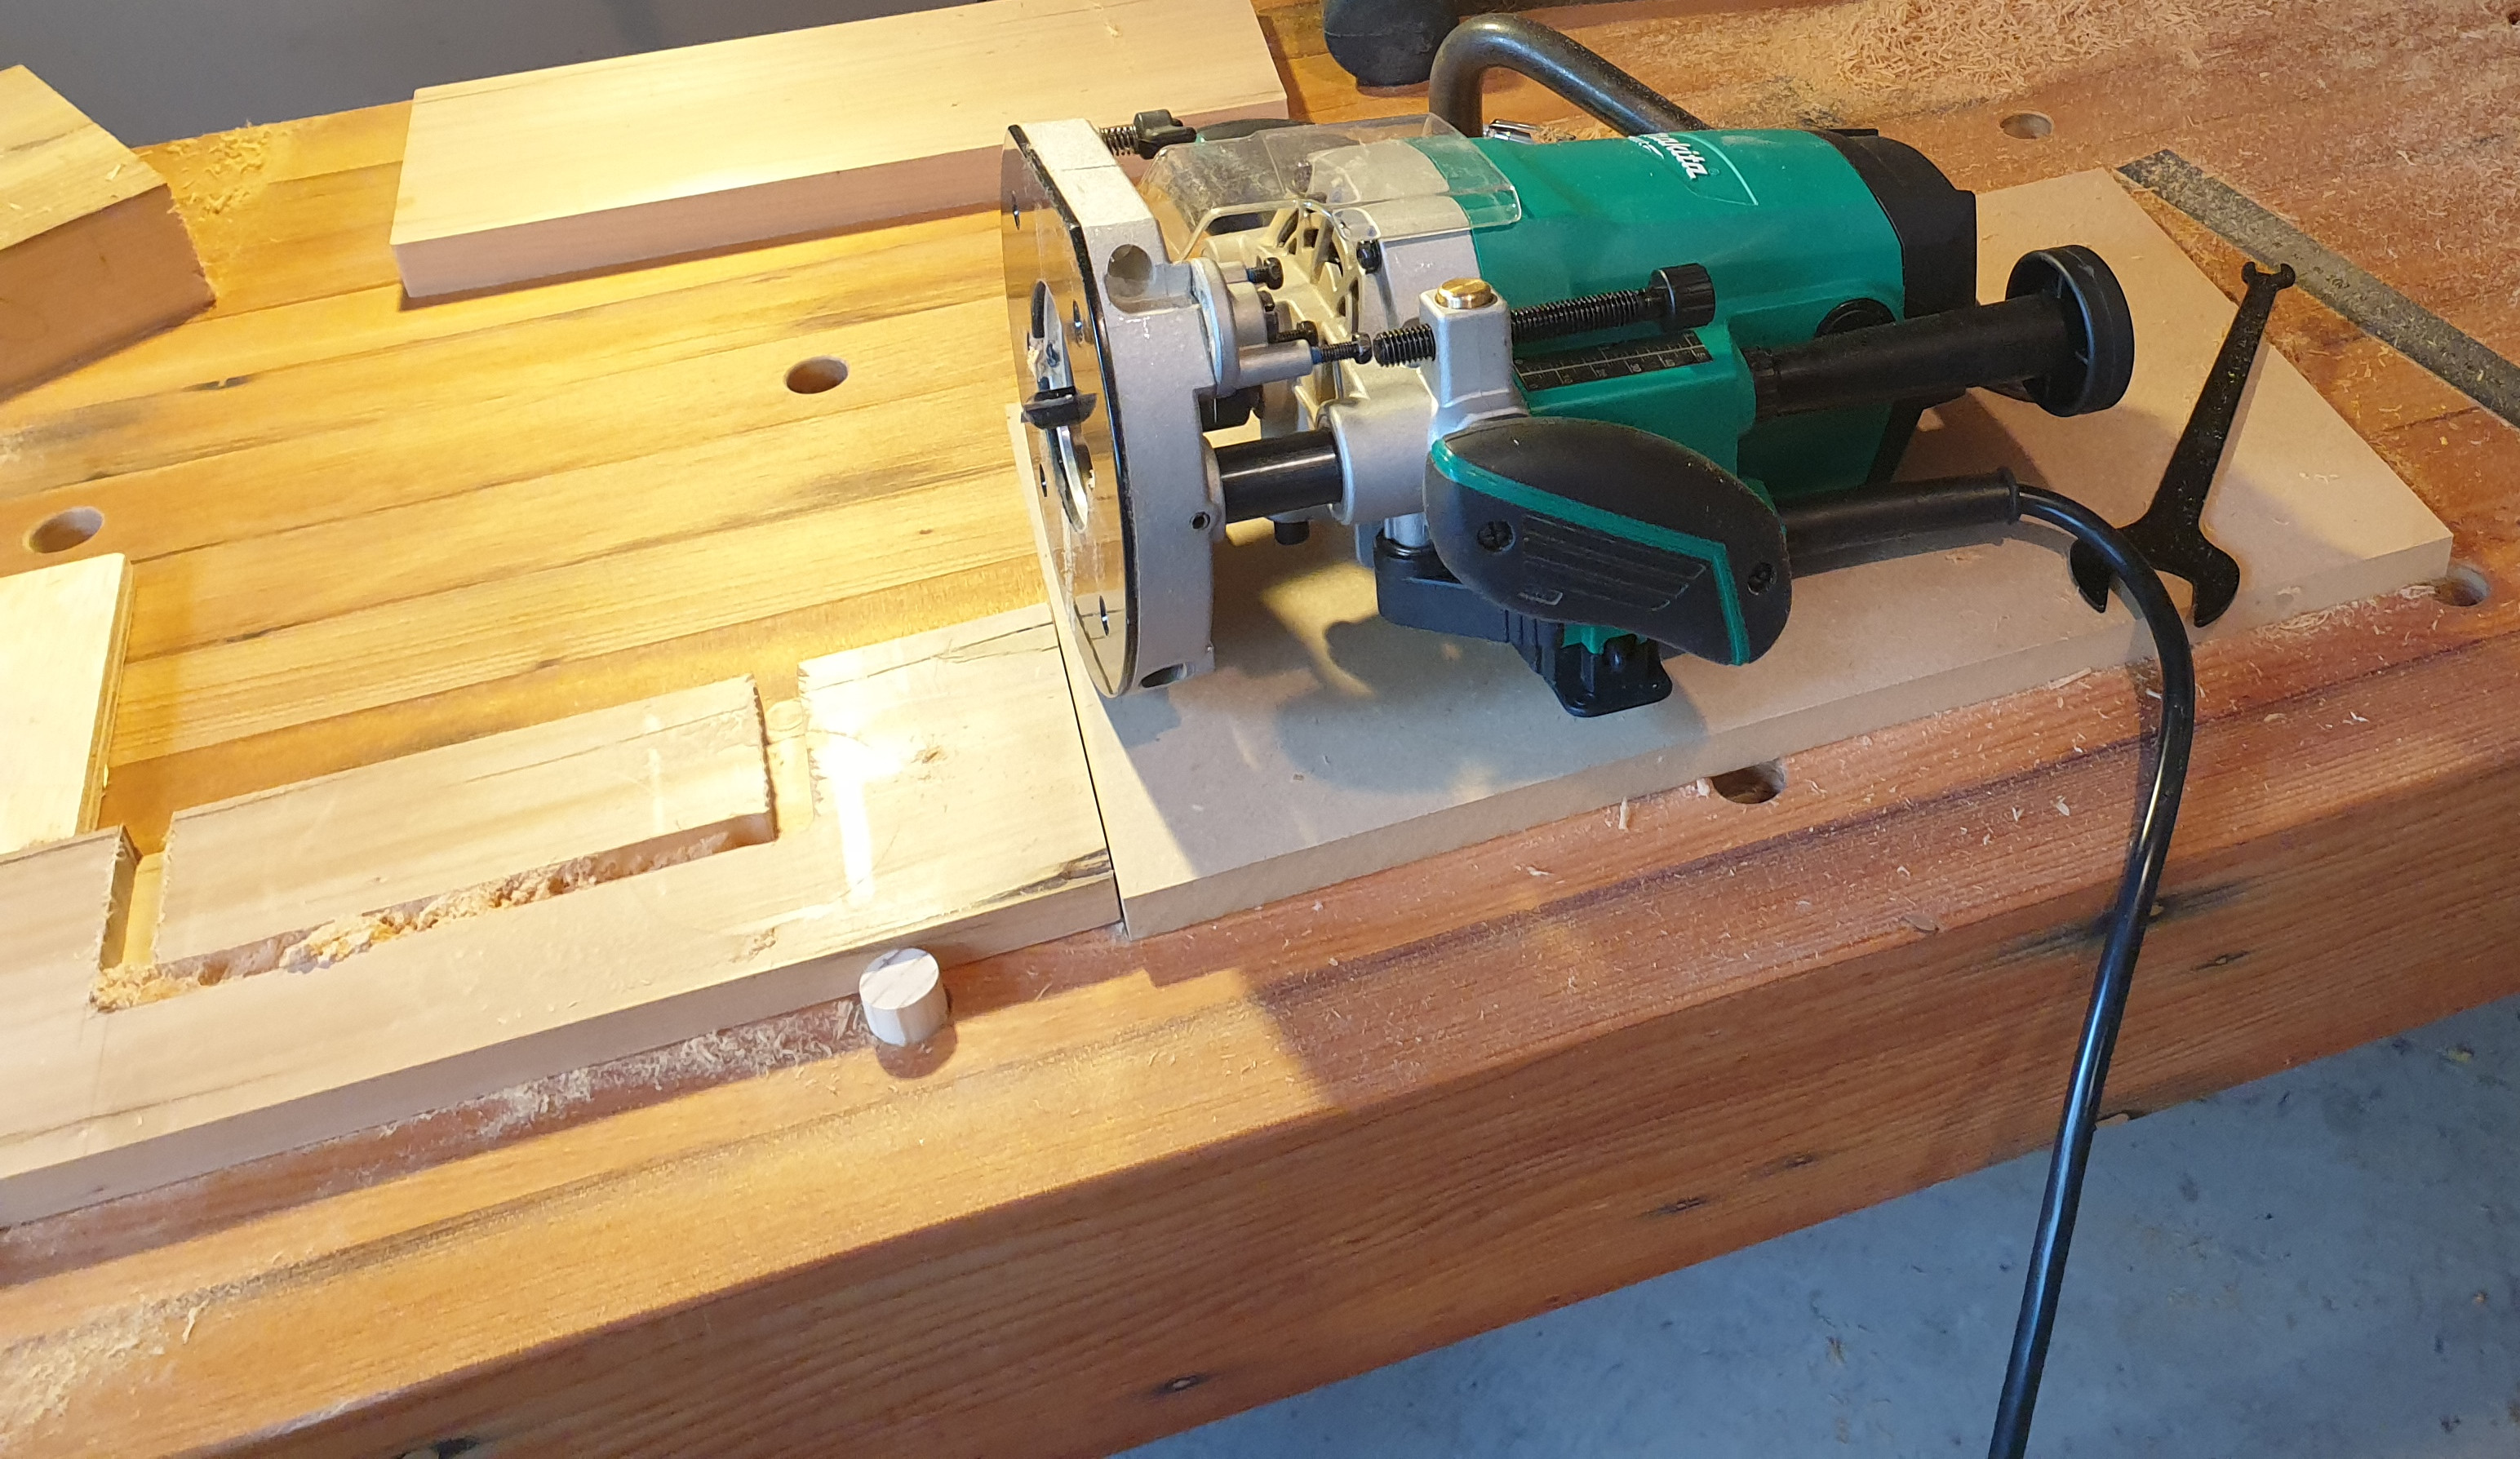
Next, I measured the dimensions of the inner metal check and marked a matching section on the inner cheek ready for routing. I set my Makita router depth to match the depth of the inner metal cheek then proceeded with routing out a section for the inner check.
Once I had completed the routing on the inner check, I screwed the bench vise into place on the bench top. There were screws both underneath the vise and on the inner metal cheek. Due to my non-standard installation of this vise, I did not used the inner two screws, since they required screwing from the inner side of the metal check into the inner wooden cheek. They are not required with my installation, since I screwed my inner wooden cheek into my benchtop.
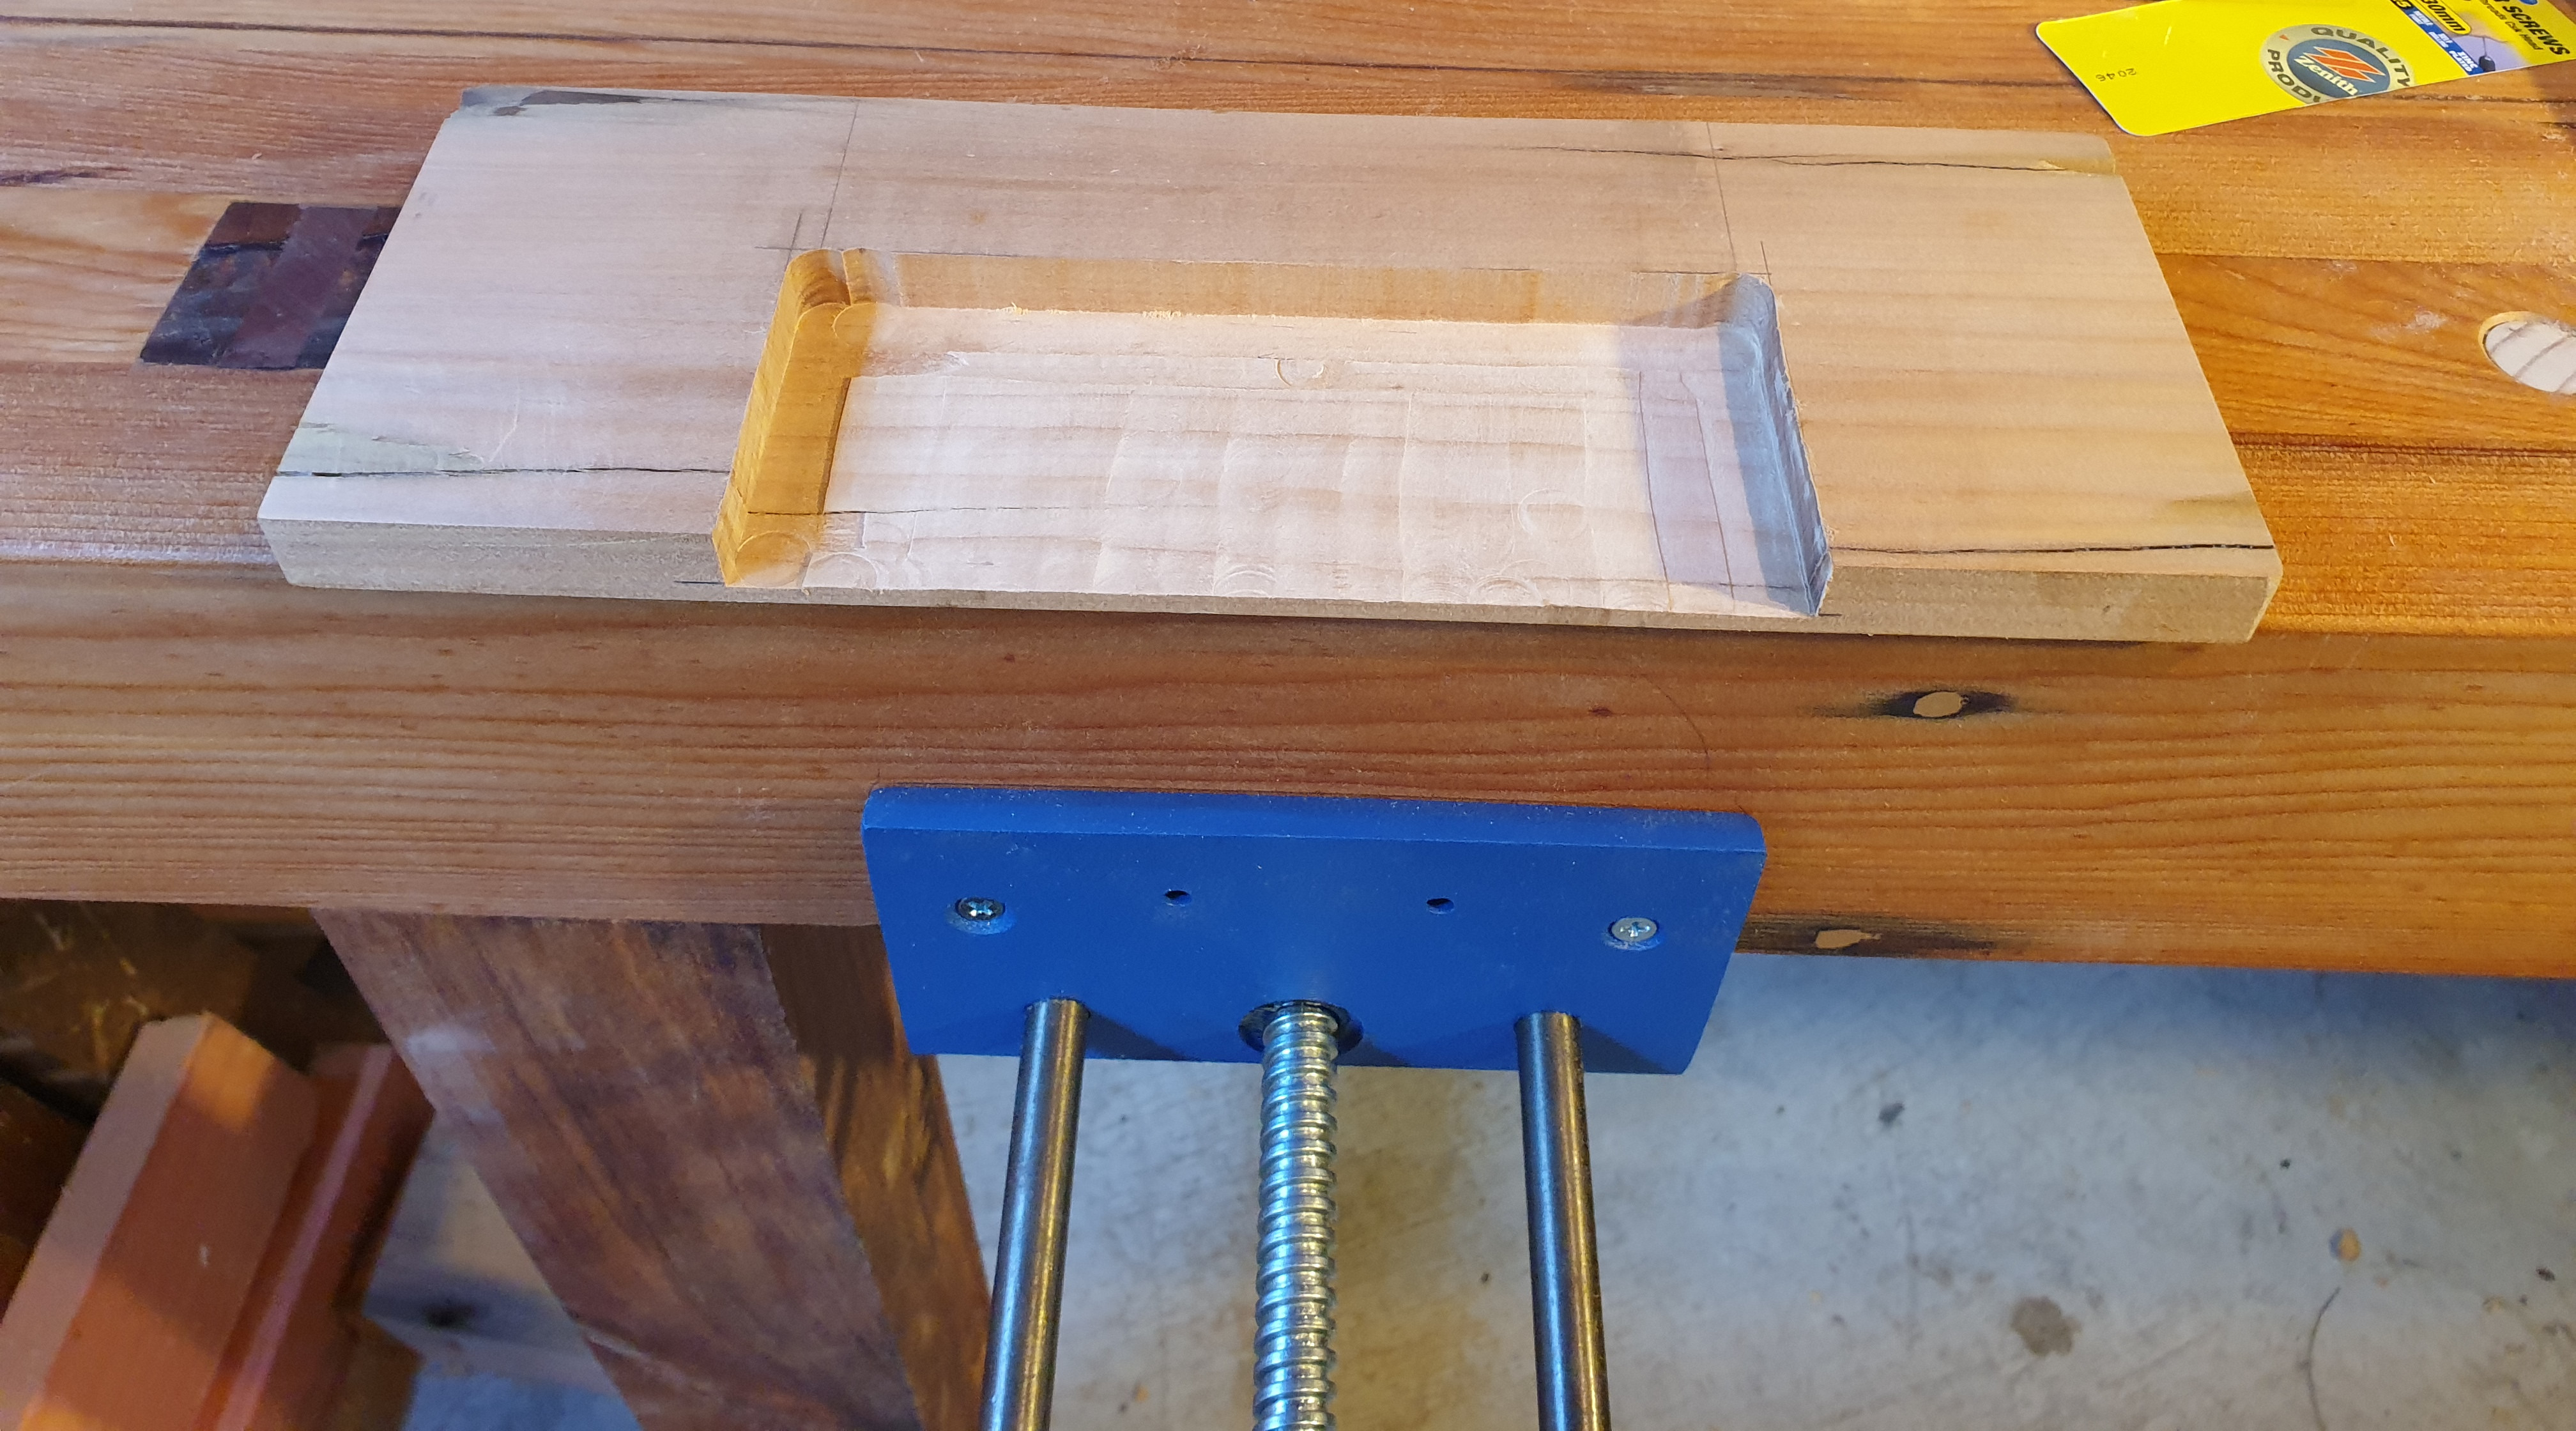
The following image shows the inner check with the routed section ready to fit over the inner metal cheek of the bench vise.
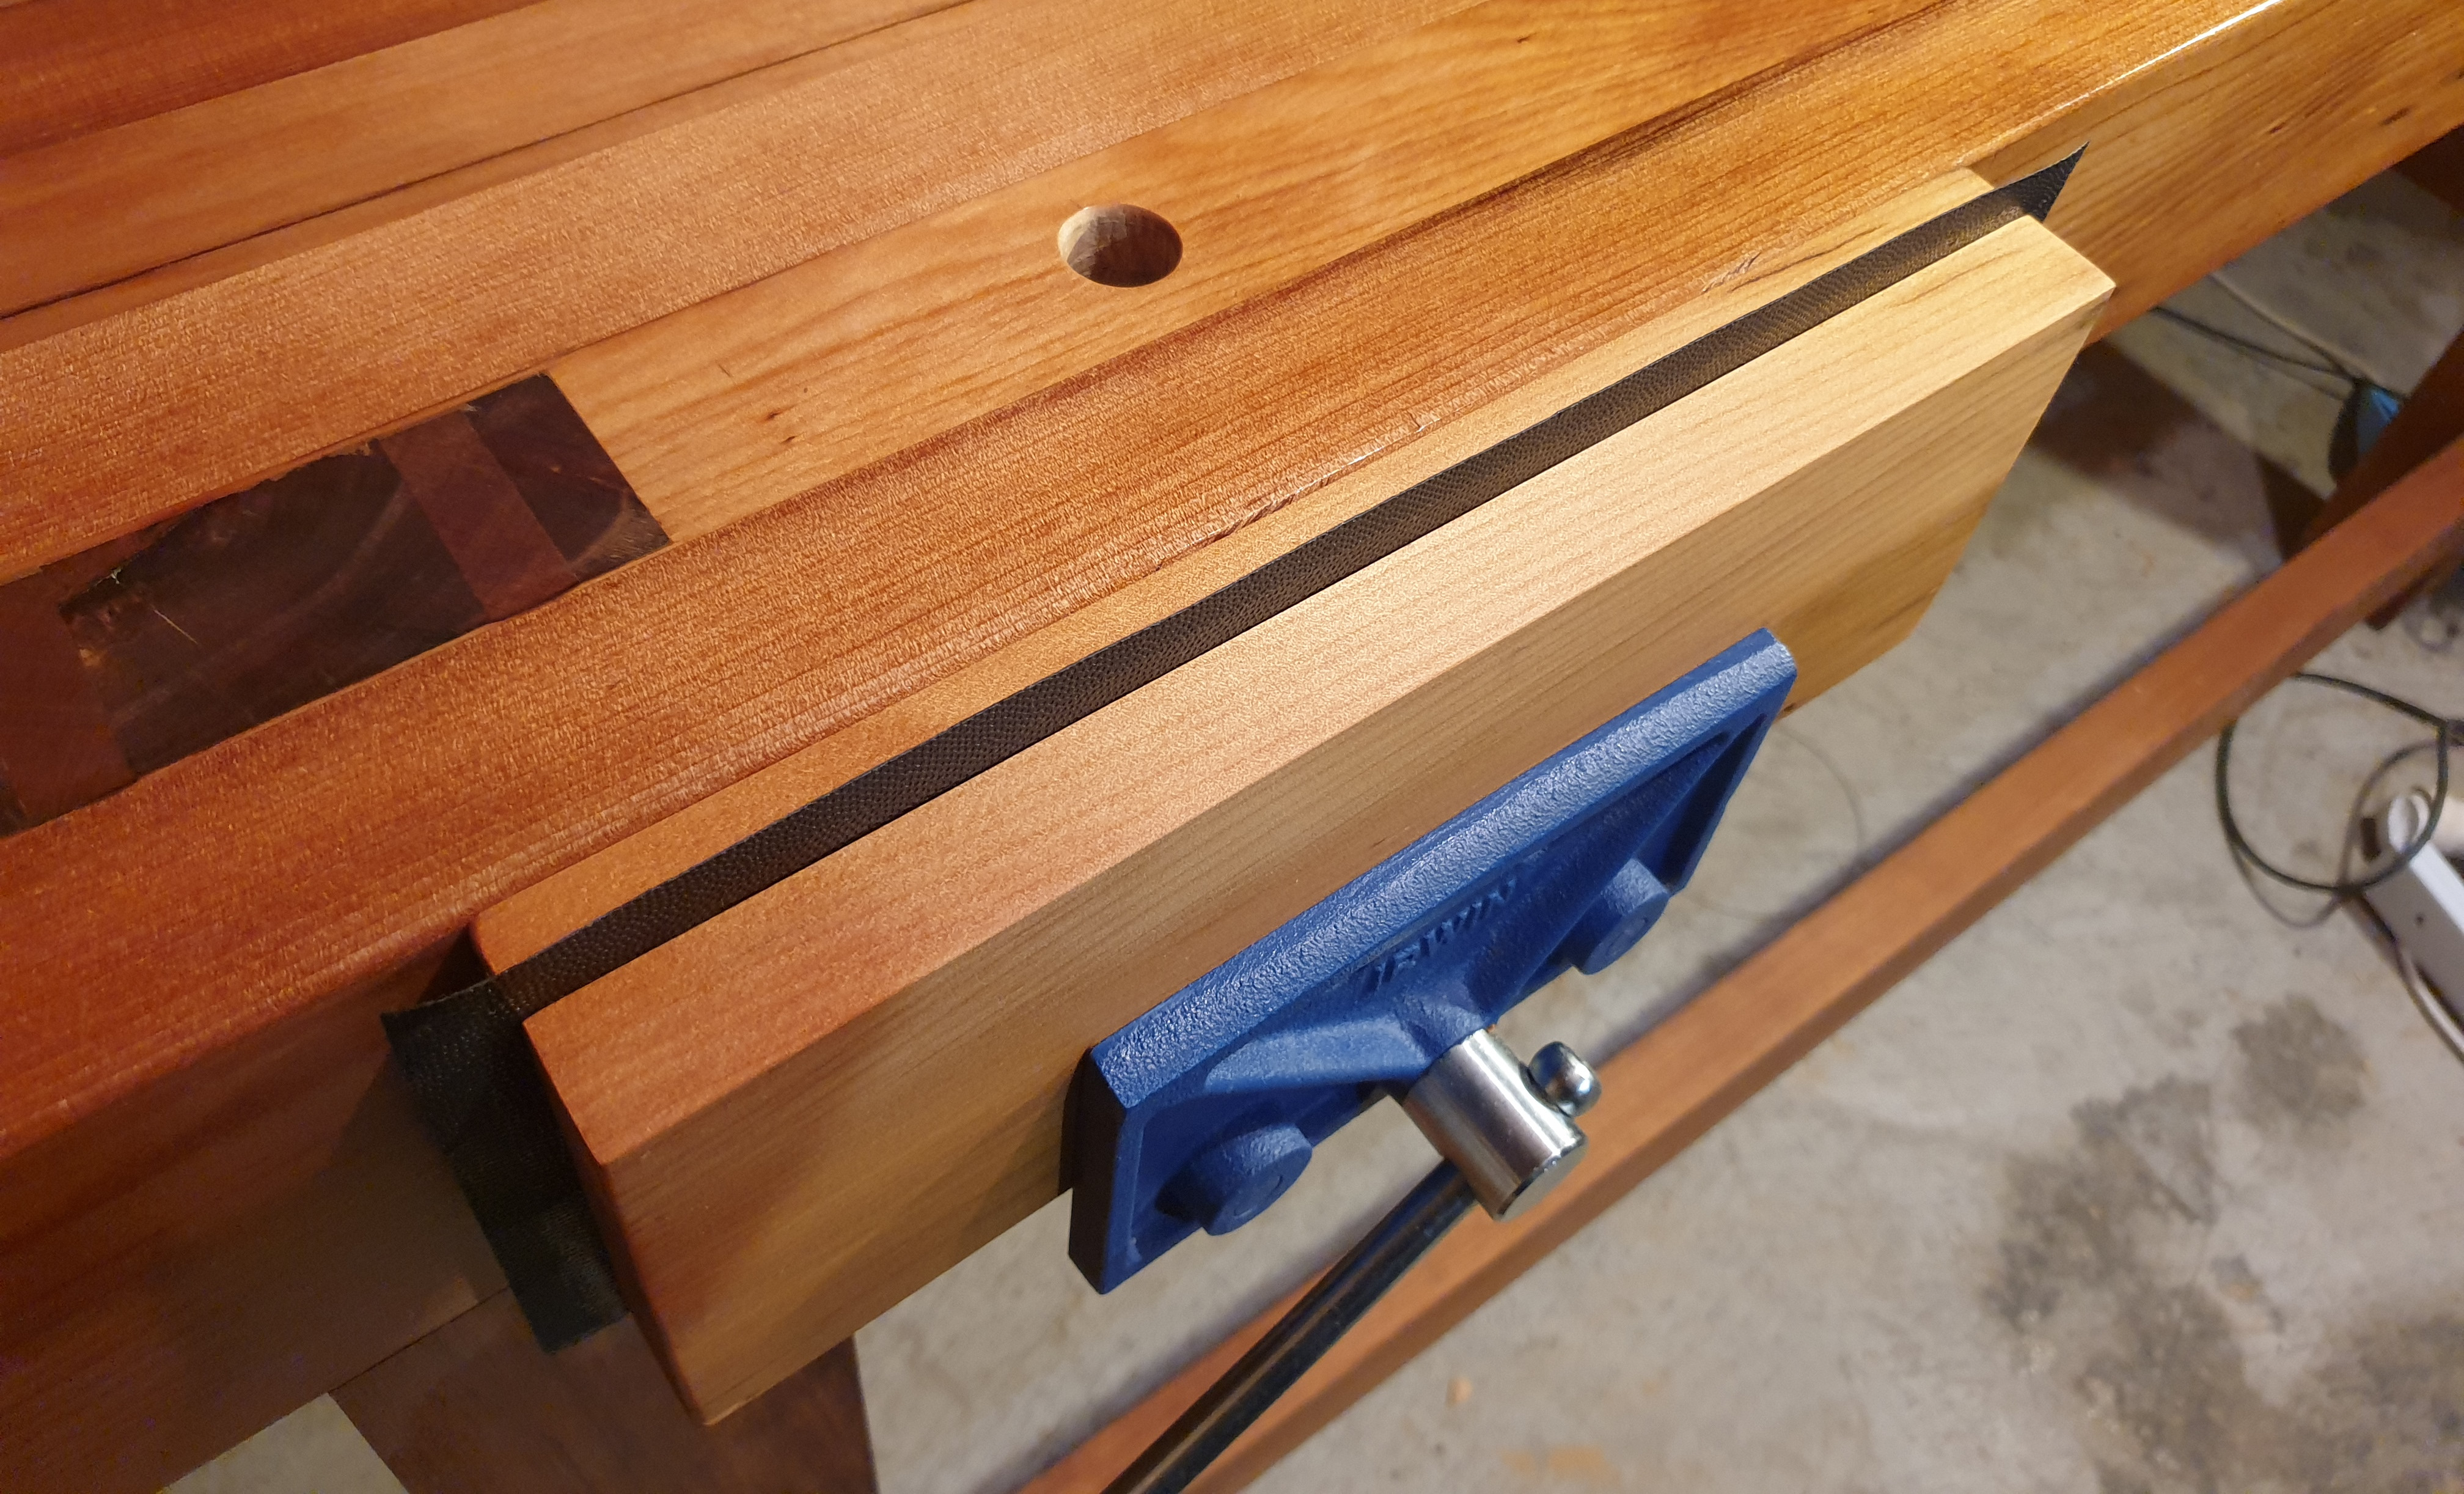
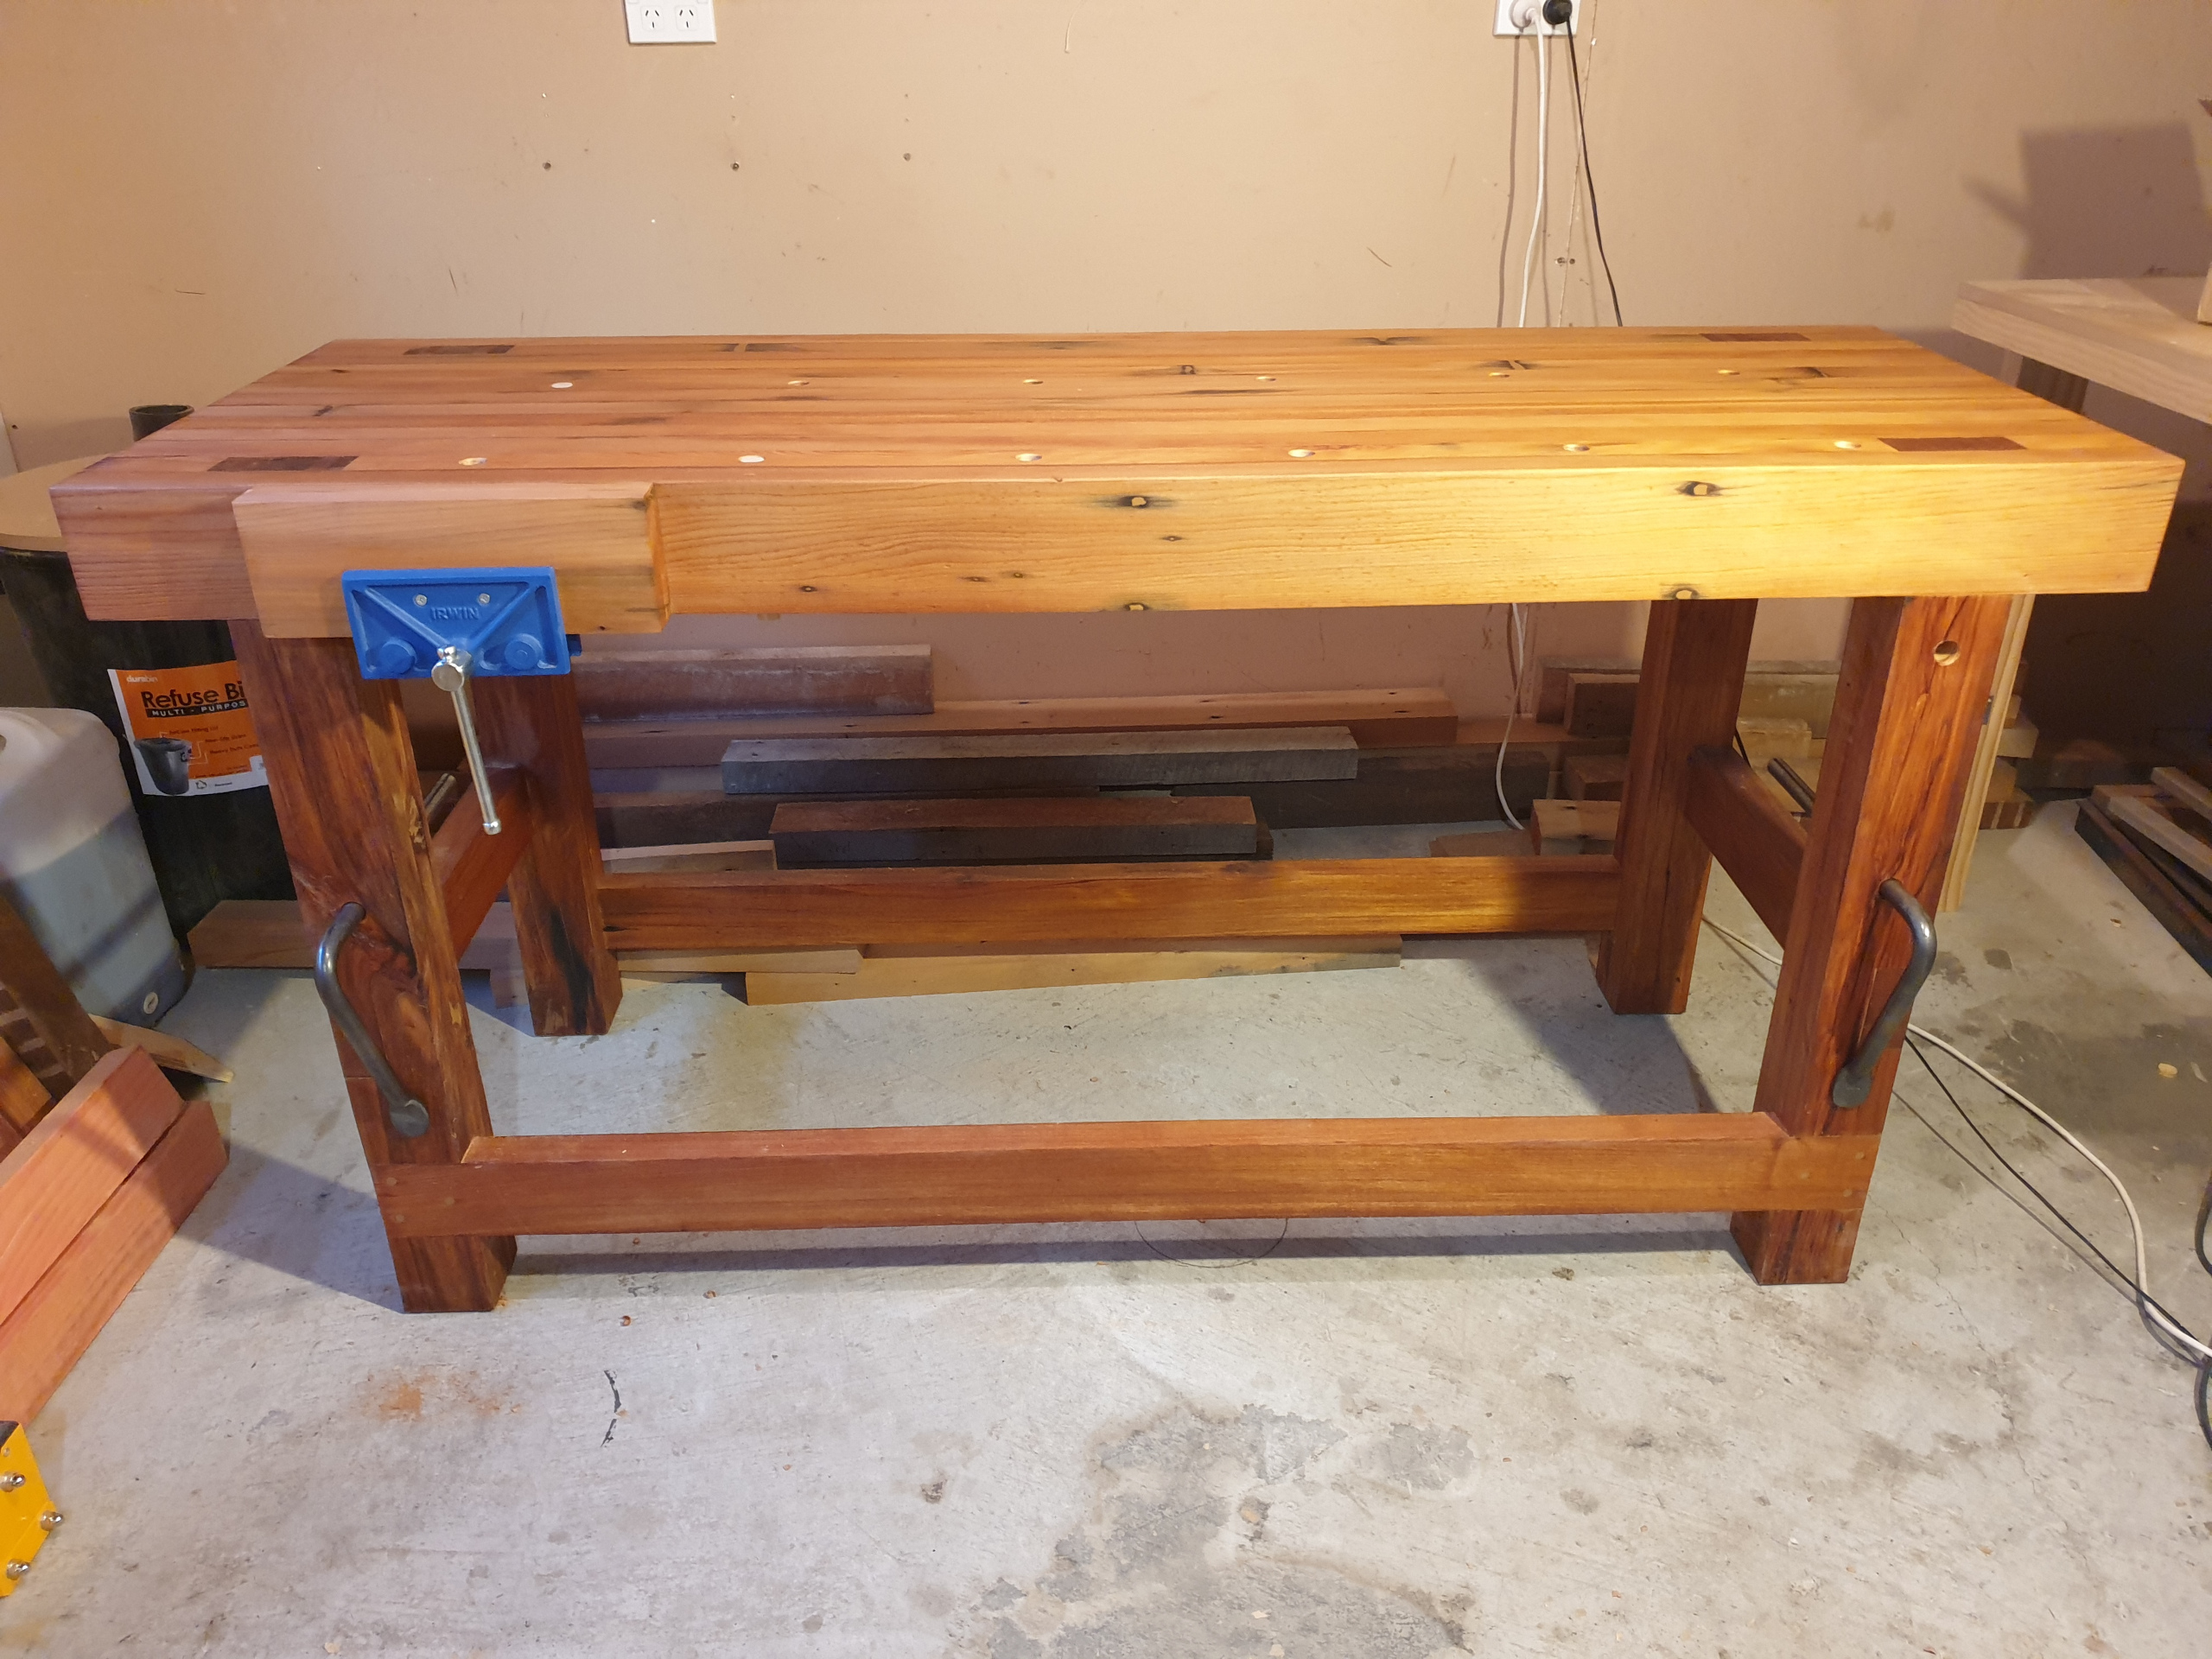
Once the inner wooden cheek was screwed into the bench top, I inserted the outer wooden cheek in the vise and screwed it closed, making sure the two cheeks were aligned. Next, I screwed the outer wooden cheek into the outer metal check. The photo below shows the fully assembled bench vise and the position of most of the screws in the wooden cheeks. The inner check has two additional screws below the outer screws.
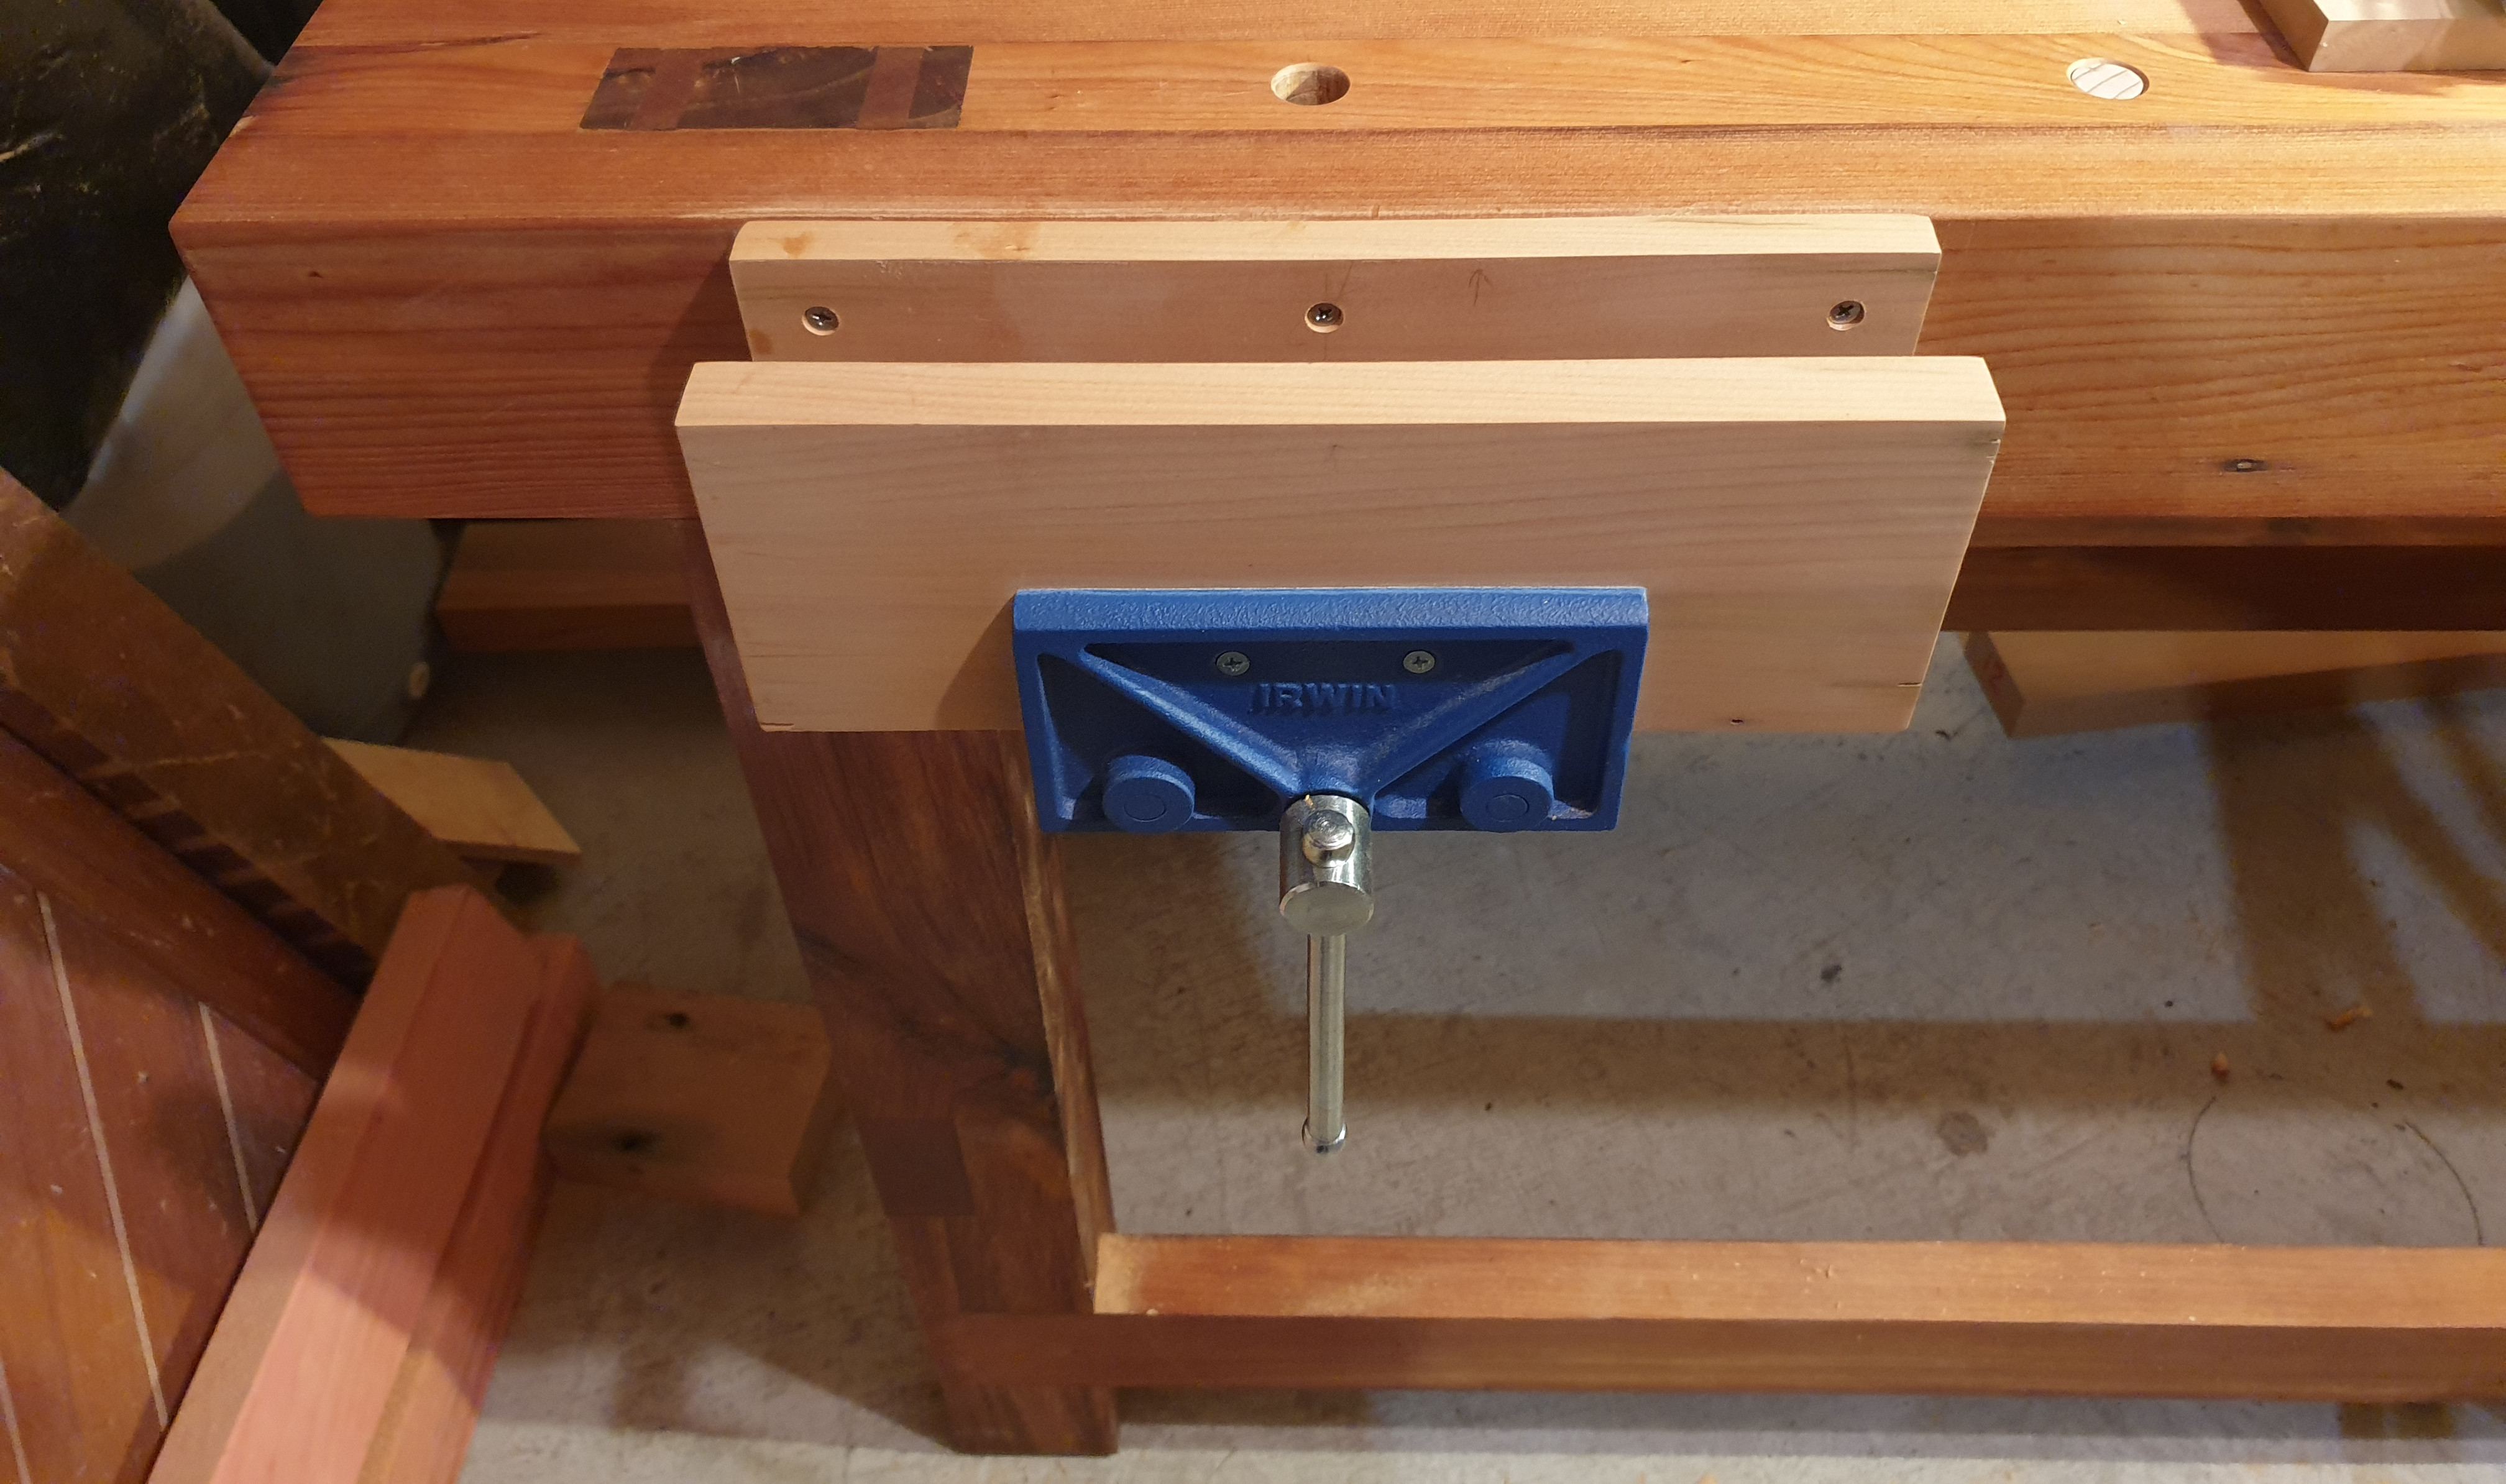
To complete the bench vise install, I applied a coat of Tung oil to the outer surfaces of the wooden cheeks. This was partly for cosmetic reasons to make the wooden cheeks blend in with the benchtop. I didn't want Tung oil on the inner checks so made sure the vise was closed when I applied the oil. To help keep oil out of the inner side of the cheeks, I clamped a sheet of plastic between the cheeks before oiling.
Drilling Workbench Dog Holes
Before drilling my dog holes, I purchased two 19mm (3/4") holdfasts. The instructions stated they should be used with 20mm (13/16") dog holes so this is the size I went with. I read in a few places people suggesting that you start with just 1 or 2 dog holes and add more as you need them. Although I can see the logic in that approach, I decided to future proof my workbench and drill two rows of dog holes with as many as I could see myself needing. There is also a bit of setup involved with drilling the dog holes, so I thought it makes sense to get them all drilled while the process was fresh in my mind and I had the tools and jig setup.
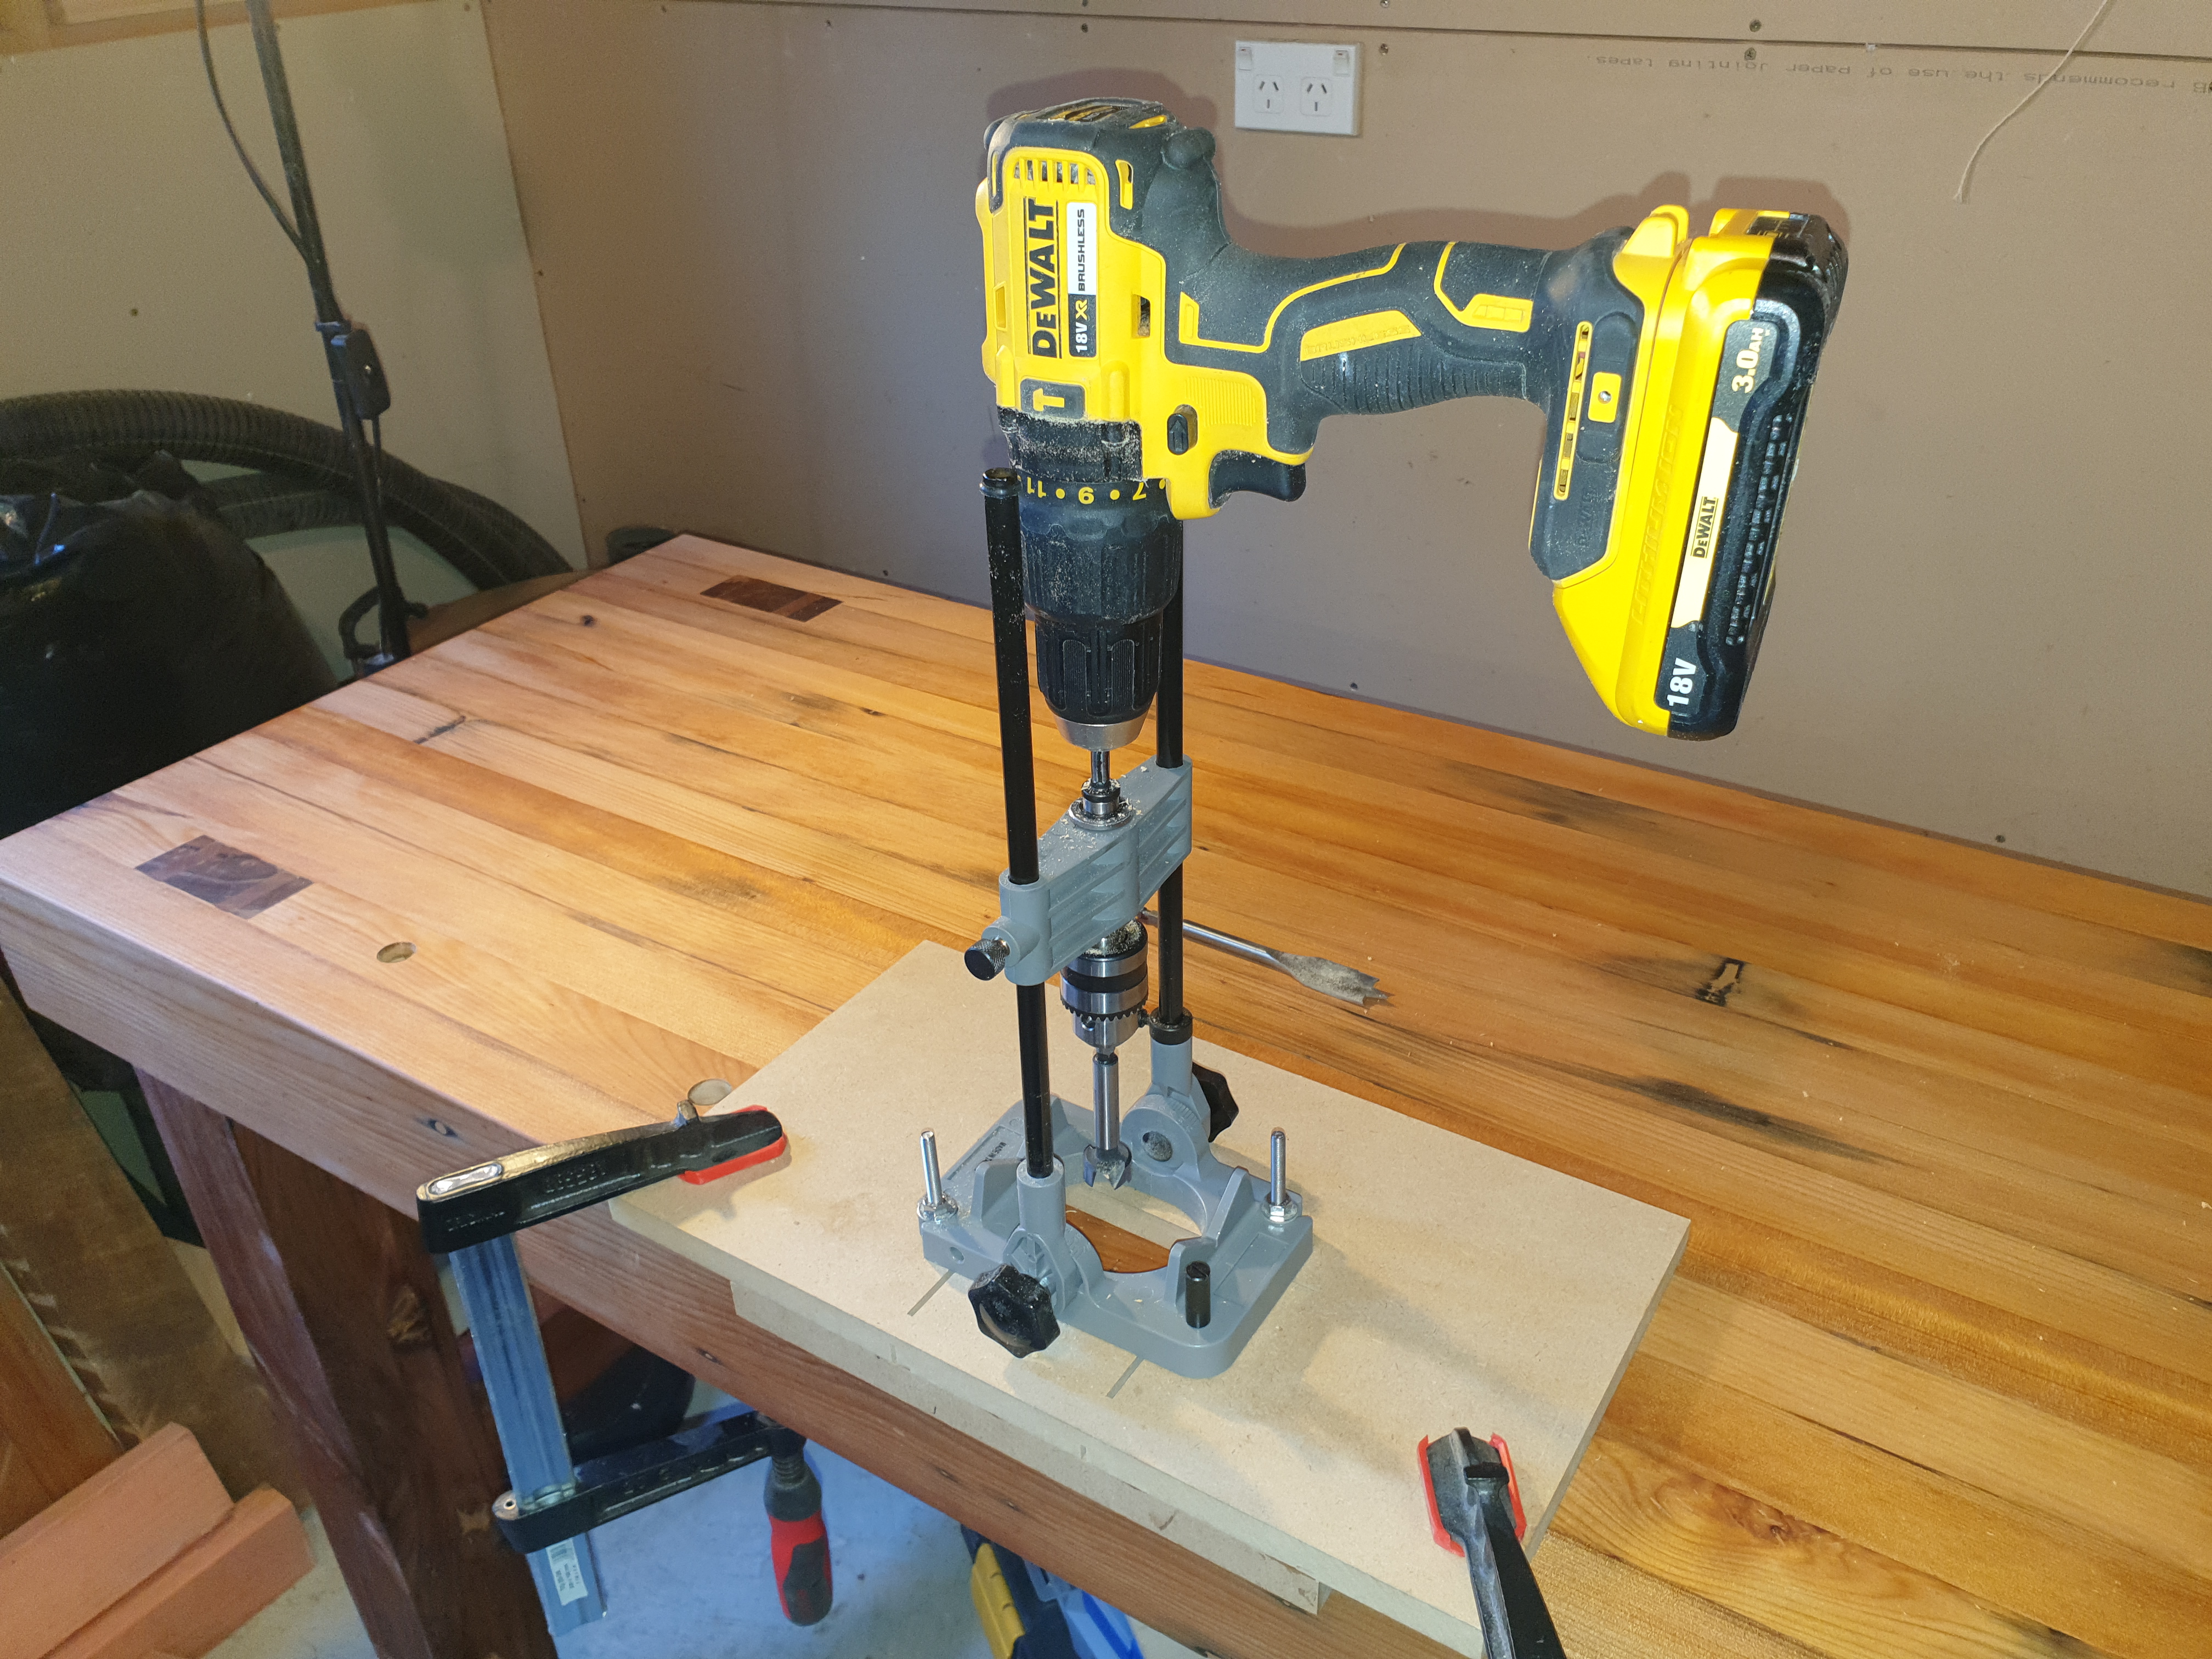
There are a number of different options for drilling dog holes. Some of the options I looked at were plunge router with a spiral up-cut bit, carpenters brace with an auger bit or power drill with a drill guide. I went with the latter option and purchased a portable drill guide. Once the drill guide arrived, I built a simple MDF jig to mount it on with a strip of wood glued to the bottom acting as a bench hook. This ensured each dog hole would be exactly the same distance from the edge of the workbench.
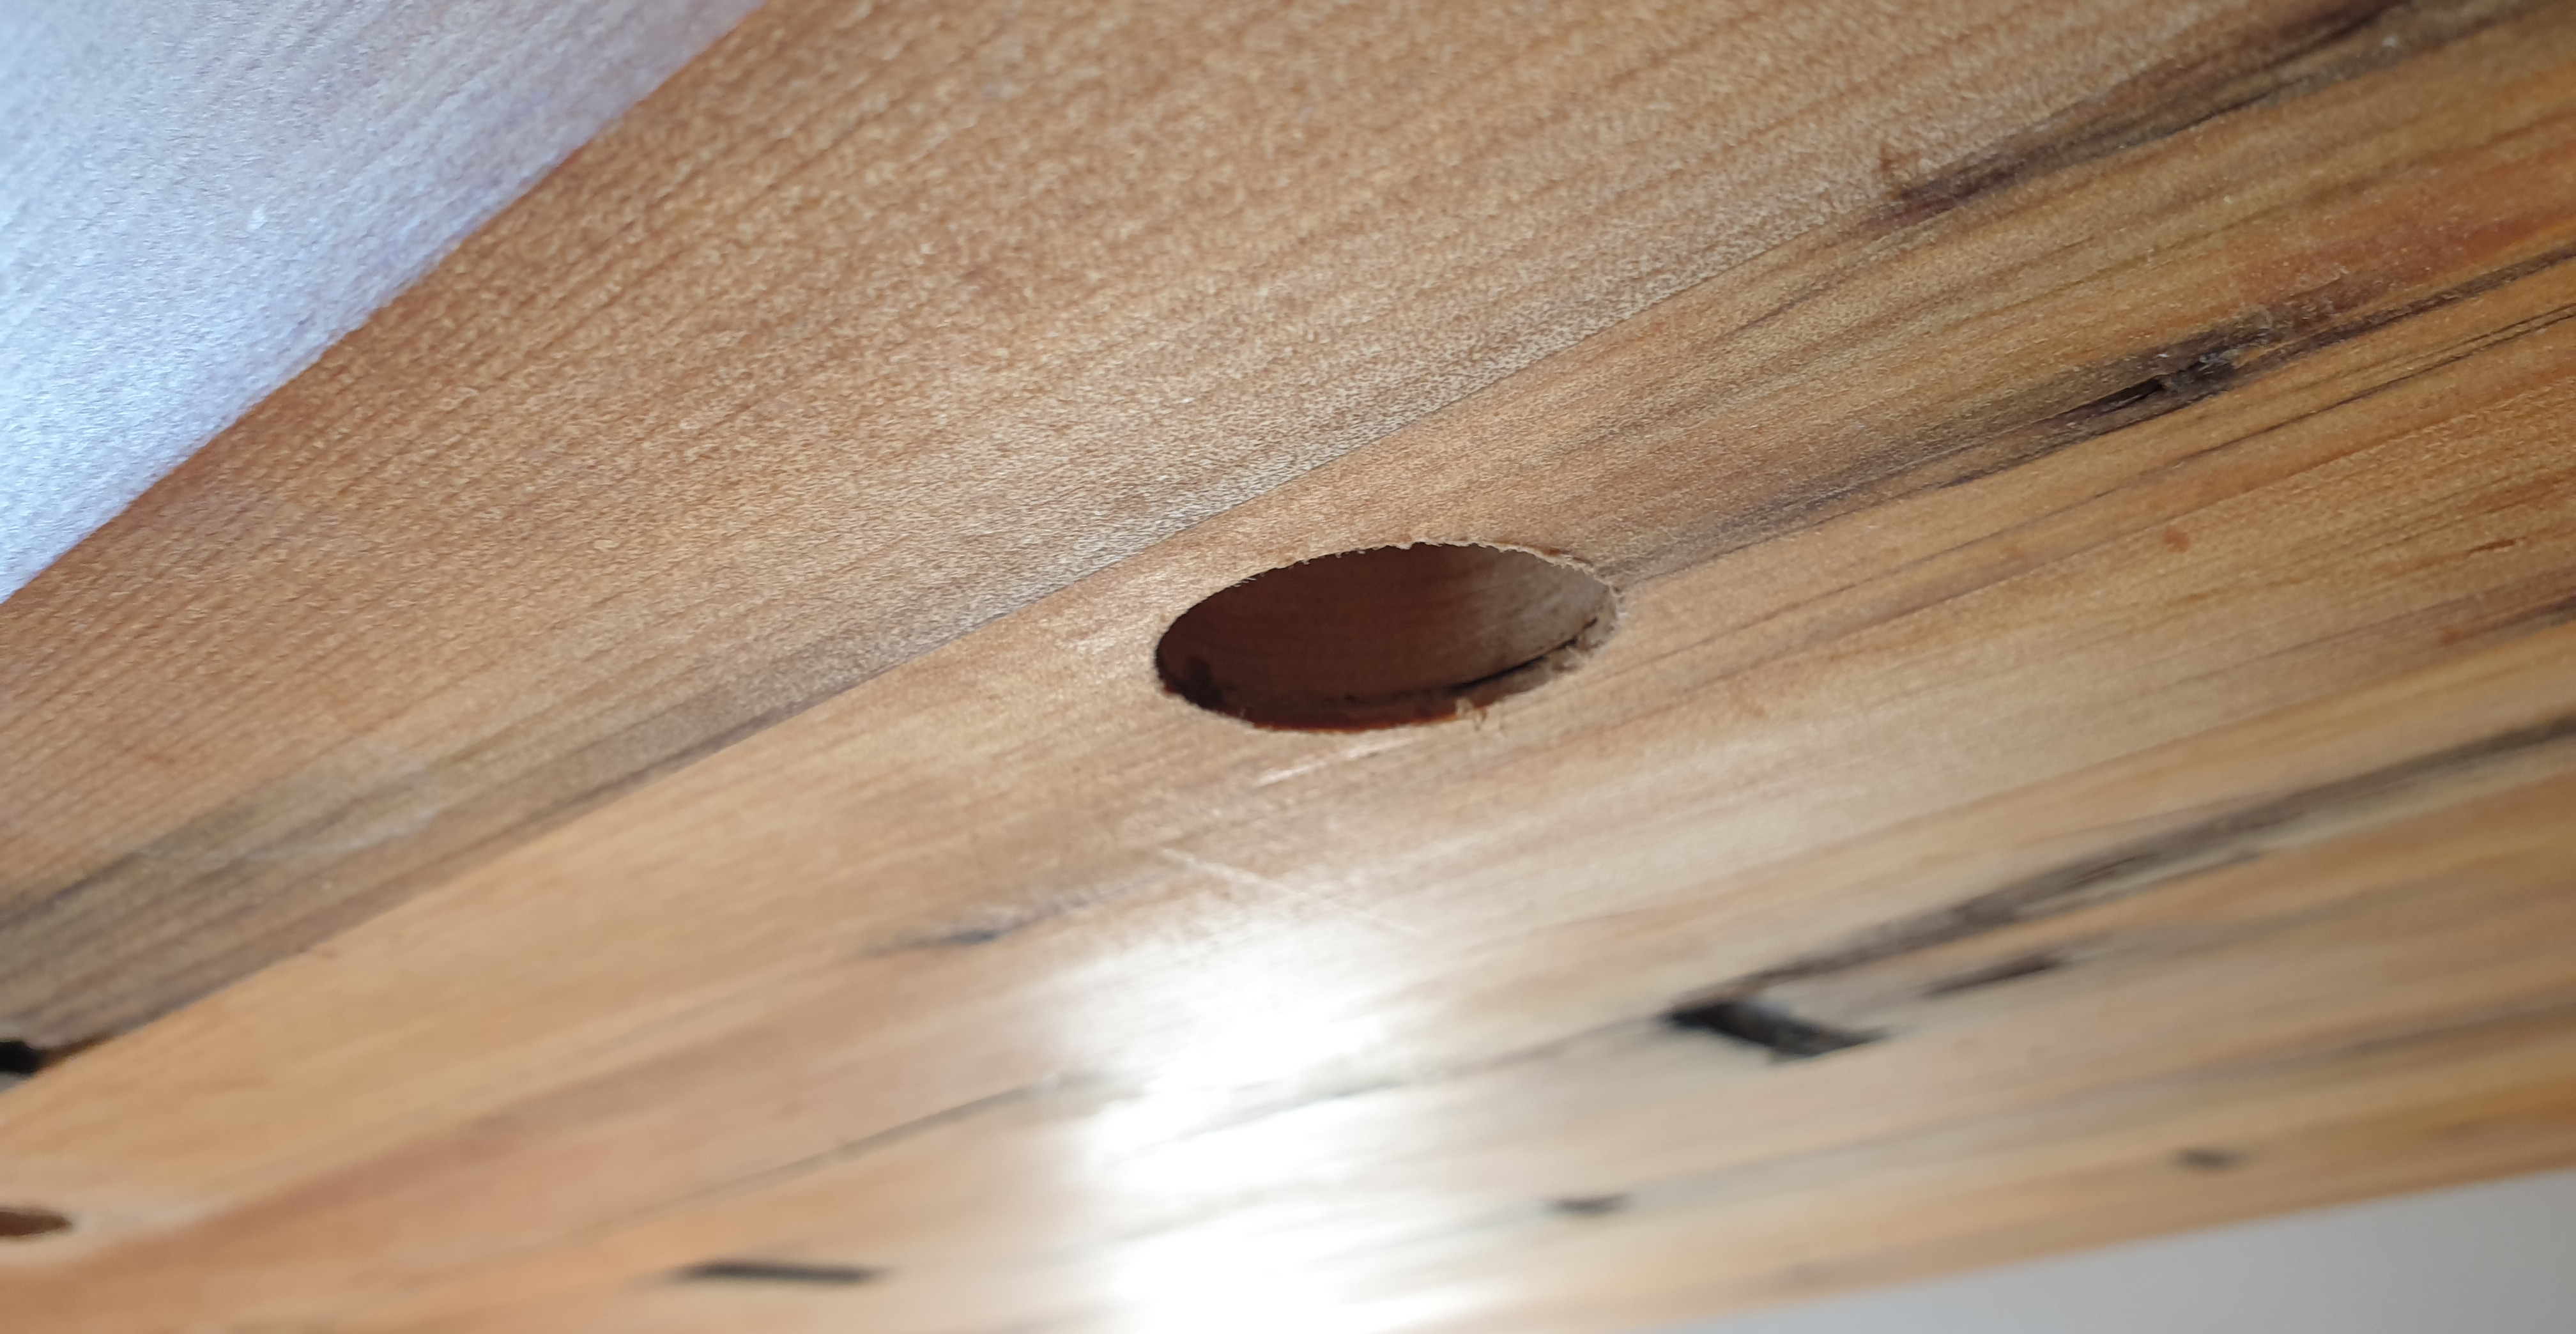
For the drill bits I used both a 20mm Forster bit and 20mm spade bit. I started with the Forstner bit and drilled down as far as I could go with my drill guide. This ensured the start of the dog hole was very precise and square to the workbench (Forstner bits create a more precise hole than spade bits). I then changed over to the spade bit which allowed me to drill further down due to the longer shank. I was careful to only drill down until the point of the spade bit just came through the bottom of the workbench. This ensured the wood at the bottom of the hole would not split or splinter as it probably would if the drill bit was pushed all the way through.
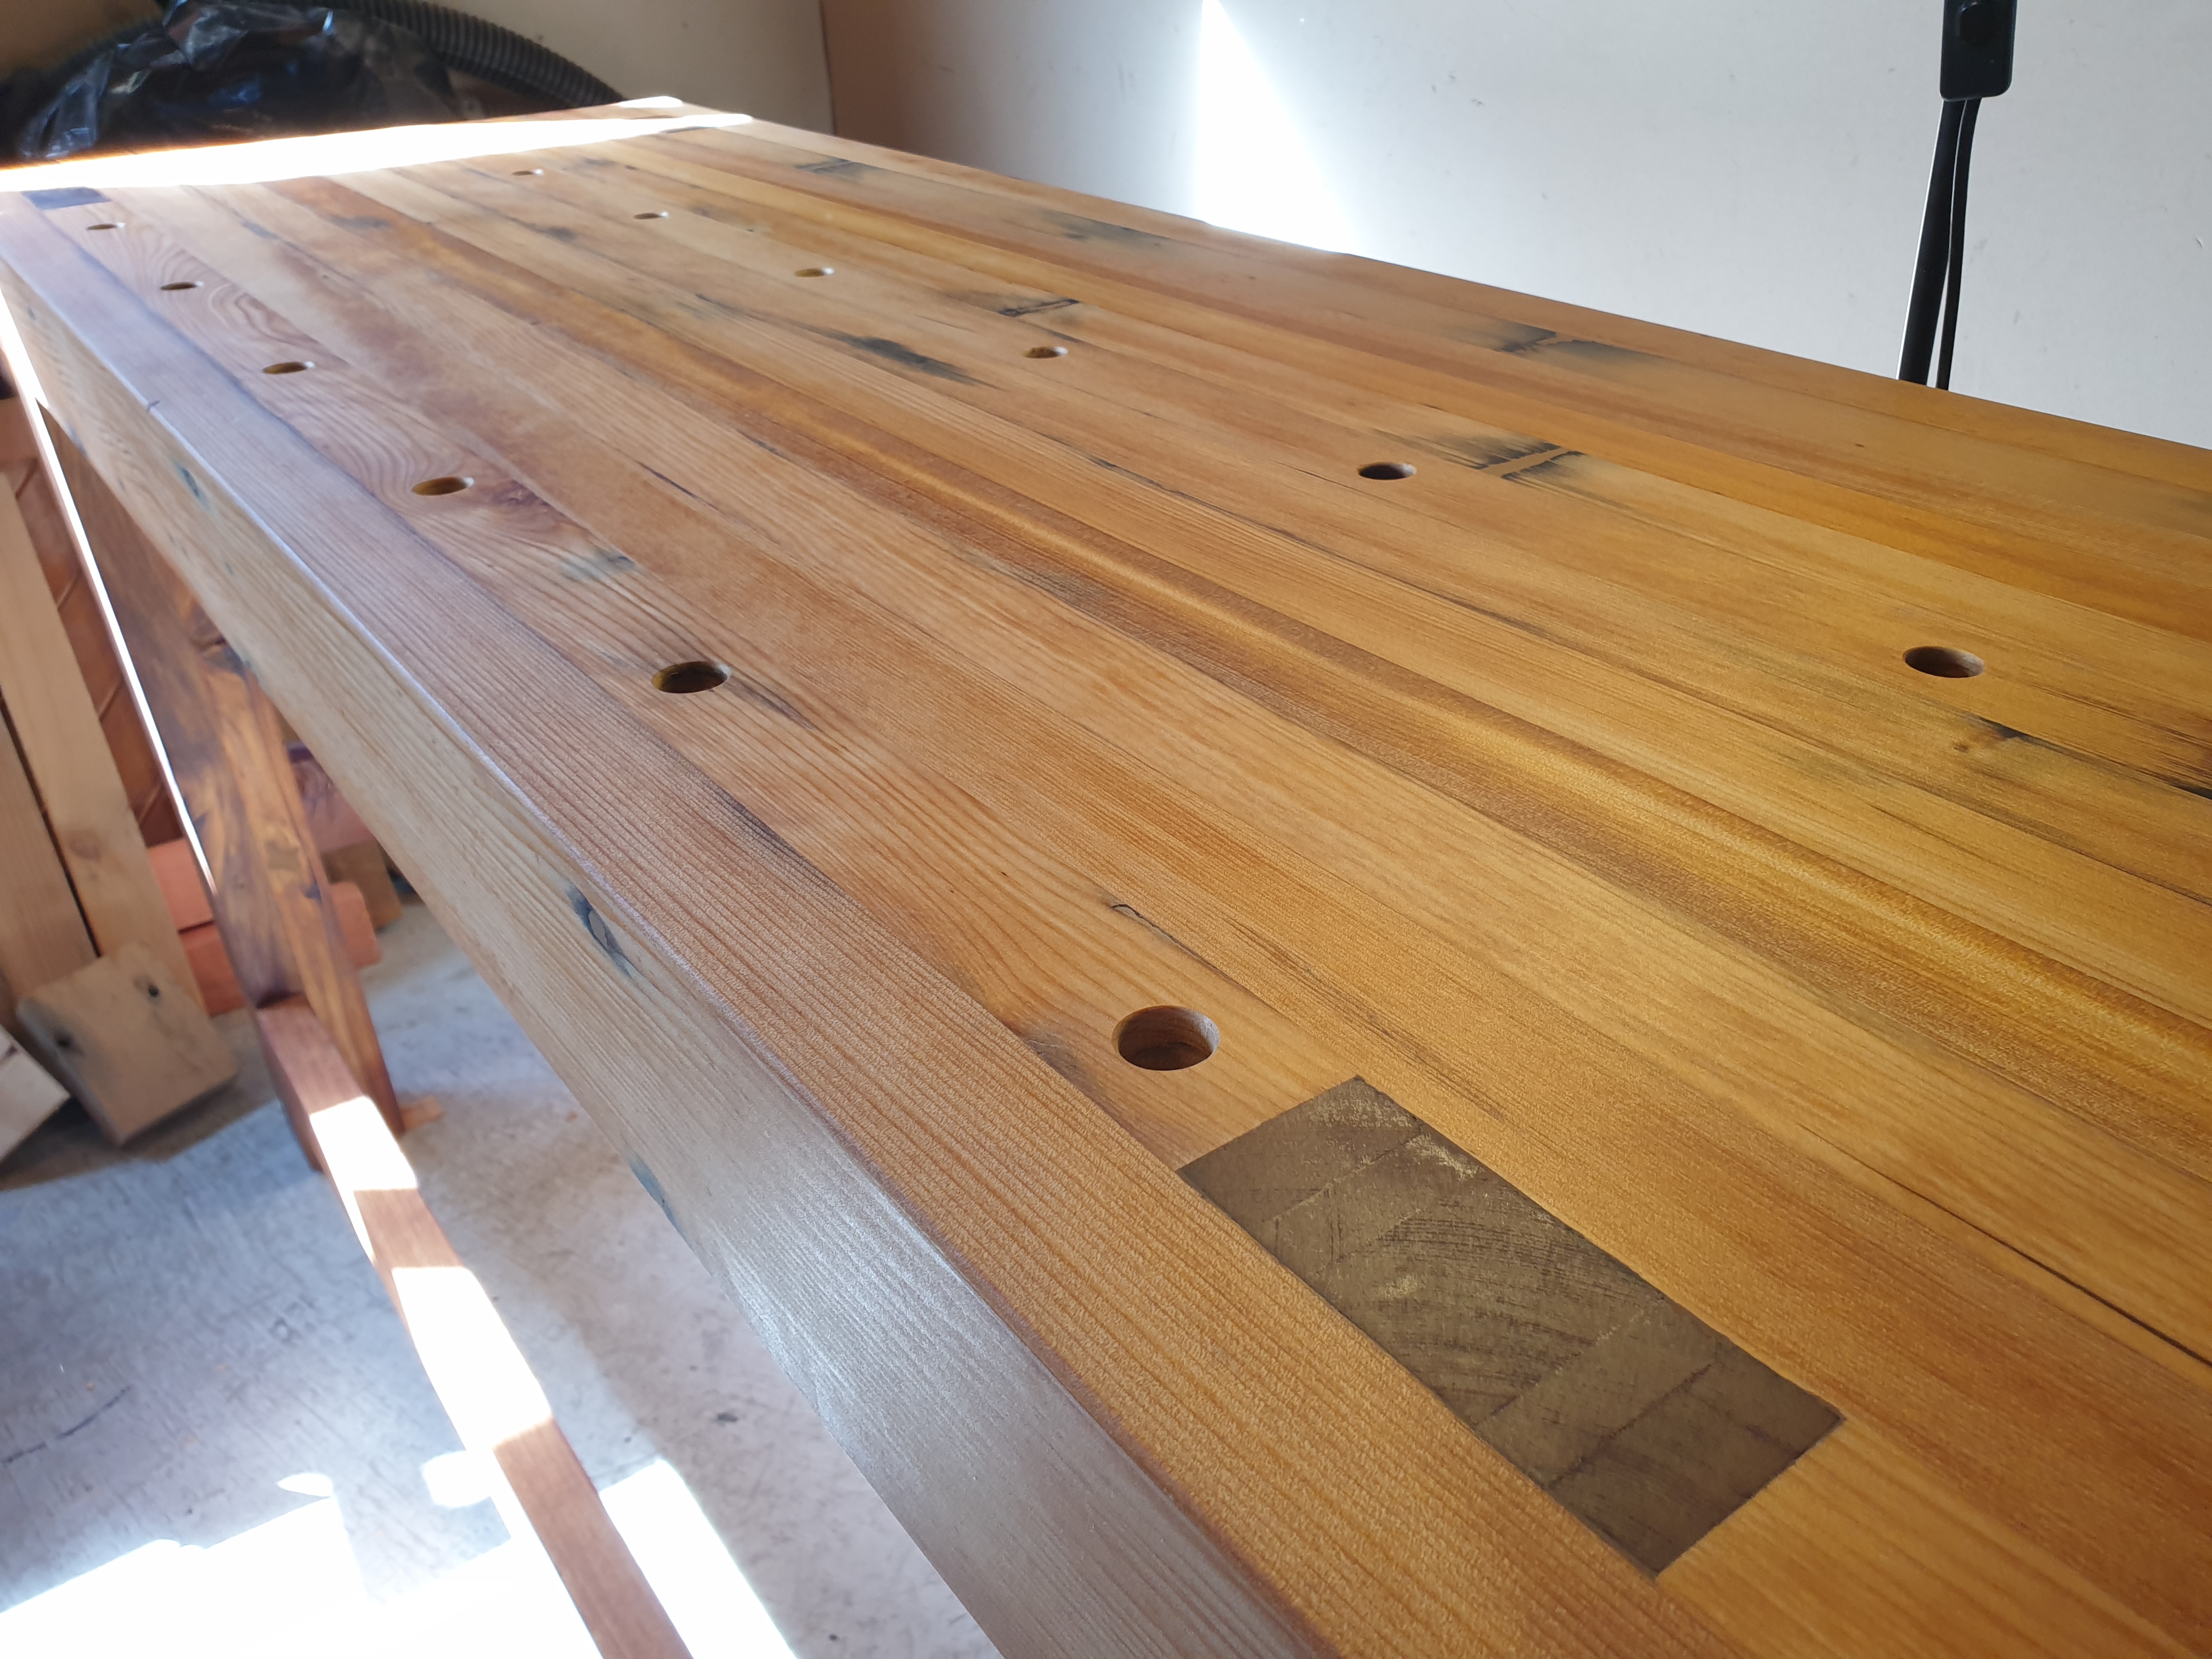
For the first dog hole, I positioned it directly inline with where my bench vise would be, giving me the option of clamping a piece of wood against a bench dog (much like a tail vise). For the rest of the dog holes, I spaced them equal to the radius of my holdfasts (225mm or 8.86"). The distance in from the edge of workbench, as set by my jig, is 65mm (2.56").
One point to make here is that you should be very careful not to burn out your drill! There is a lot of power required to drill through a thick workbench surface and it's best to approach it in short bursts. My Dewalt 18V drill handled the task OK.
Once all the dog holes were drilled from the top, I drilled up from the bottom about 2 inches with a larger Forstner bit (30mm or 1 3/16"). This was required to make the holdfasts work properly, since they will not hold if the benchtop is too thick. I ended up with an effective dog hole depth of around 75mm (3 inches) at which my holdfasts work well.
For the second row of dog holes, I placed them directly in line with the row of dog holes at the front of the bench. For the distance from the first row of dog holes, I chose this so there would be a small overlap if holdfasts where placed in both the front and back dog holes. This ensured the holdfasts would have full coverage on the workbench where they could clamp workpieces.
Final Thoughts on my Simplified Roubo Workbench Build
With the dog holes drilled and my bench vise installed I could finally consider my workbench complete! It took a lot of work and the entire build spanned about 2 months, since I was mainly only working on the workbench in the evening or on the weekend.
I've been using this workbench for a couple of months now and overall, I'm very happy with it. This workbench design fixes all of the problems I had with my earlier workbenches and so far I don't feel like anything is lacking. One addition I made which I did not cover in this post was drilling dog holes into the workbench legs. These can be seen in the final photo above and provide a number of options for supporting workpieces clamped to the front of the bench (i.e. you could clamp a door in the bench vice and support it off the ground with a bench dog placed in the bottom dog hole in the right leg). The other purpose of the leg dog holes is to provide a convenient place for storing my holdfasts.
At some stage I might add a shelf on the bottom stretchers, so keep a look out for a future post for this upgrade...