Simplified Roubo Workbench Build Part 2 - Laminating the Benchtop and Legs
This post is part 2 in my Simplified Roubo Workbench build and covers laminating the benchtop and legs. For part 1 see: Simplified Roubo Workbench Build Part 1 - Design and Timber Preparation
Laminating the Benchtop
With the benchtop timber jointing complete, it was time for the lamination (glue-up). For this process, I glued-up three sub-slabs consisting of four or five lengths of timber each. This process made life a bit easier for the overall benchtop construction. For the glue I used Selleys Aquadhere Exterior PVA. I chose Aquadhere Exterior since it's a cross-linking PVA, providing more strength than Aquadhere Interior which is not cross-linking. Titebond II or Titebond III PVA glues would have also been suitable alternatives. I used sash clamps for the glue-up but parallel clamps or pipe clamps would have also been suitable.
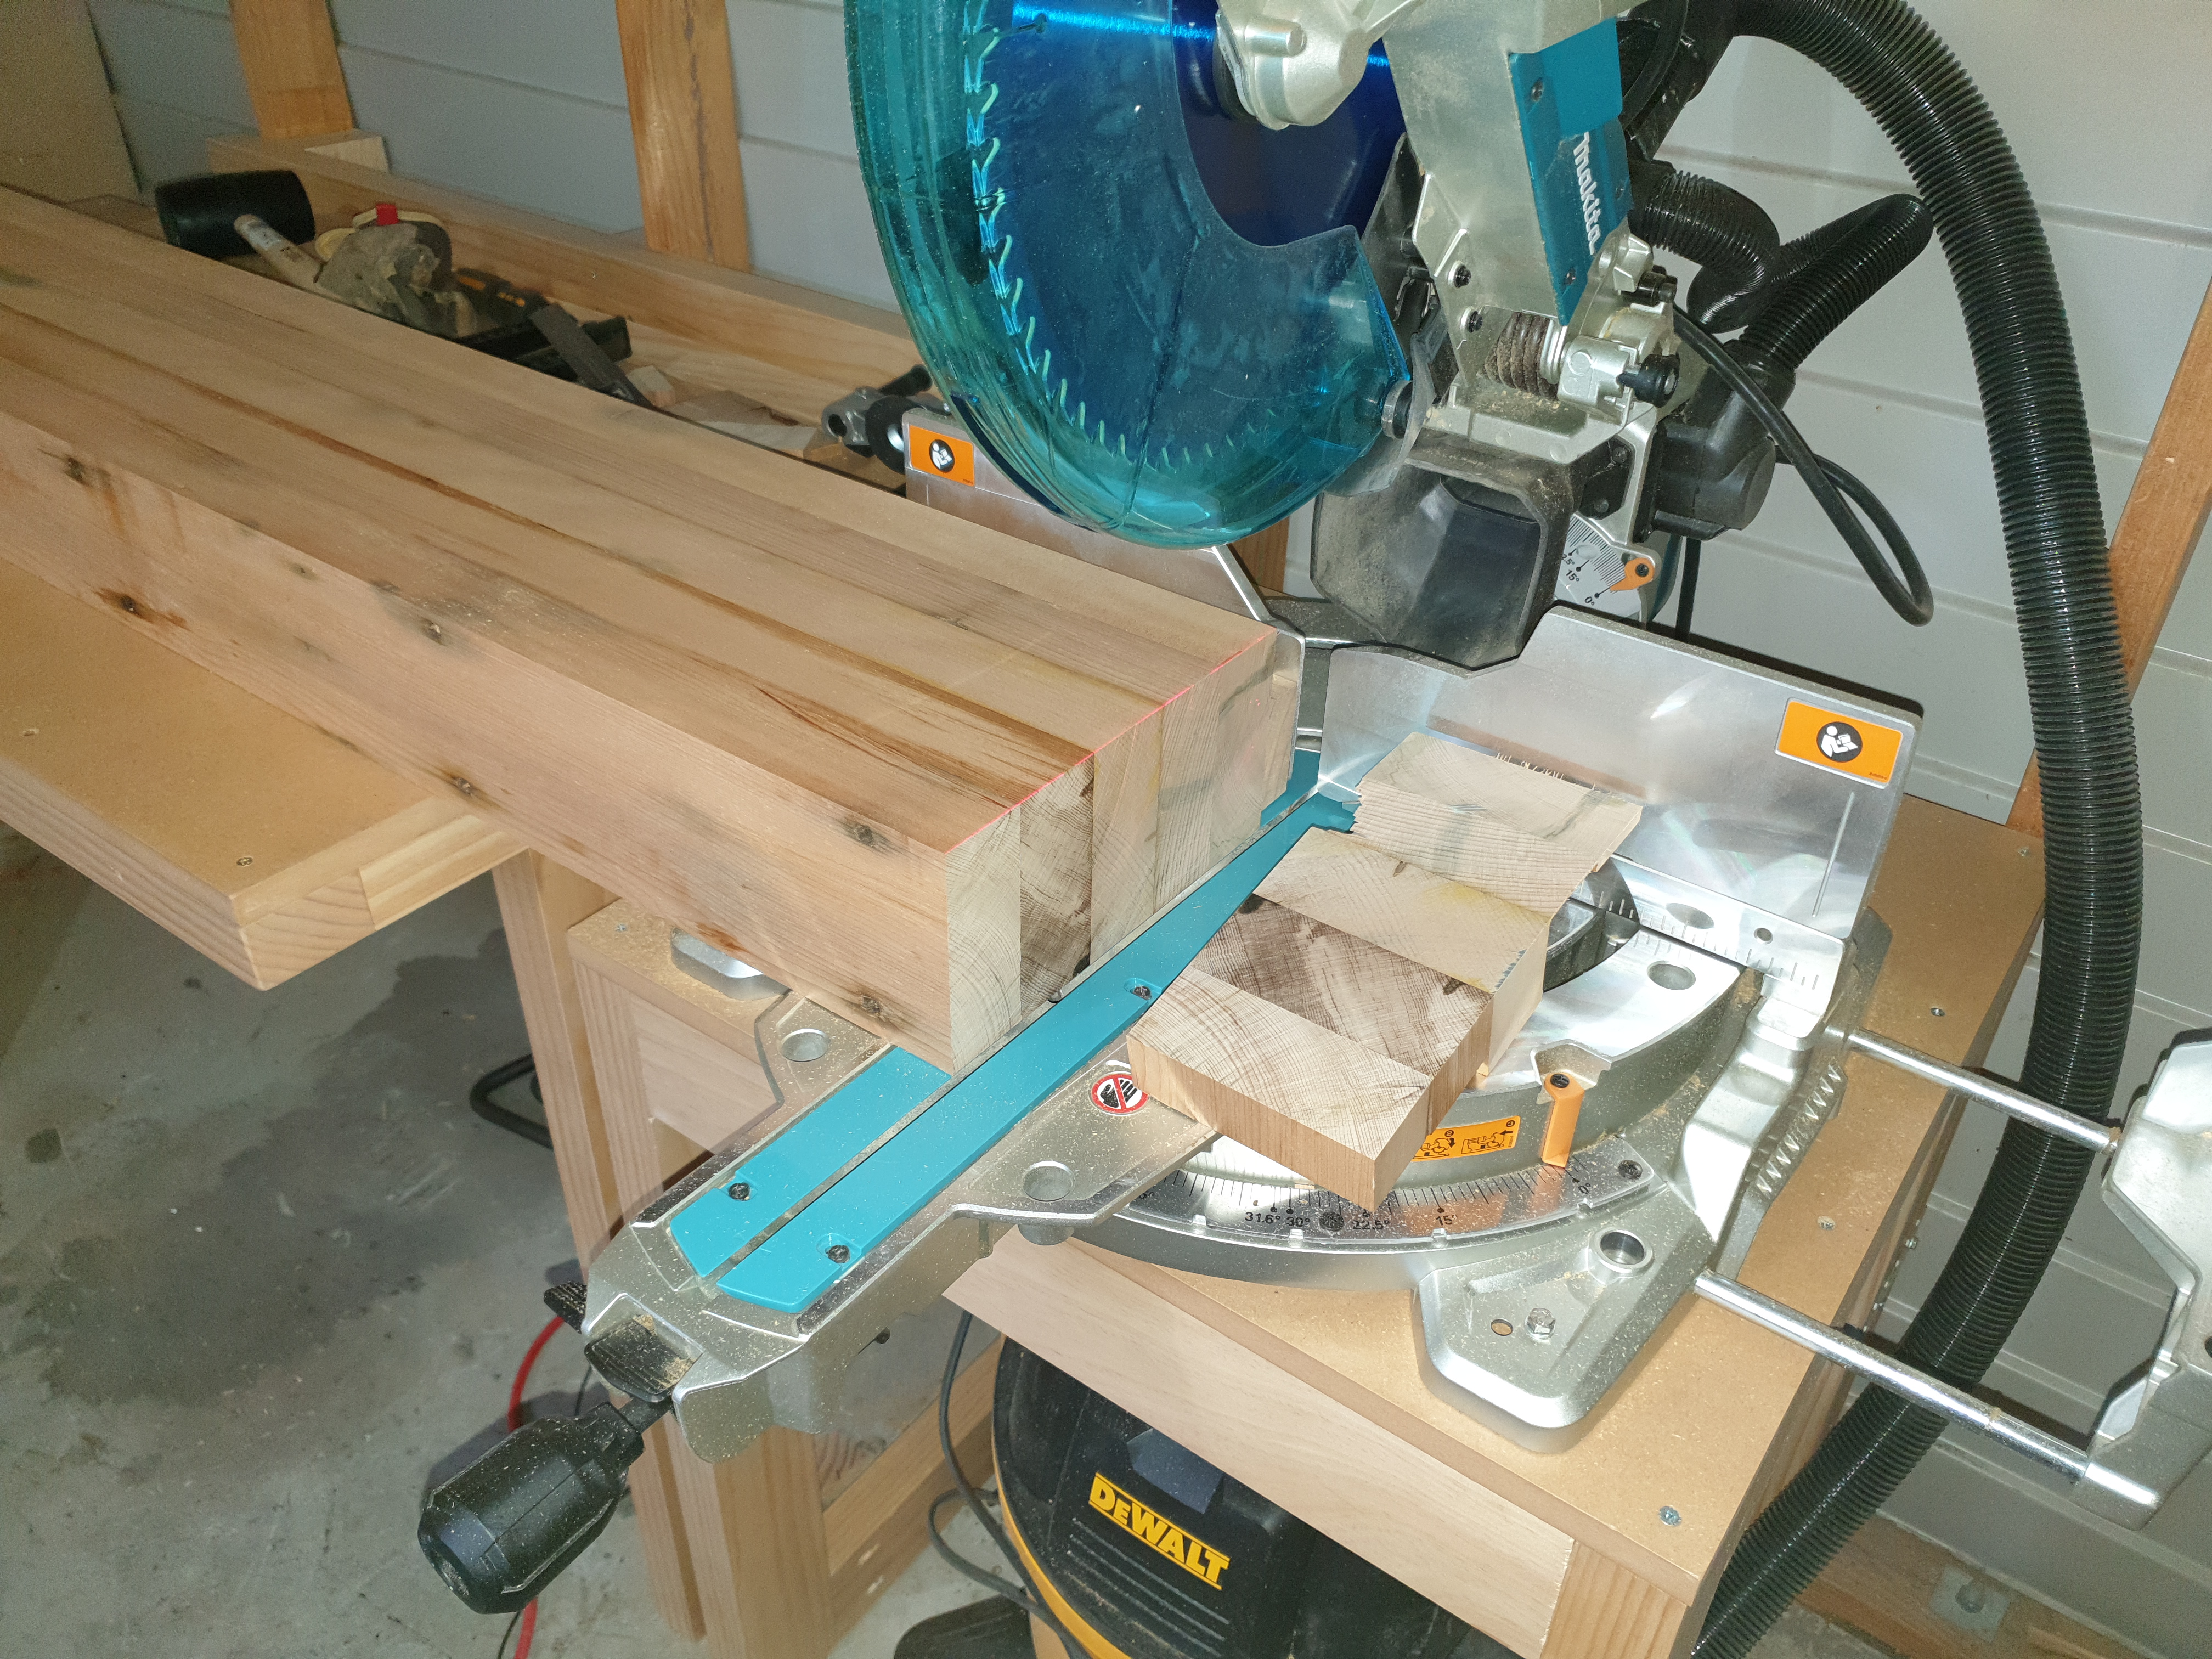
Once the glue was dry for each sub-slab, I cut them down to the final length on my sliding miter saw.
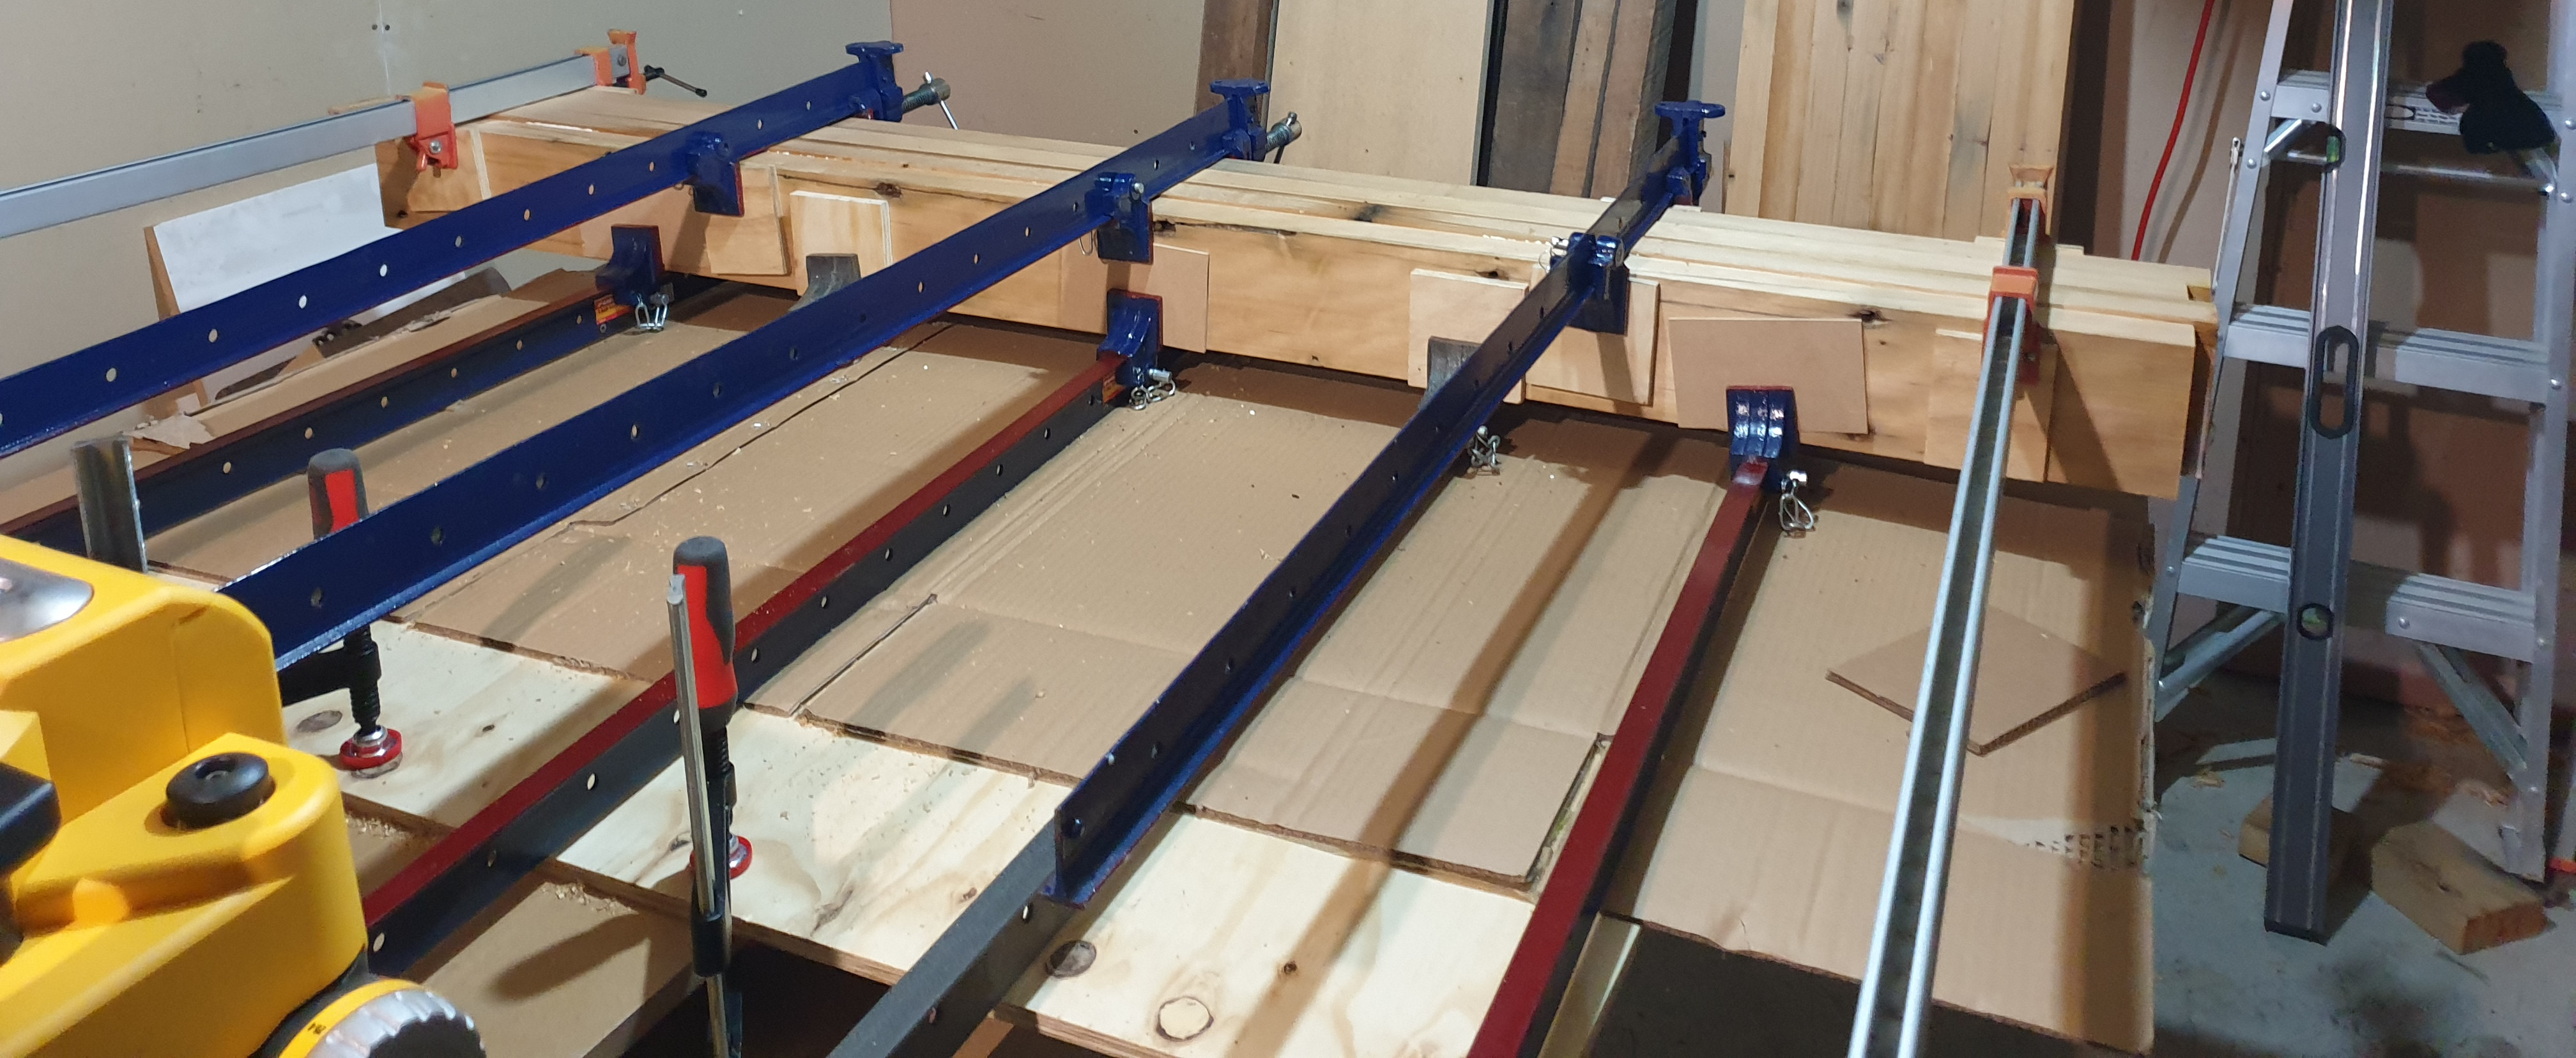
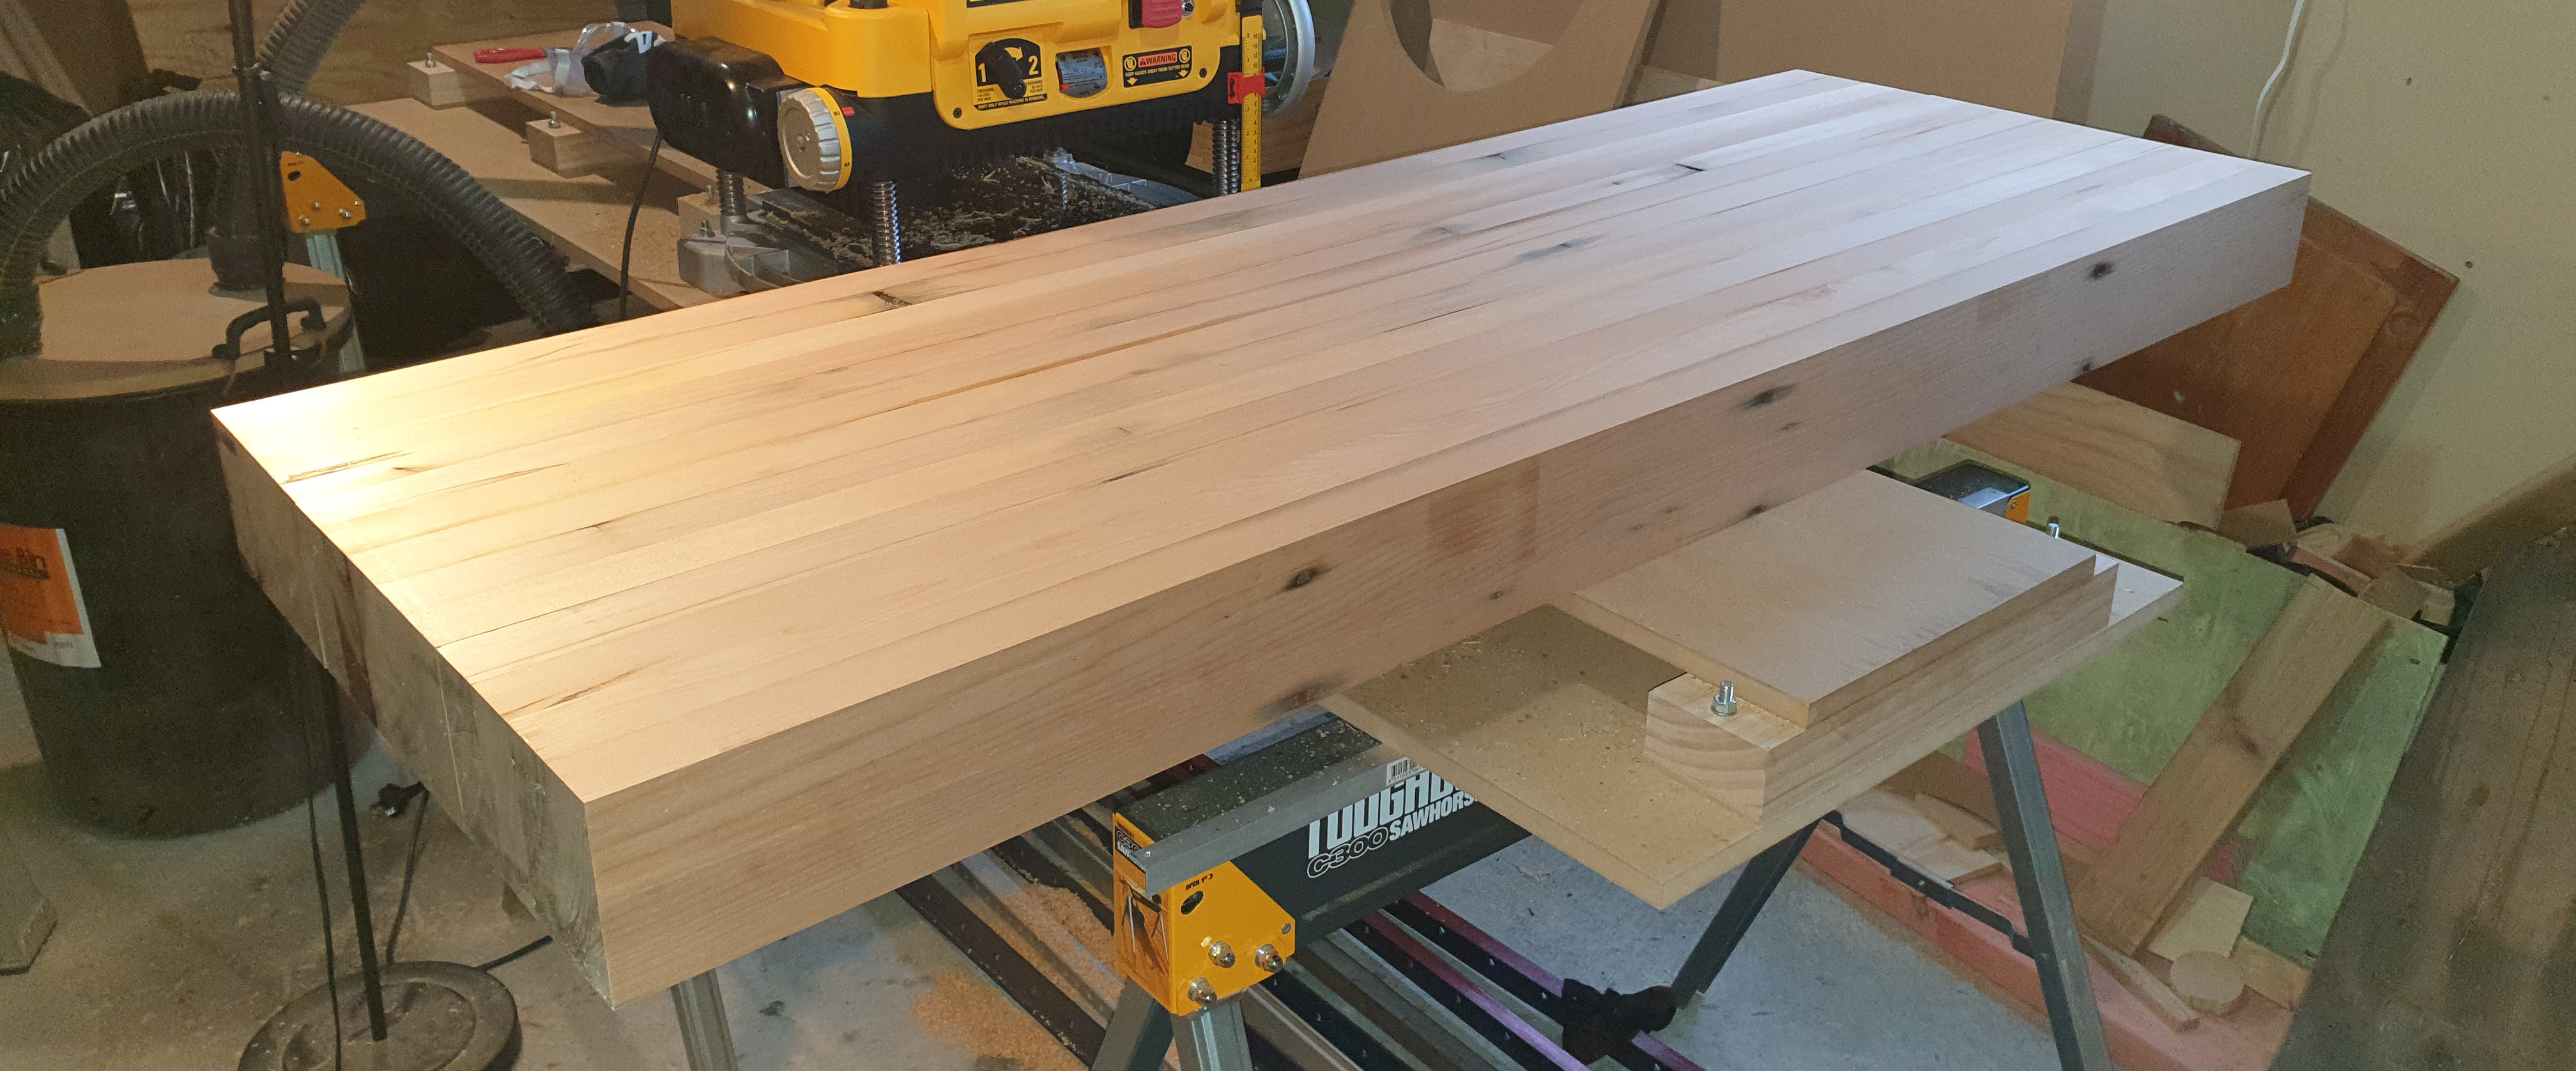
The next step was to glued-up all three sub-slabs to complete the benchtop lamination. The most convenient place to do this was down at floor level, since I did not have enough room on my temporary saw horse workbench.
Once the final glue-up was dry, I removed the clamps and managed to lift the assembled benchtop onto my temporary workbench.
Dressing the Timber for the Workbench Legs and Stretchers
Same as for the benchtop timber, I went through a process of dressing the timber for the workbench legs and stretchers.
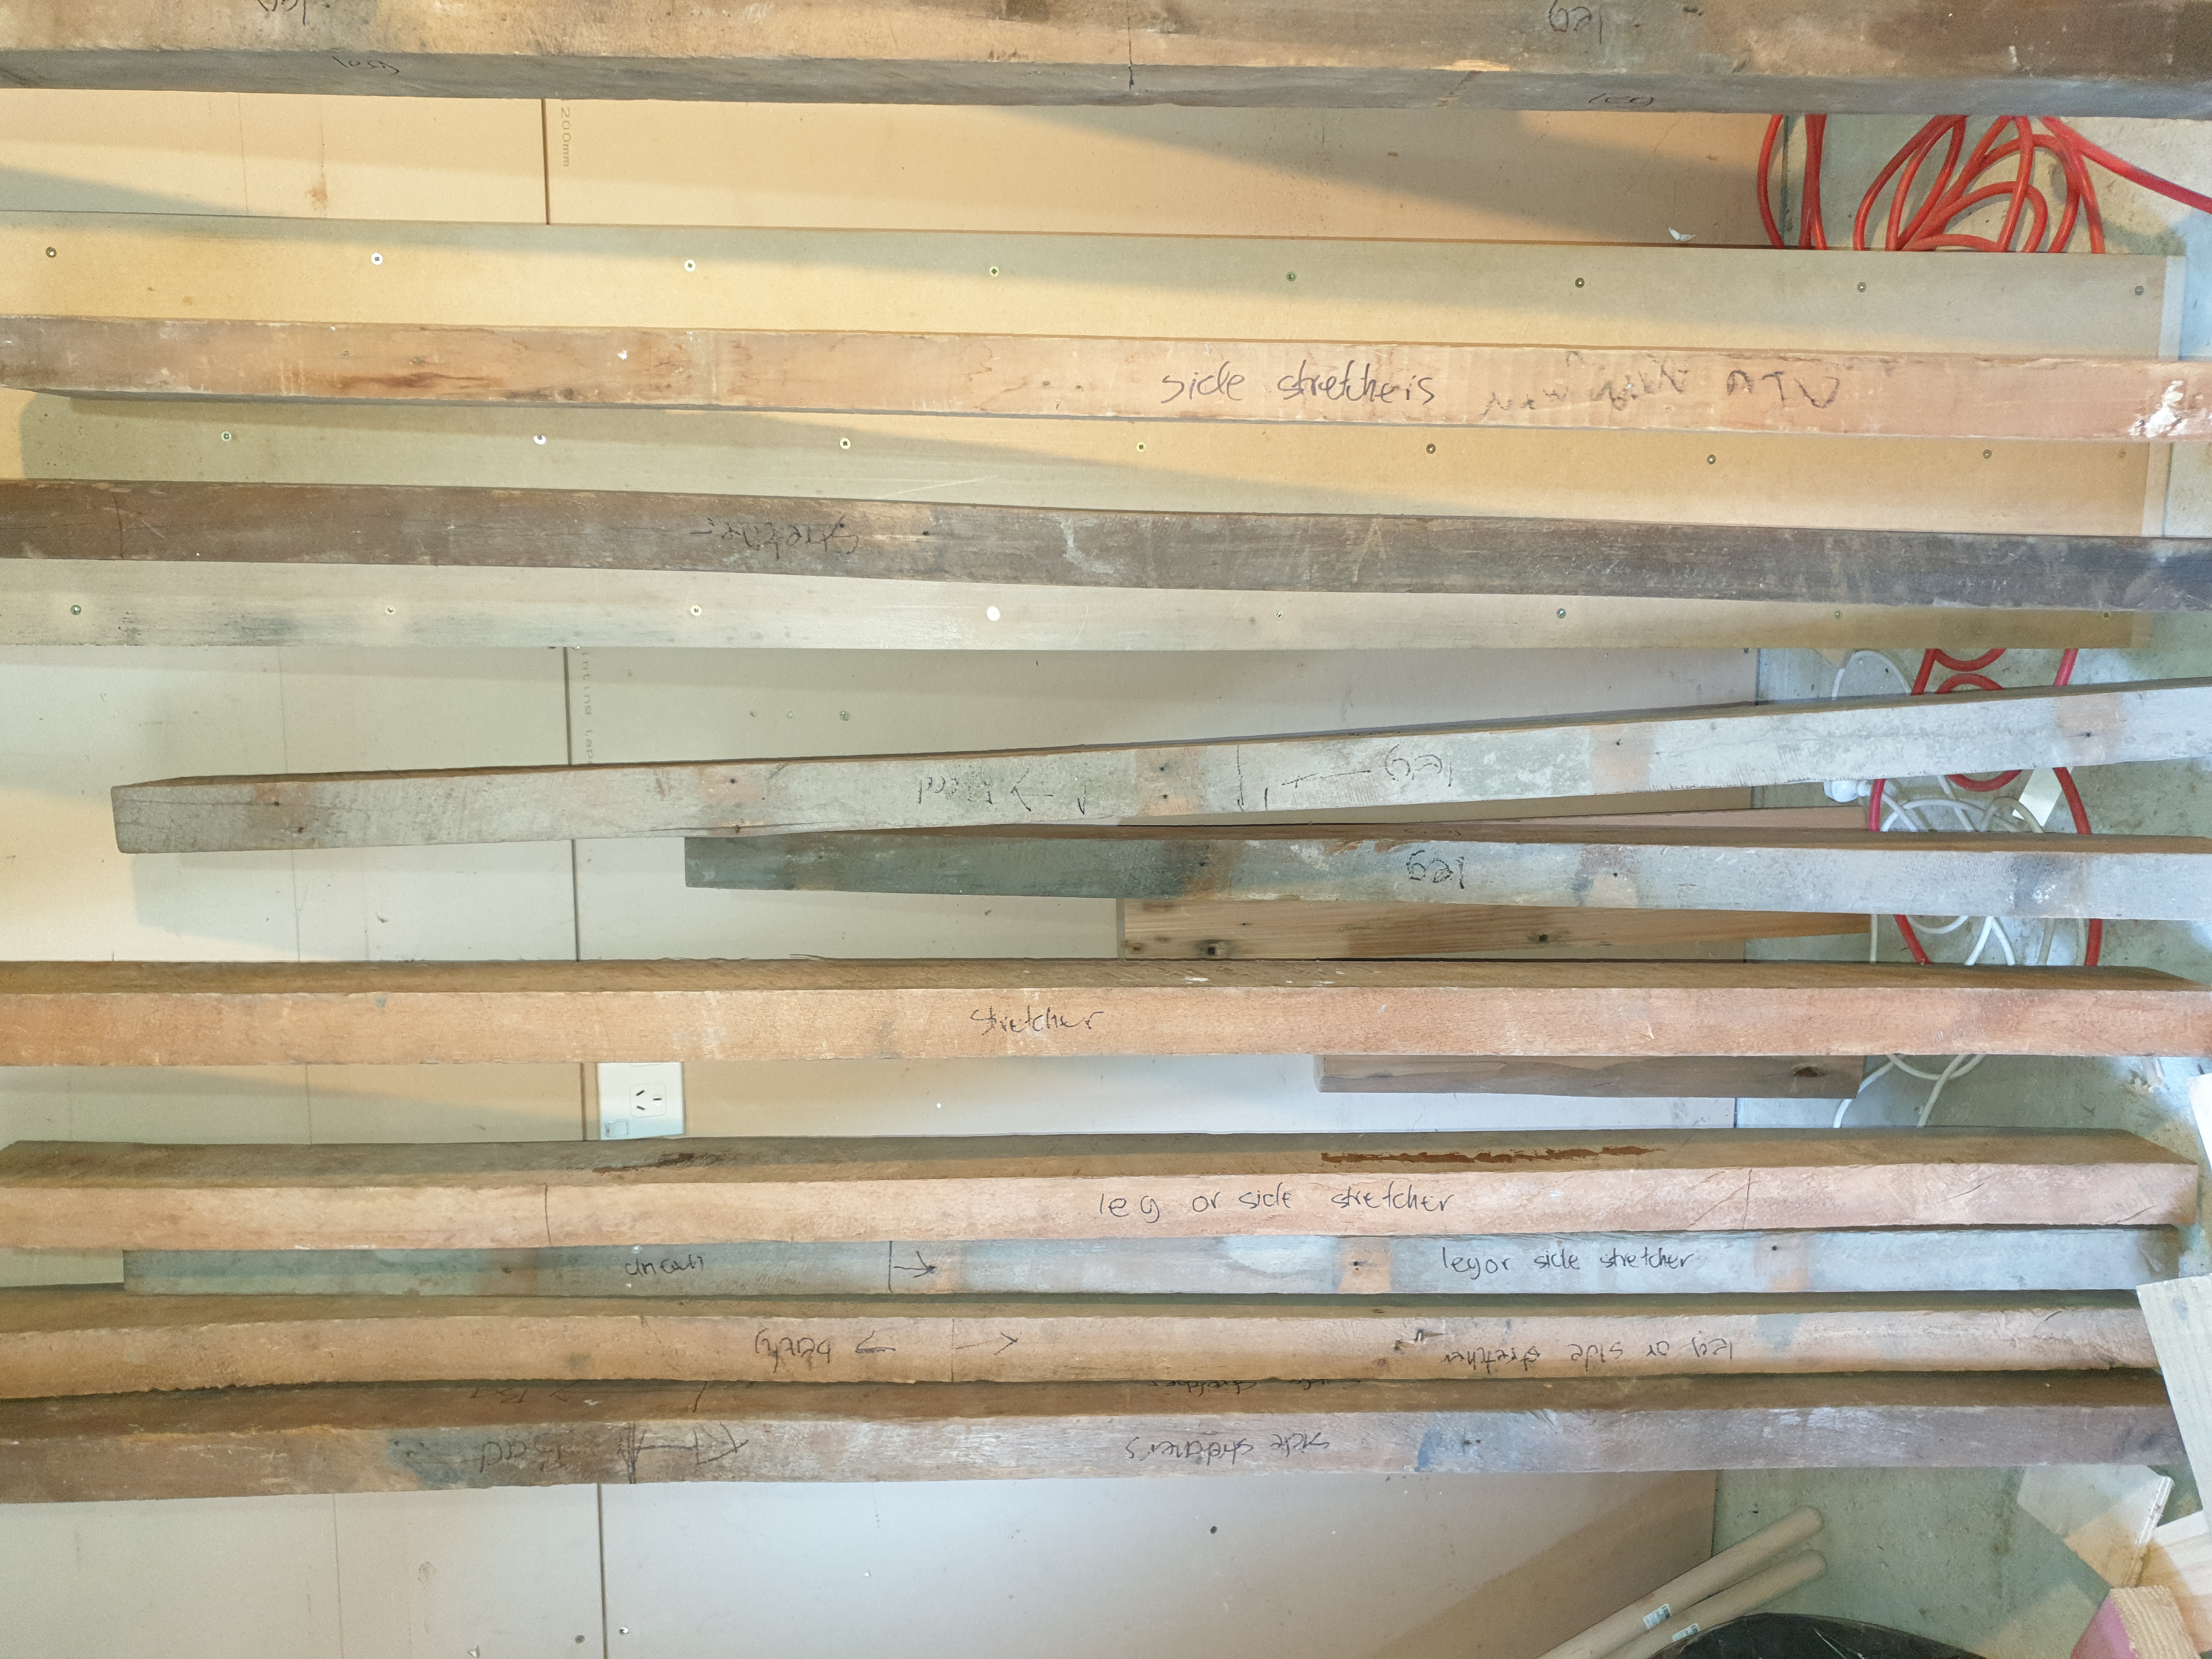
Before I started dressing the timber, I marked out lengths that would be used for the legs and stretchers. The reclaimed Rimu timber provided some challenges here due to splits, nail holes and bends. Thankfully I managed to find enough lengths of suitable quality for the workbench.
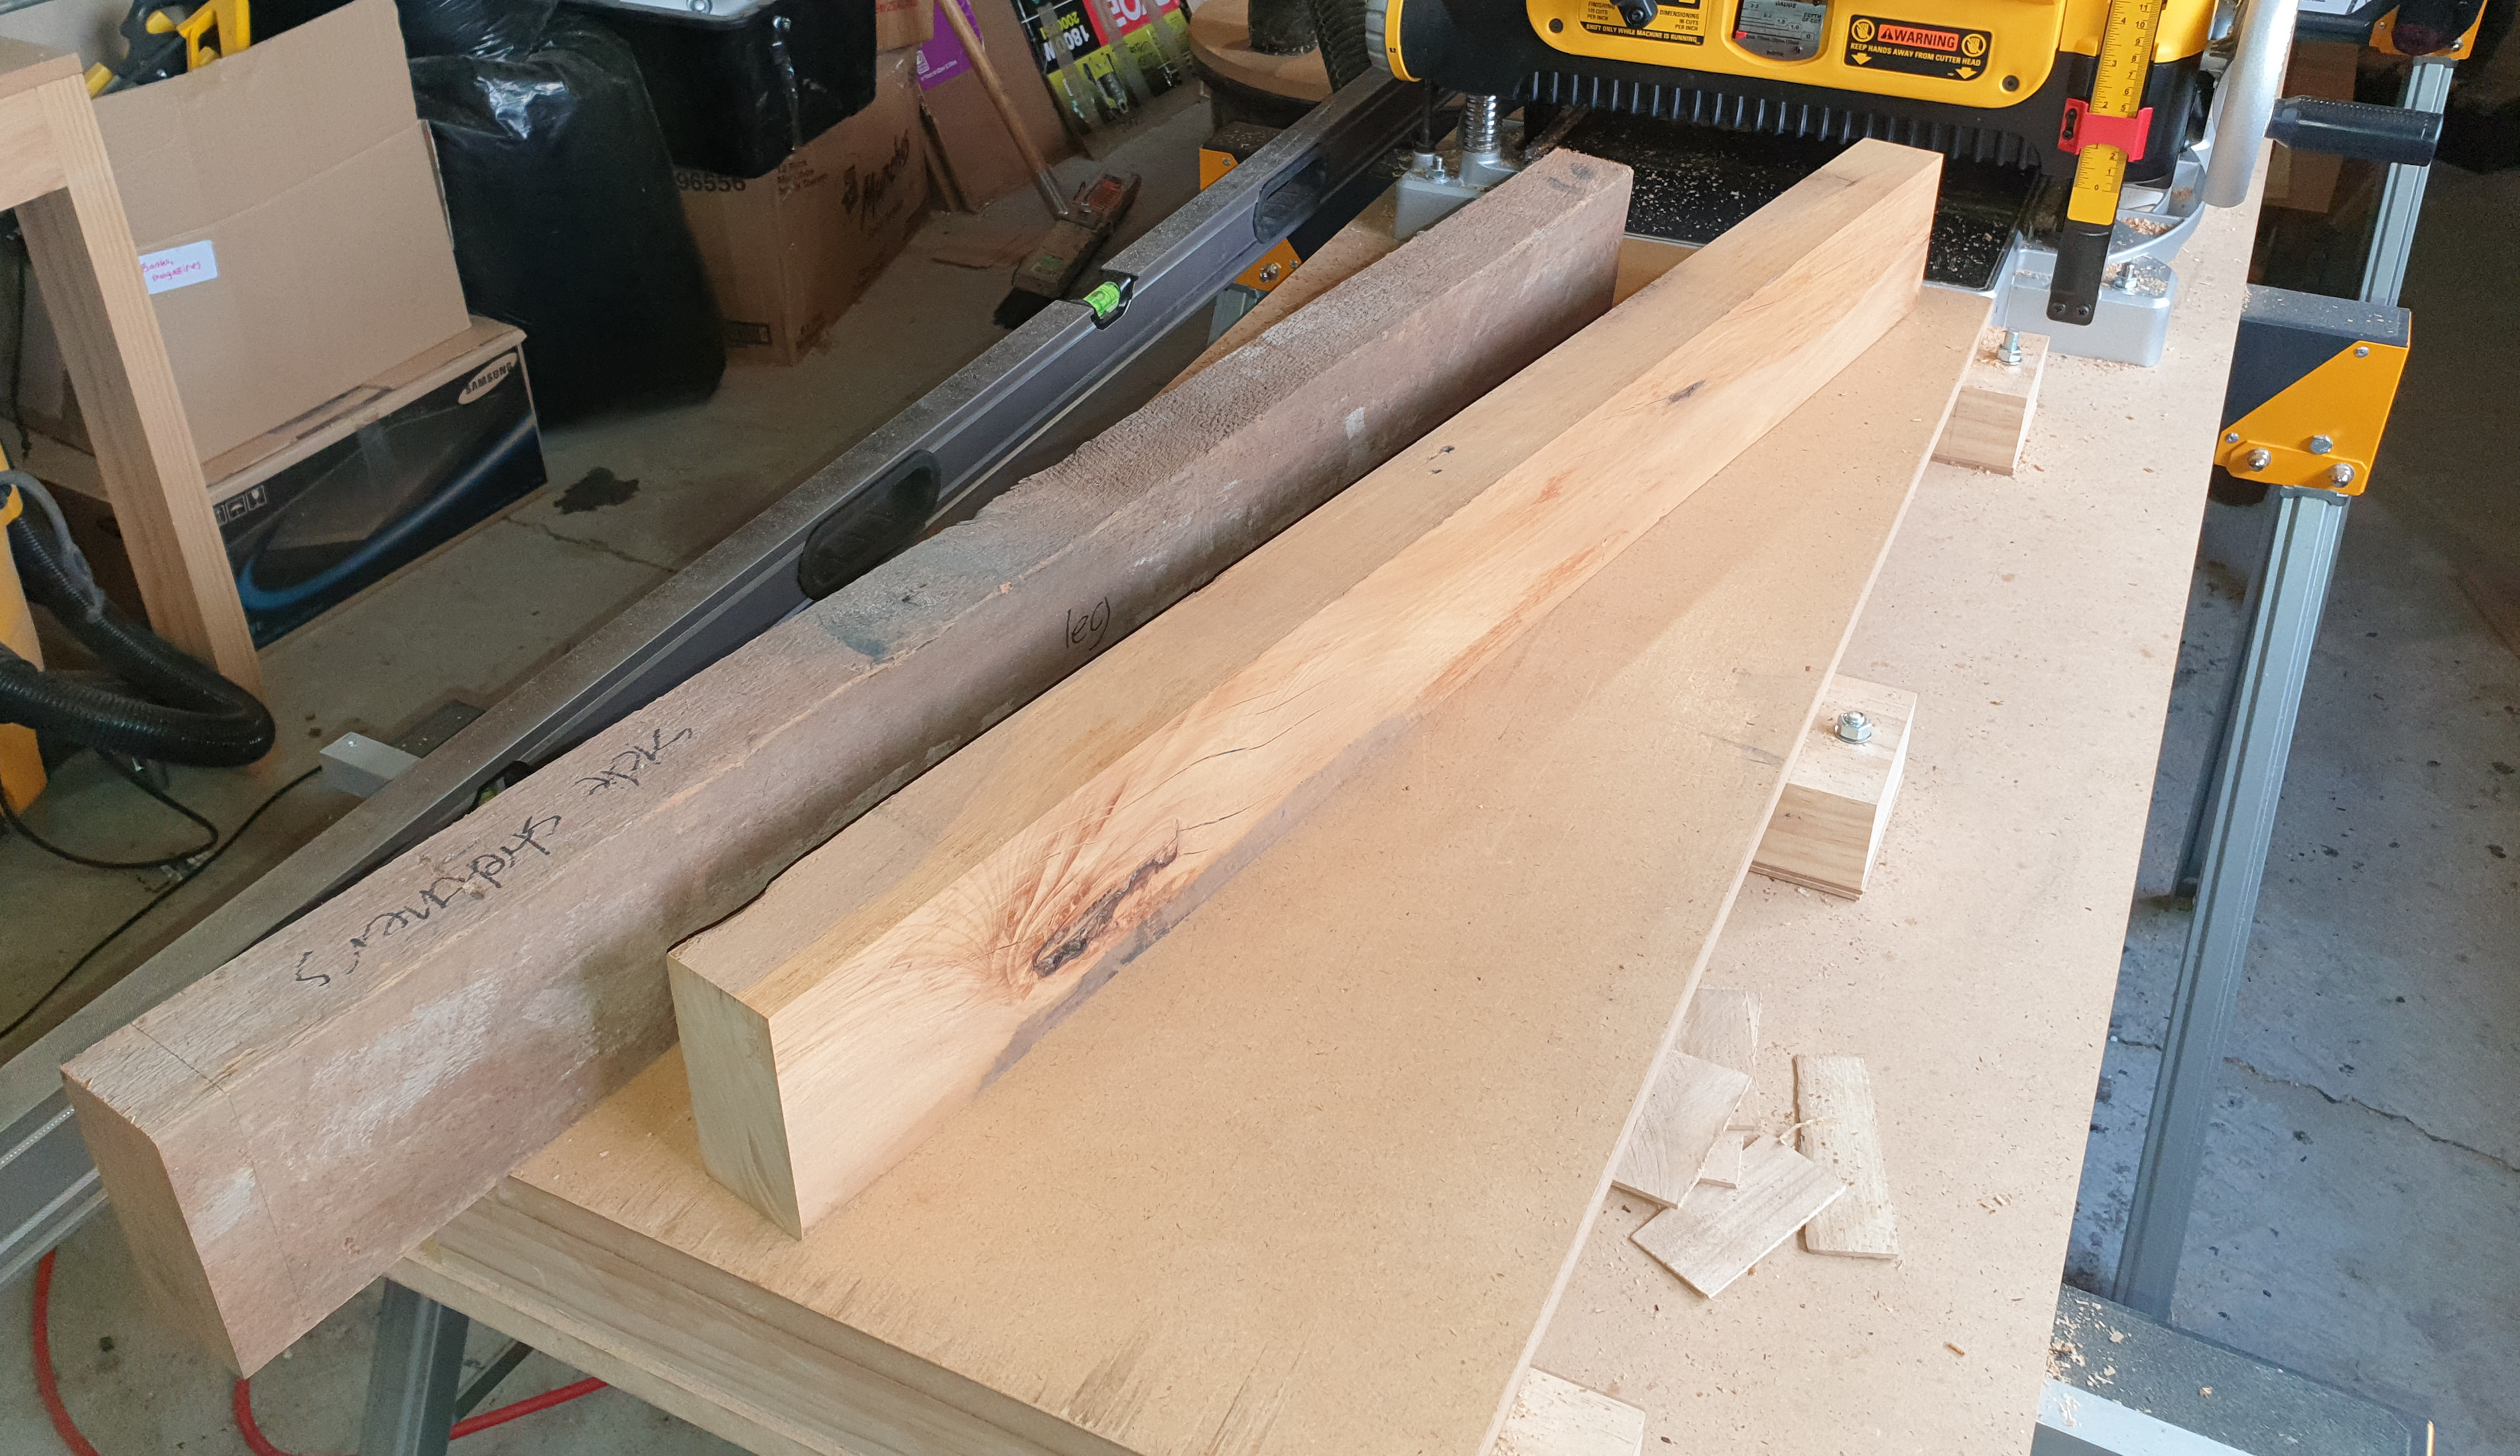
The next step before dressing the timber was cutting the timber for the legs and stretchers down to length on the mitre saw.
For the legs and stretchers, I completed all of the dressing with my thicknesser (planer). Same as for the benchtop timber, I used a sled for the jointing since I don't have a jointer.
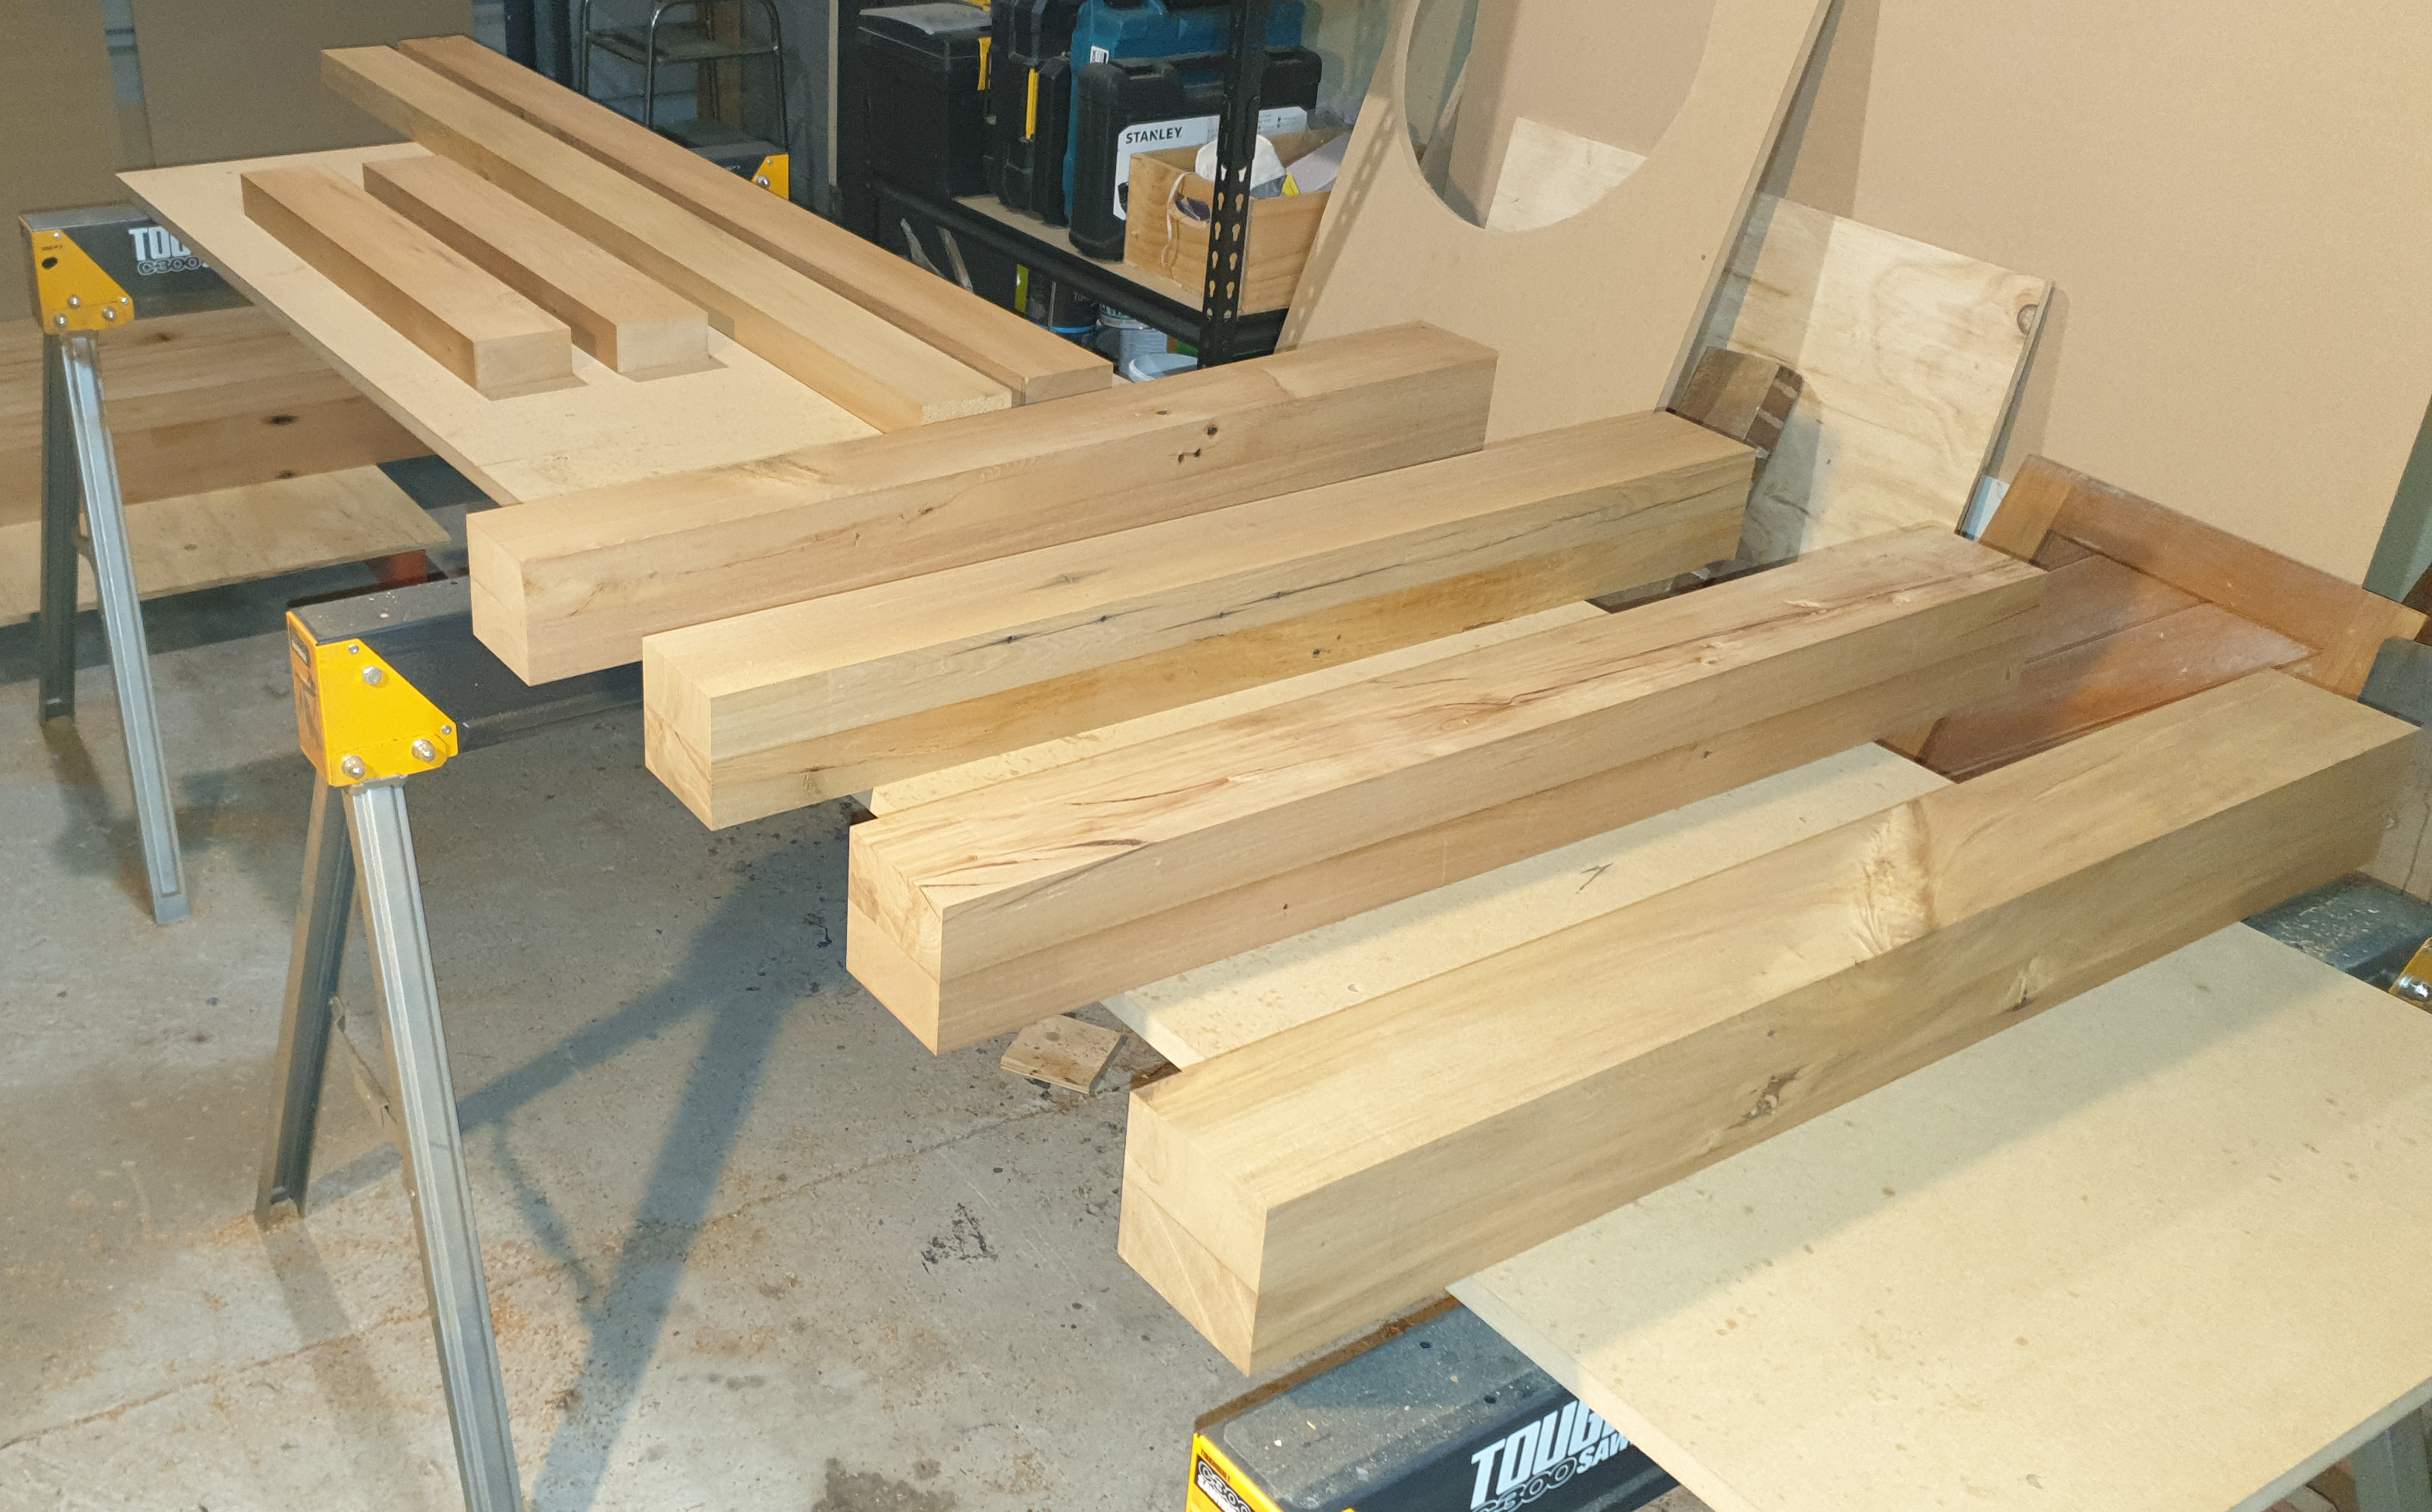
Laminating the Workbench Legs
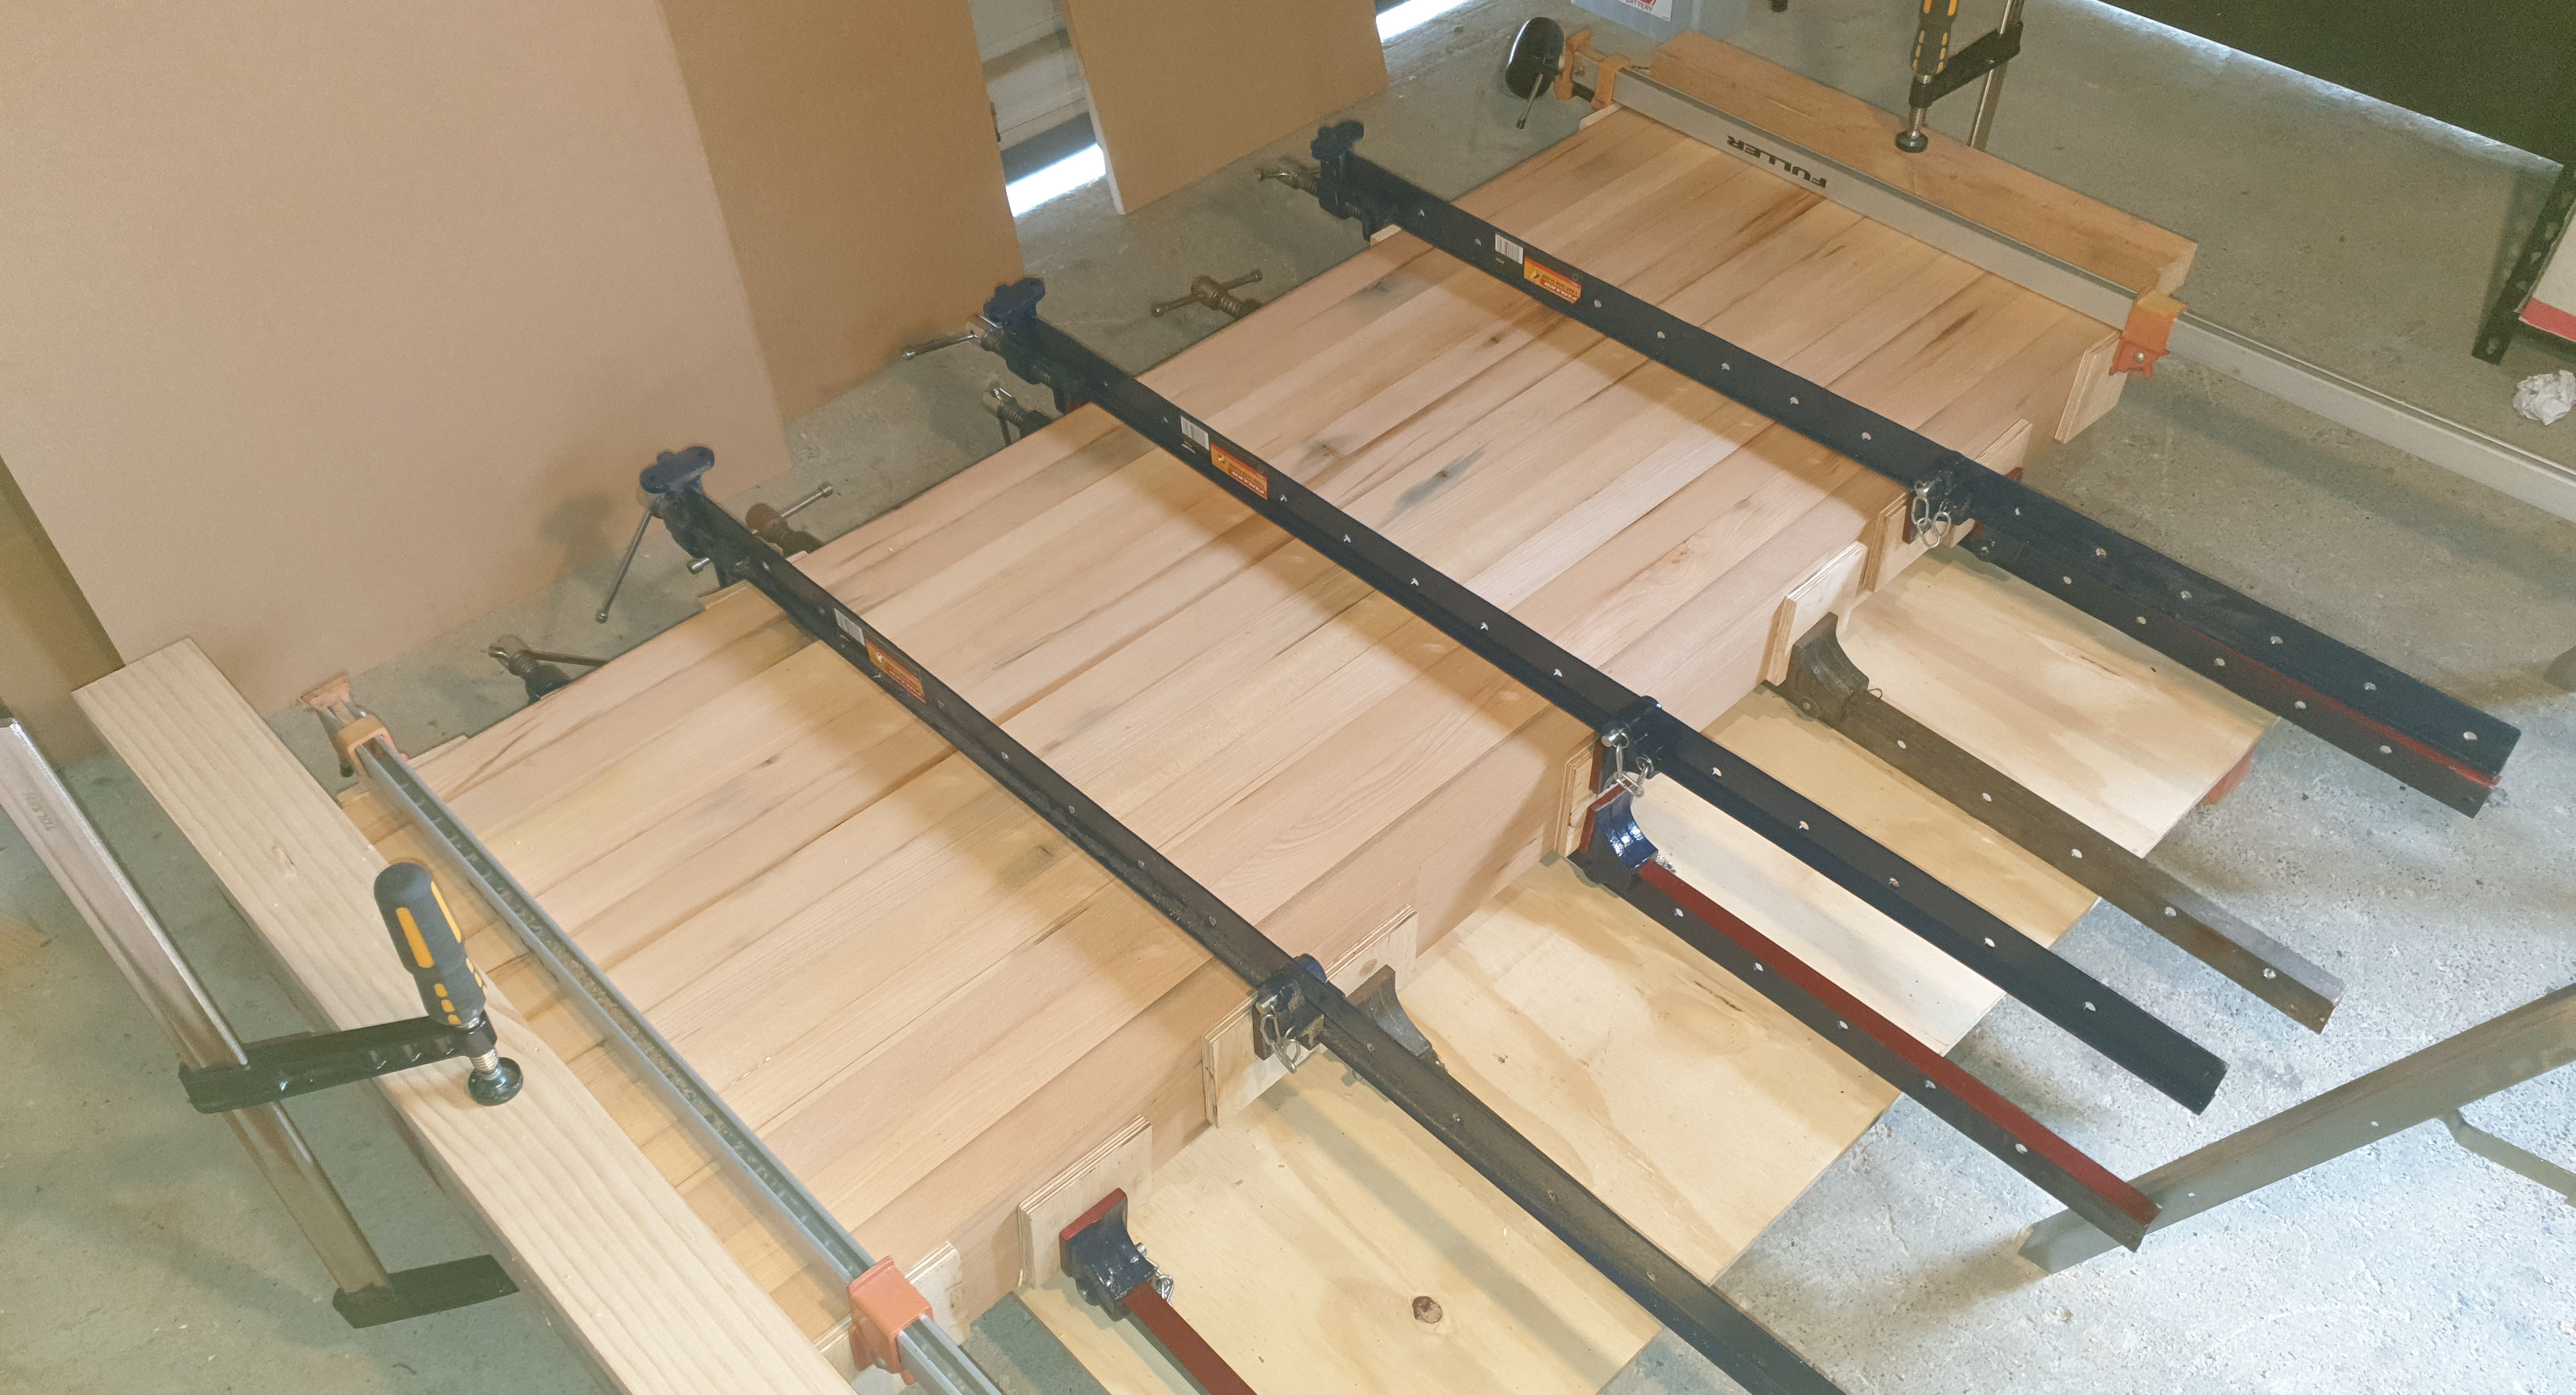
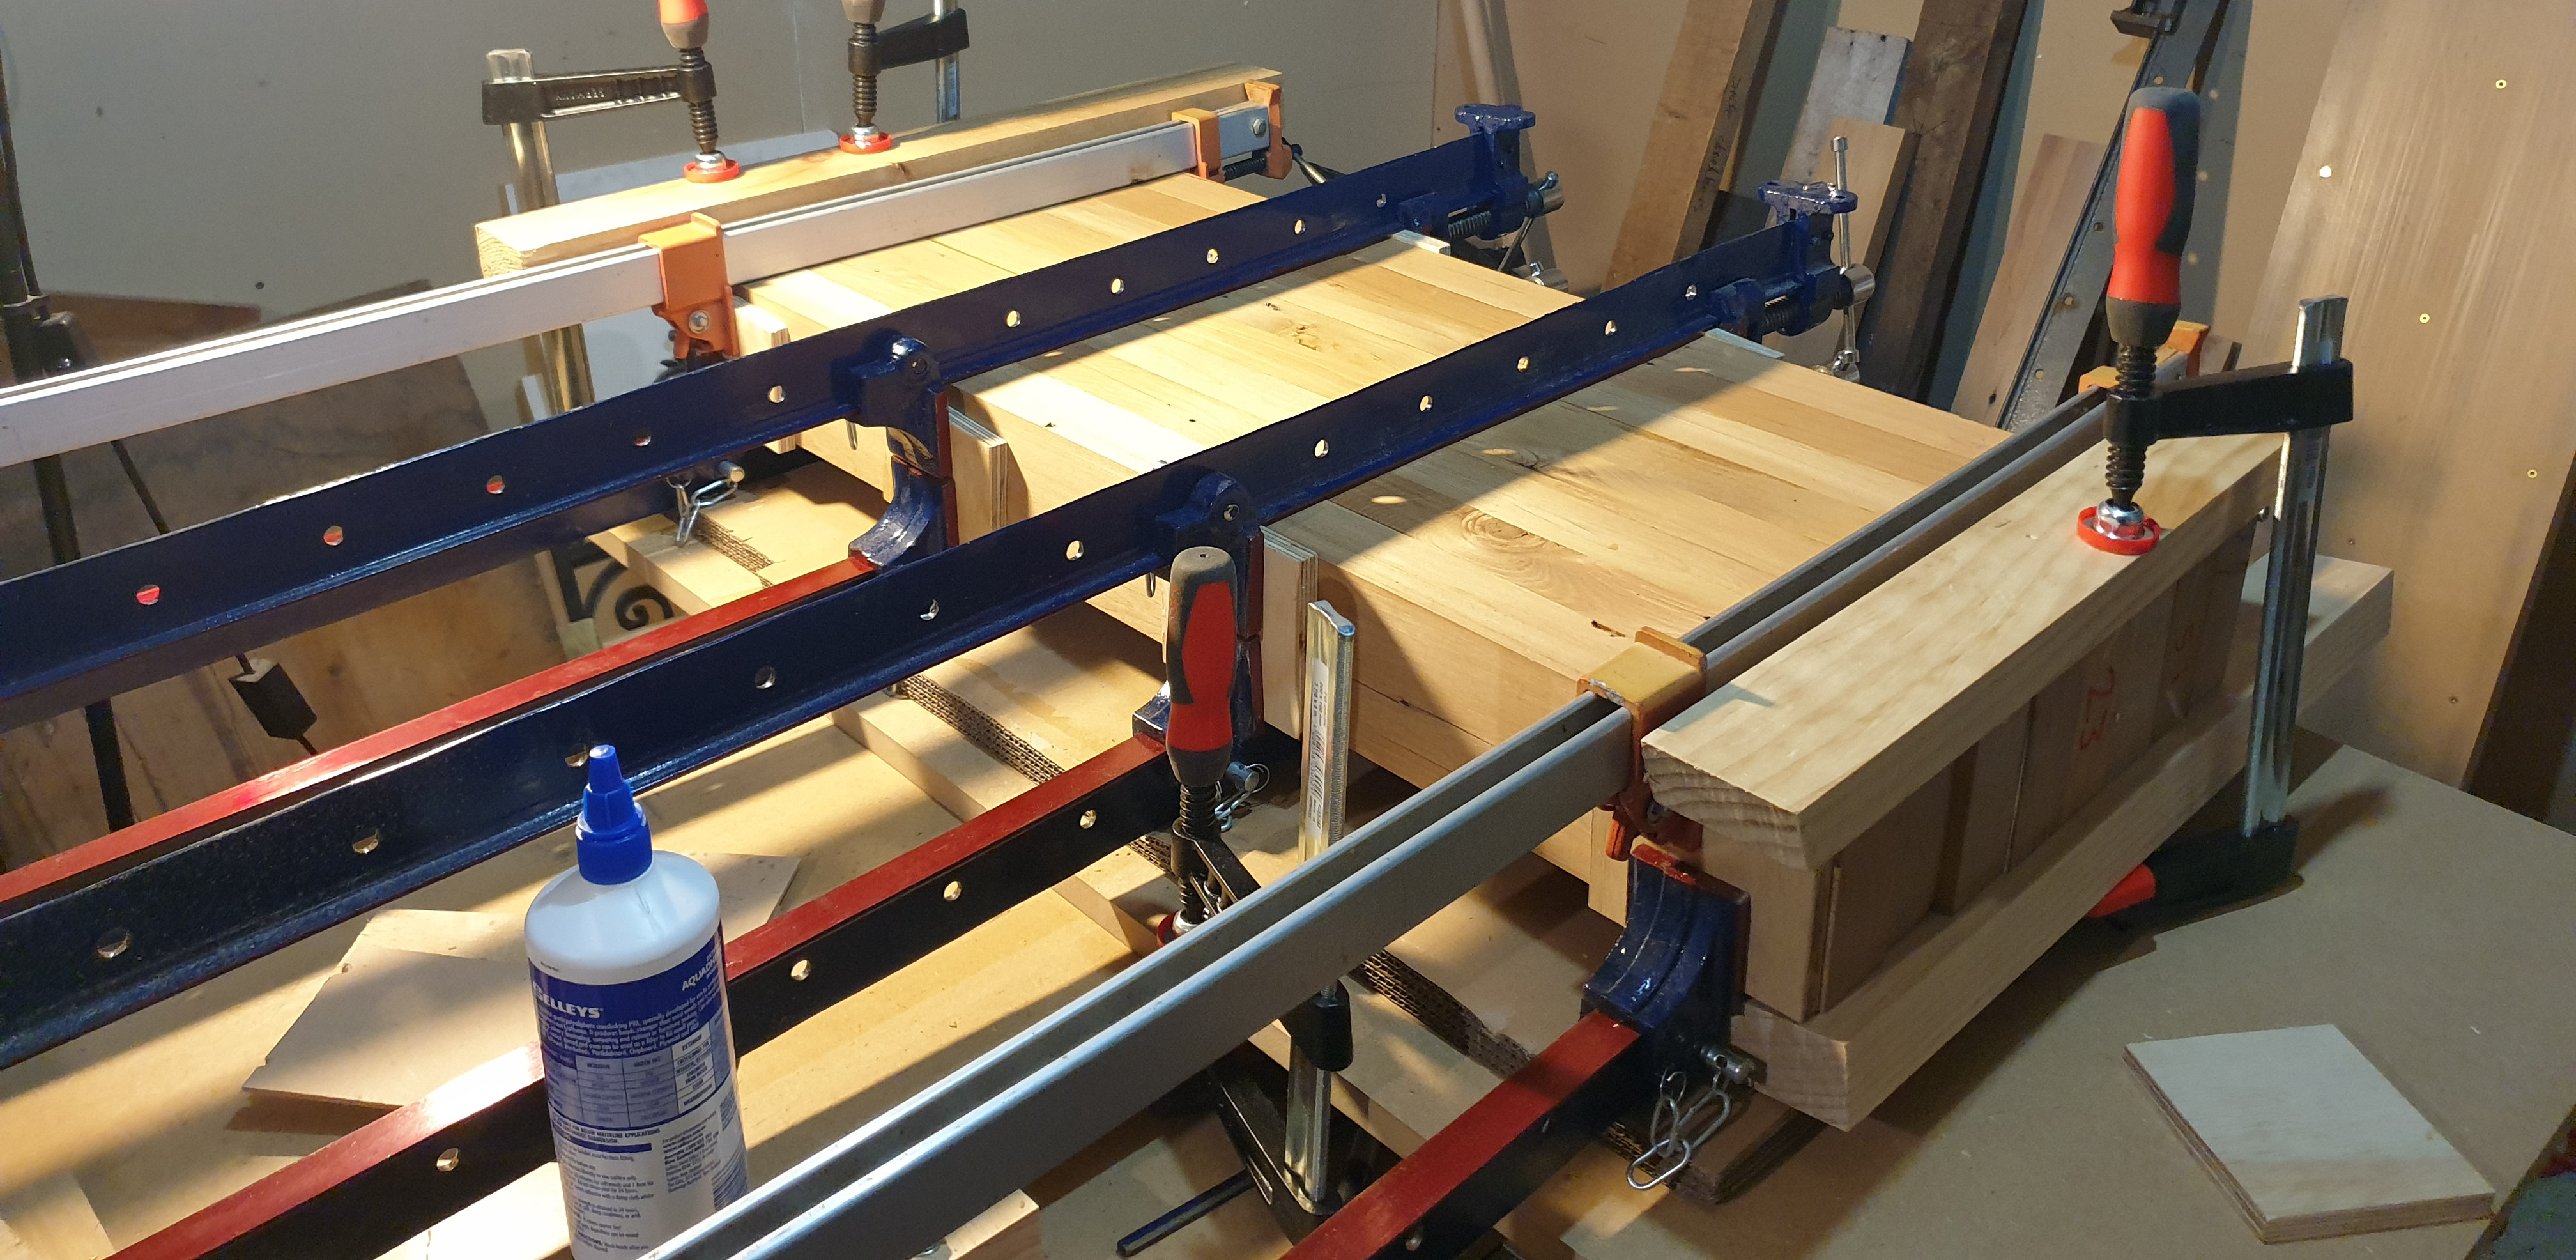
Each workbench leg was constructed by laminating together two 2x4s. This technique is useful when 4x4 timber is unavailable and also creates a stronger leg than a single 4x4. I laminated all 4 legs in one go. In the photo below, it looks like I've created another benchtop but it's only every second joint that is glued.
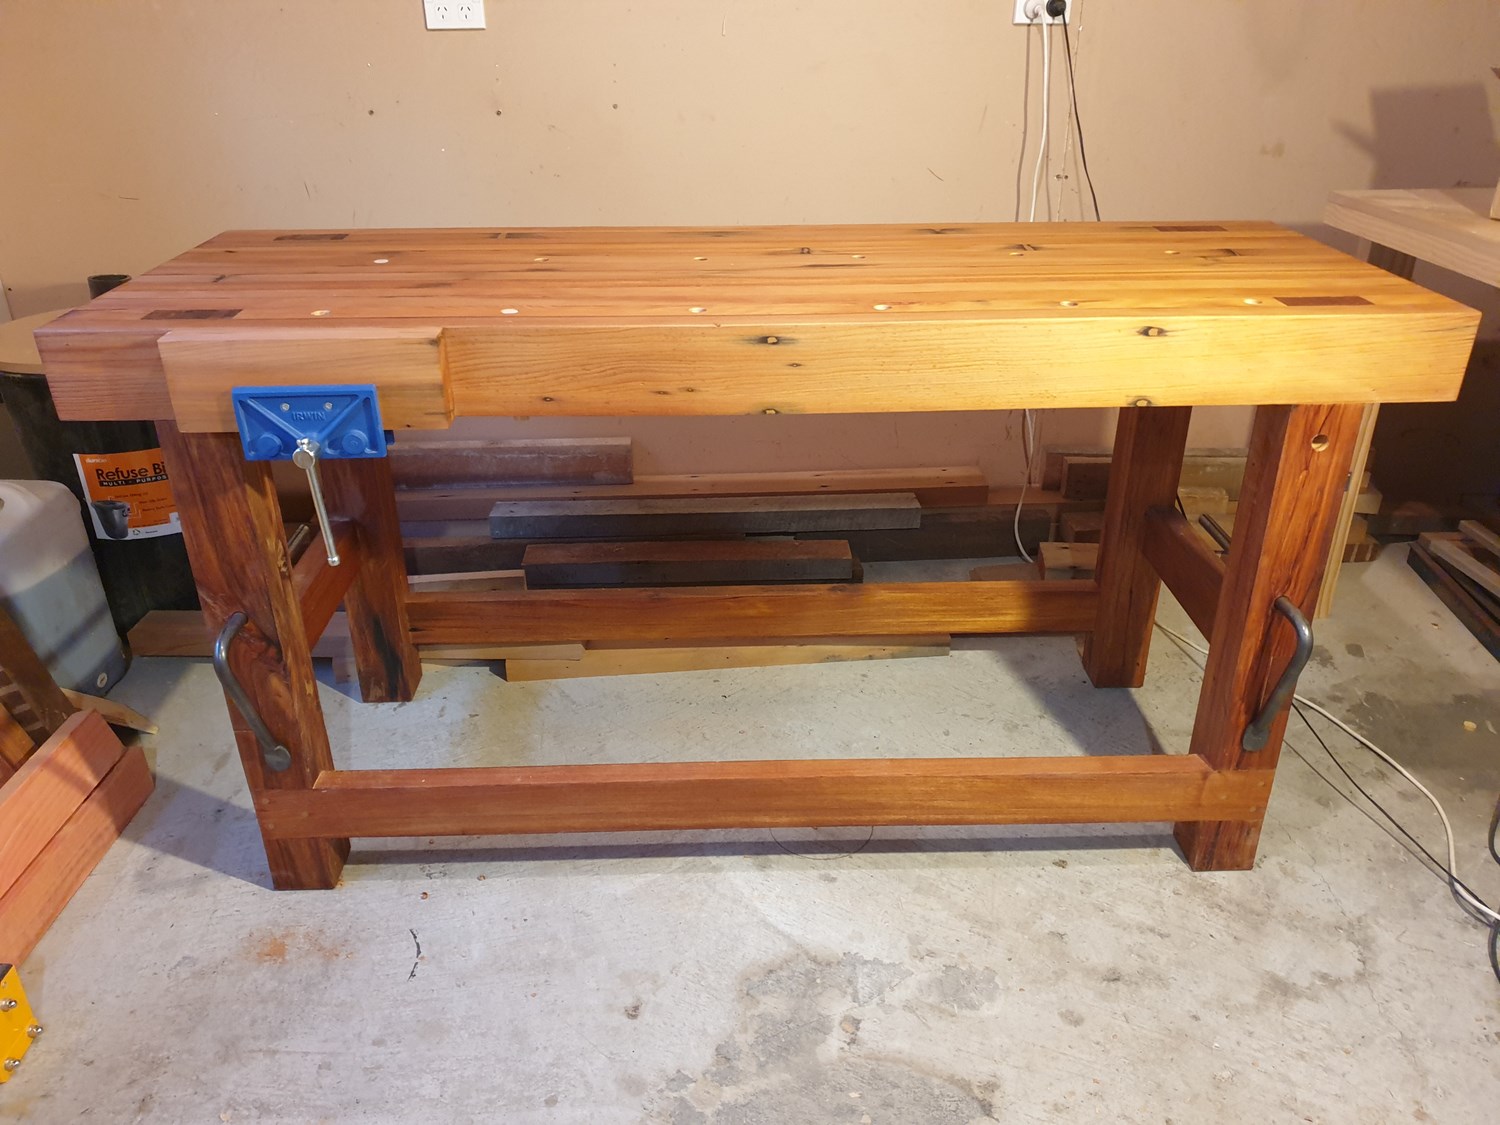
Once the glue for the legs was dry, all of the main workbench components were ready to start construction.
For part 3 of my simplified Roubo workbench build, see Simplified Roubo Workbench Build Part 3 - Wedged Mortise and Tenon Joints