How To Make Magnetic Spacers For Woodworking and DIY
While working on my latest cabinet project, I found myself in the familiar position of needing to cut customized spacers. It never feels entirely right, since the spacers inevitably end up as scrap wood that may not be used again. I had previously made a screw jack style spacer for woodworking, but this time I needed to space out drawer slides, for which this design was not well suited.
Magnetic Spacer Design
The two main requirements I could see for a spacer suited to drawer slides were:
- Adjustable height down to 1mm
- Narrow design, so they can easily be stacked on the drawer slide below. i.e. bottom up drawer slide installation spacing out the next drawer slide above the one just placed
At first, I prototyped an adjustable spacer based on the same principle as my previous adjustable spacer design. That is, a central bolt screwed into a threaded insert nut. But instead of going into the face of a square of MDF, this time it was between the edge of two panels of MDF. To stabilize the design, two metal rods were inserted into bushes on each end of the spacer. The concept worked apart from side-to-side racking that I could not reduce down to an acceptable level. So it was back to the drawing board...
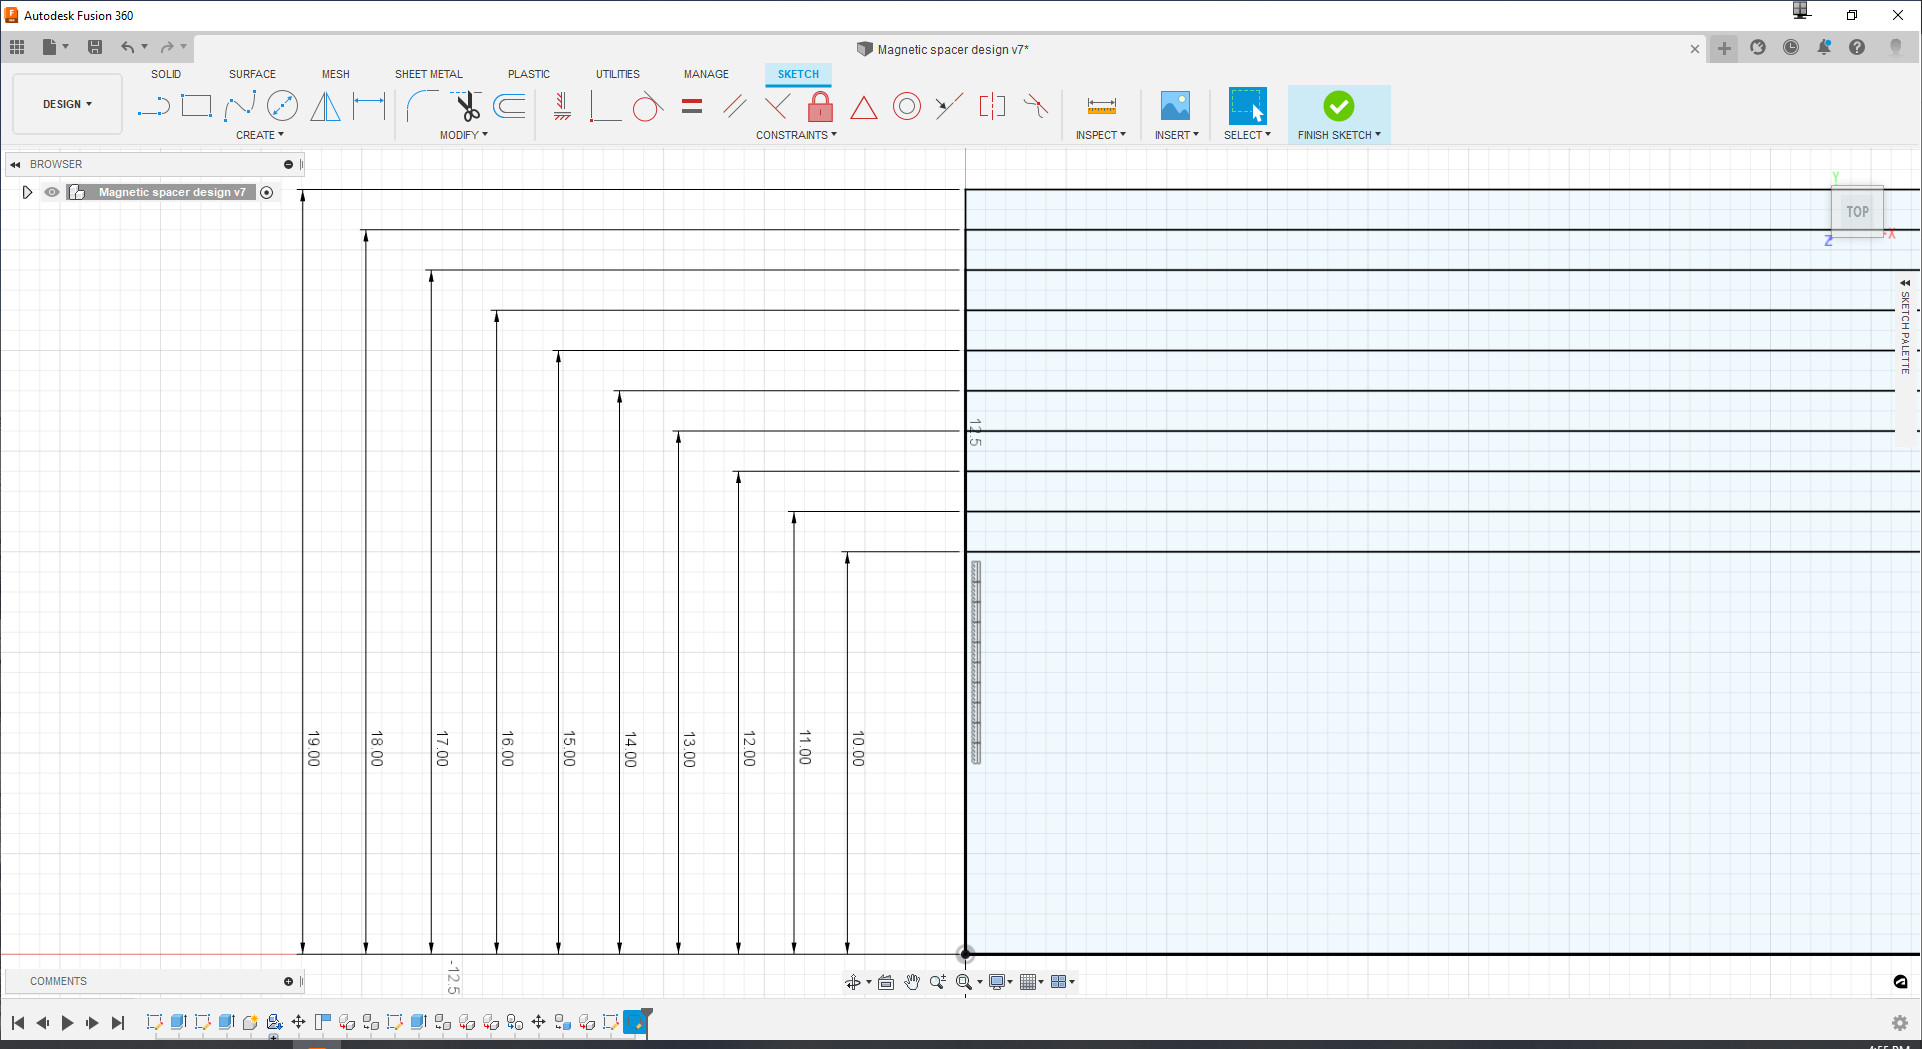
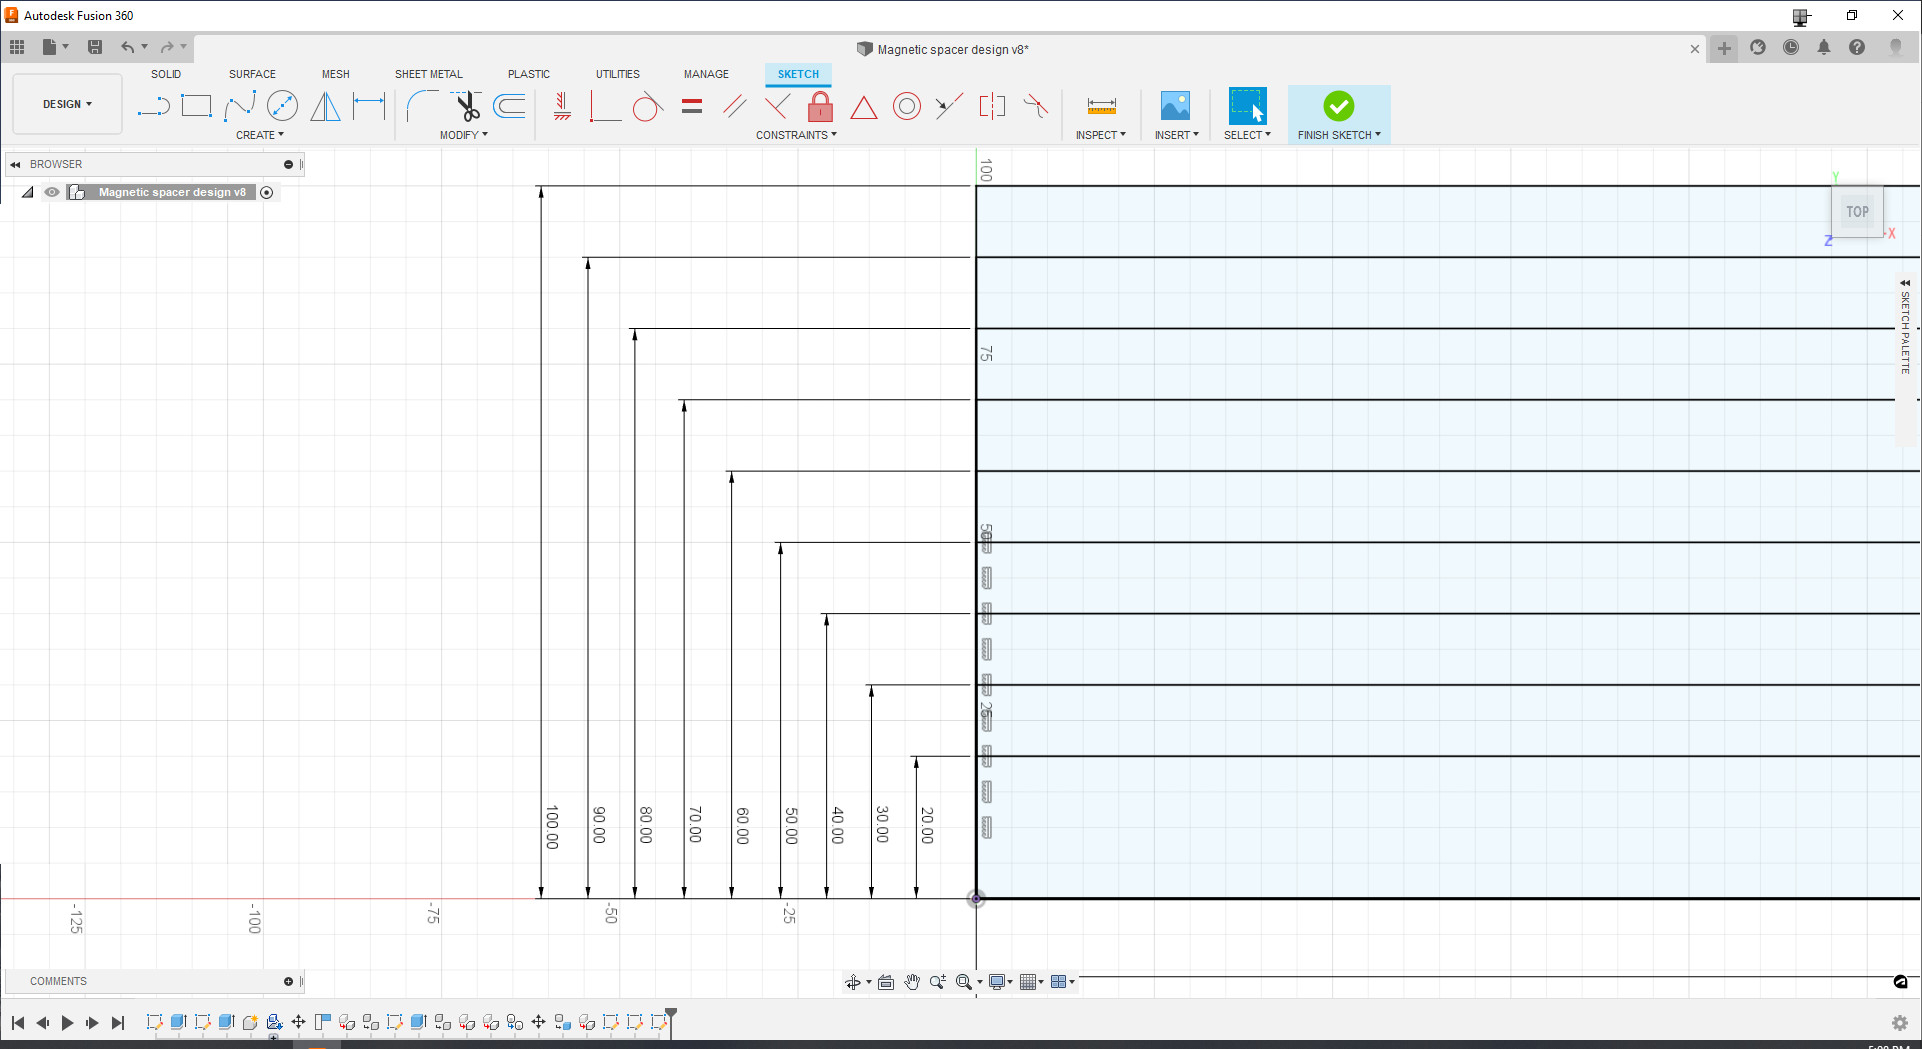
I'd had the idea of a stackable, magnetic spacer system for a while so decided to go ahead with this solution. The first problem I faced was how to get any required measurement down to 1mm accuracy. Narrow measurements below 3mm would require thin magnets and spacer material. For my cabinet project, I would not need to go below 10mm which made life much easier. To get any measurement above 10mm accurate to 1mm, I worked out that I could support two metric spacer size ranges:
- 10mm to 19mm (10 spacers in 1mm increments)
- 20mm to 100mm (9 spacers in 10mm increments)
Any spacer from 10mm or above in this range, accurate to 1mm, could be made by stacking two spacers together.
The following image shows the basic concept of the magnetic spacer design:
Magnets are inserted into the same position on either end of the spacer with matching polarity. This allows spacers to be stacked on top of each other.
The following images depict the two supported metric size ranges:
Materials And Tools Required
Here is a list of materials required to build the magnetic spacers:
- 18mm [3/4"] MDF or other dimensionally stable material. Nylon plastic would be a good alternative. Plywood could also be used but there is a higher chance of it warping on the long dimension. I made the spacers to a length of 360mm [14 3/16"].
- Neodymium (rare earth) magnets. The size I used was 3mm x 10mm [1/8" x 3/8"]
- Superglue
- Table saw or track saw (higher accuracy is probably achievable from table saw)
- Drill press or electric drill
- Forstner drill bit sized to match the magnets
How To Make The Spacers
- Accurately cut the MDF into lengths at each supported spacer dimension. I cut them into lengths at 360mm [14 3/16"].
- Mark out a location for one of the magnets. I set this at 80mm from the end of a 360mm spacer.
- If you are using a drill press, setup stop blocks so the drill bit is aligned to the center of the magnet location. This way you can drill repeatable holes at the same location. Set the depth stop slightly deeper than the magnet depth. I set it at about 3.2mm for a 3mm magnet depth.
- Drill all magnet holes
- Align all magnets with matching polarity (i.e. stack them all together). Mark a dot on one end of the magnet stack and as each magnet is removed, mark a dot on this end to keep track of the polarity.
- Superglue two magnets into one side of the first spacer with the dot facing up.
- Superglue two magnets into one opposite side of the first spacer with the dot facing down.
- Write the spacer dimension onto the spacer (top and both faces) with a permanent marker.
- Repeat steps 6 to 8 for the remaining spacers
That's all there is to it! You can now start using the spacers in your woodworking and DIY projects. It's probably a good idea to have a few spare magnets on hand in case you need to make a new spacer to support a larger dimension.
Final Thoughts
This magnetic spacer system made it a breeze to install the drawer slides in my latest cabinet project! For both the cabinet mounted drawer slide and the matching slide component in the center of the drawer. As a bonus, the metal body of the drawer slides snap onto the spacer, holding them firmly in place while inserting screws.
There are many other applications for these magnetic spacers such as spacing out shelves at the required height.
To see these spacers in action and how I built them, make sure you also watch the YouTube video for this magnetic spacer project.