How To Cut Straight With a Magnetic Saw Cutting Guide - 90 Degree Design
It takes time and practice to consistently cut straight by hand. A magnetic saw guide can assist with cutting straight every time. They are also good to have available for those cuts you can't afford to mess up, such as dovetail shoulders.
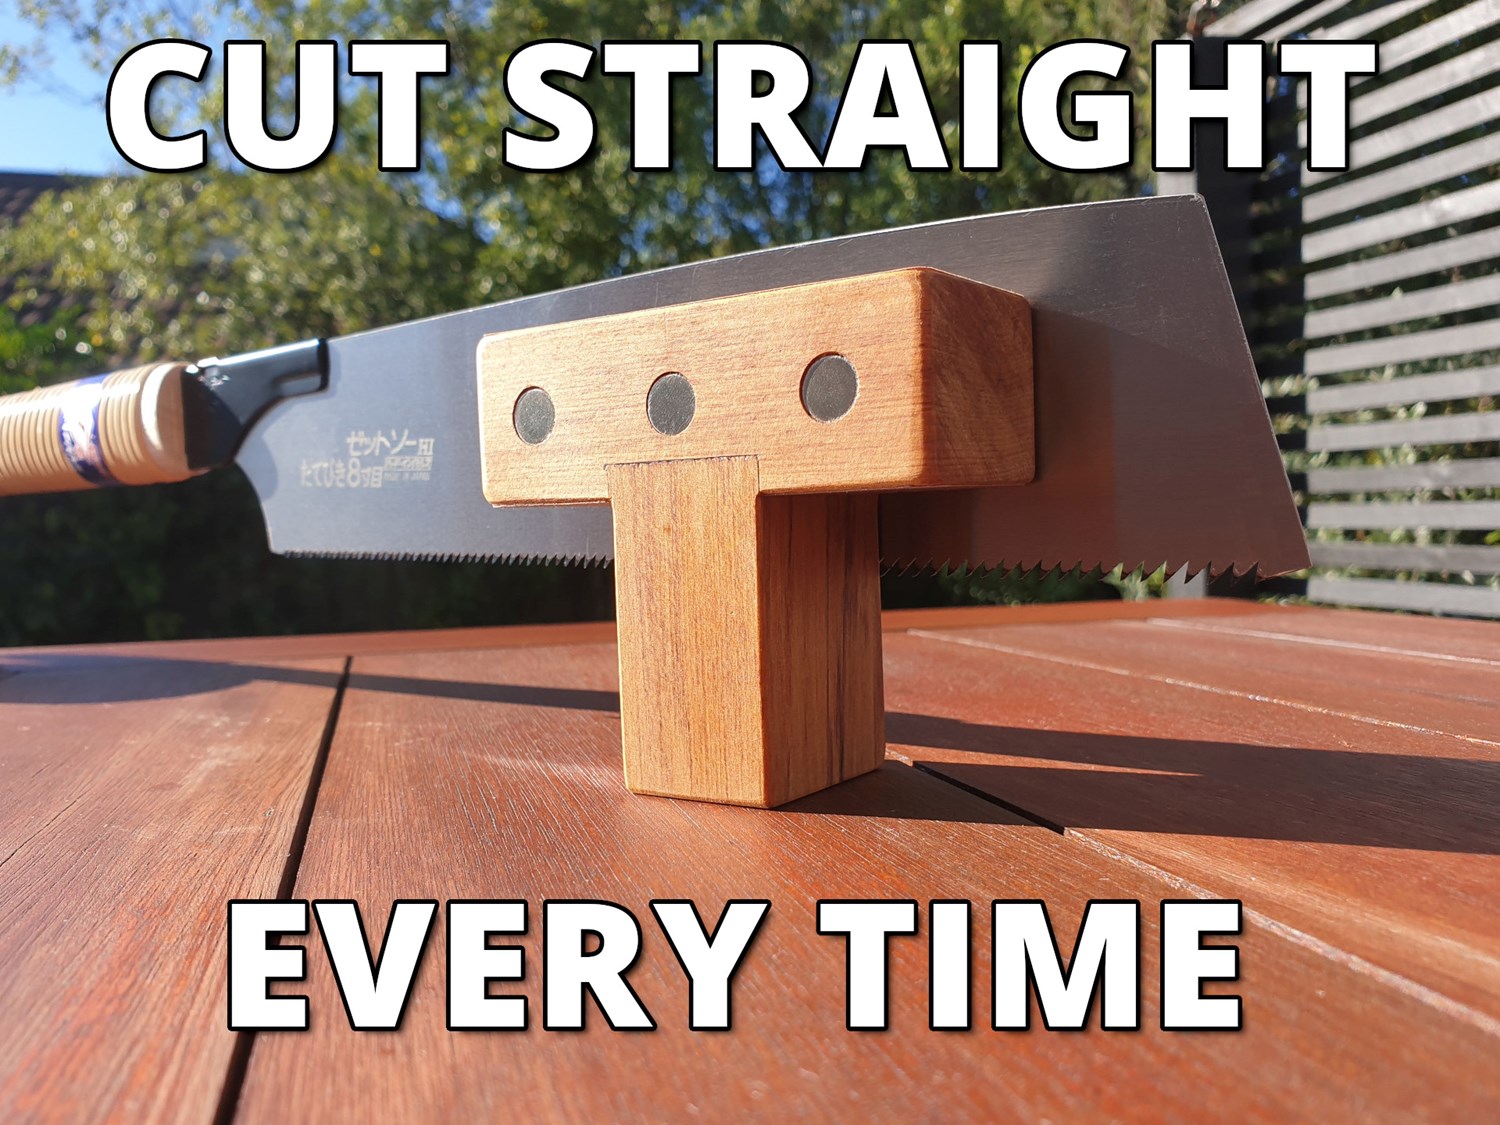
Magnetic Saw Guide Design for 90 Degree Straight Cuts
I started this project as usual with a Fusion 360 model. This one was quick since the design is so simple. Here is the 3D model of this magnetic saw guide:

There is a row of magnets on each side which makes it possible to saw on either side of the guide. In addition to what is displayed in this model, I will also apply self adhesive sand paper under the shoulders of the saw guide and on the top. This will help hold the saw guide in place while making either rip cuts or cross cuts.
Dimensions of the saw guide:
- Height: 80mm [3 5/32"]
- Length: 90mm [3 17/32"]
- Width: 40mm [1 9/16"]
This saw guide was designed with a Japanese pull saw in mind but will also work for a western style push saw. One point to make is that if your saw has a back spine, you will only be able to cut as deep as the spine will allow. The teeth on your saw should also be in line with the blade and not protrude beyond the width of the blade.
Materials and Tools Required
Materials
- Hardwood of medium to high density. I used New Zealand heart Rimu but Hard Maple or Walnut are good options. The dimensions I used are 40mm x 30mm [1 9/16" x 1 3/16"]
- Neodymium magnets (rare earth) 10mm x 3mm [3/8" x 1/8"]. I used 6 (3 either side) but 4 (2 either side) would also work.
- Super glue
- Wood glue or epoxy
- Wood finish (I used my chopping/cutting board conditioner which is made from mineral oil and beeswax)
- Fine grit sandpaper (i.e. 220 grit)
Tools
- Saw (table saw or hand saw)
- Chisel
- Electric drill
- 10mm [3/8"] Forstner drill bit
- Mallet with wood, plastic or rubber surface
How to Build the Saw Guide
Here are the main steps to build this saw guide:
- Make sure your length of wood is straight and square to start with
- Cut the "stem" part of the guide. I cut this part at 56mm, which allowed 6mm for the dado (groove)
- Mark out and cut the dado (groove). I used a series of cross cuts on my table saw but it could also be done with a chisel.
- Glue the stem into the main part of the guide. I used 5 minute epoxy for this but any woodworking glue will be OK.
- Drill holes for the magnets with a Forstner drill bit sized to match your magnets. One tip here if you don't have a drill press, is to wrap a length of tape around the drill bit at the depth you require. I set this at 3.5mm which ensures the magnets will be recessed 0.5mm below the surface of the guide. This means they will not rub against the saw blade.
- Glue the magnets into the holes. Super glue works well here and a mallet can be used to tap them into place.
- Give the entire saw guide a light sand with fine grit sandpaper (i.e. 220 grit). This will ensure all sides are flat and any glue on the surface will be removed.
- Optionally apply a finishing product to help protect the wood. I used my chopping/cutting board conditioner which is made from mineral oil and beeswax. This will also help the saw glide easily against the surface of the guide.
Make sure you also check out the YouTube video for this magnetic saw guide. It would be good to watch it through before making your own saw guide.
Final Thoughts
This magnetic saw guide works perfectly for straight rip cuts and cross cuts. It's a handy little addition to my collection of DIY workshop tools and jigs.
One thing I was concerned about, was whether the saw blade would cut into the stem of the guide. So far this has not been an issue. Having a saw with all teeth well aligned will certainly help. One stray tooth could mess everything up.
The Neodymium rare earth magnets are also a bit stronger than I anticipated. Not necessarily a bad thing, since the saw blade is held firmly against with the guide. However, I suspect that 4 magnets in total (2 either side) instead of 6 (3 either side) would have been strong enough.
Eventually, with more practice, I hope to develop the muscle memory to saw straight without a guide. Until then, I will keep using this saw guide for critical cuts that need to be straight.