How To Build A Mobile Plywood Cabinet With Pocket Hole Joinery - Plans Available
This DIY plywood cabinet is a great option for adding storage space to your workshop, home or office. This post covers the cabinet design, construction, materials and tools required.
Full build plans and the supplies list including product links are available here: https://www.kiwiworkshop.com/plans/mobile-storage-cabinet-with-drawers-and-cupboards-plans/
Illustrated step-by-step assembly instructions are included in the plans.
Cabinet Design
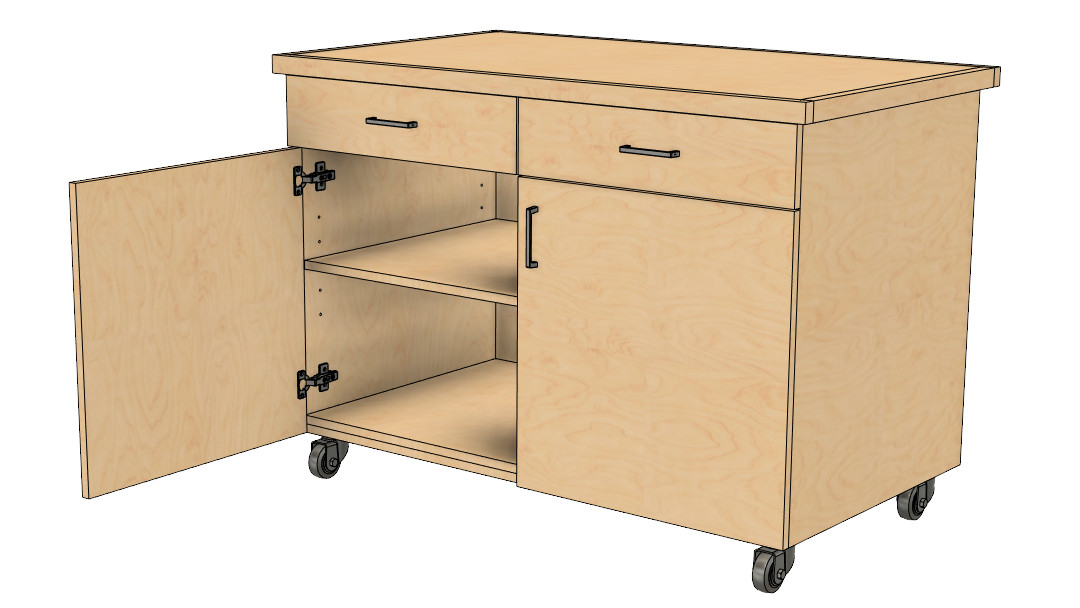
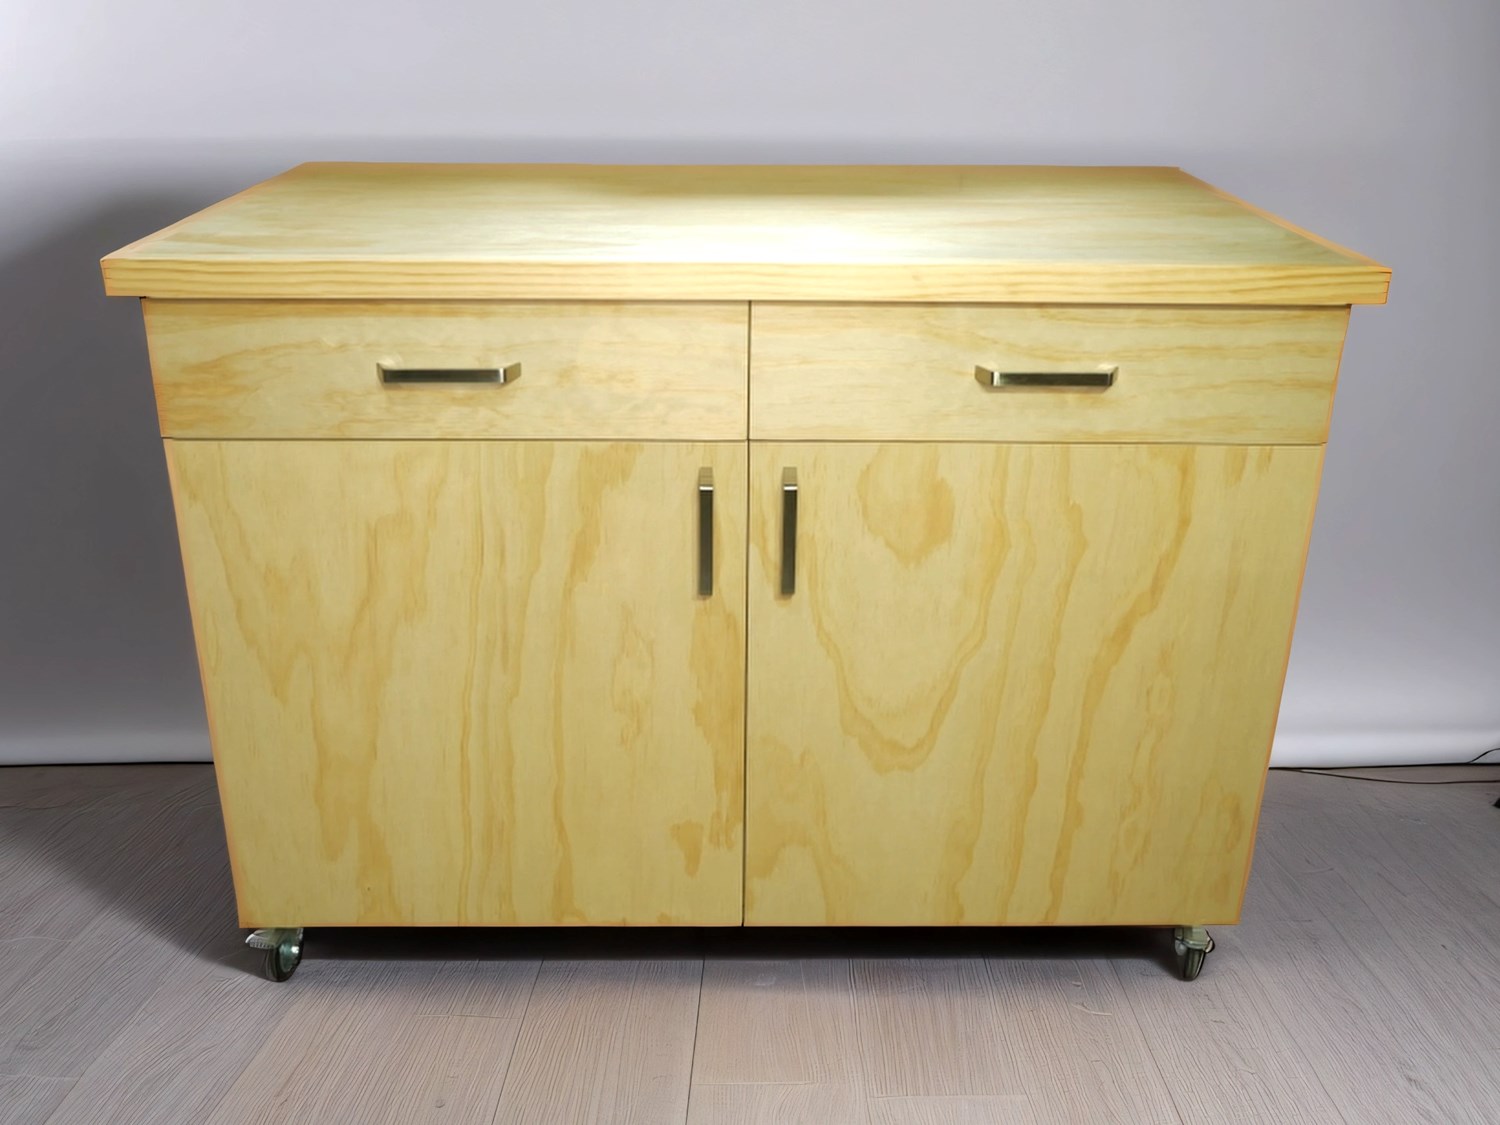
The cabinet design features a large work surface on top, two large cupboards with shelves, two large drawers and caster wheels for mobility. The design is strong enough to support machinery or tools mounted on the cabinet. The drawers and cupboards provide many storage options. European style cabinet hinges are installed on the doors, allowing for fine tuning the positioning. The drawers are installed on soft-close drawer runners, they are always a pleasure to use! A range of shelf heights are supported thanks to pre-drilled shelf support holes.
Construction, Materials and Tools
The cabinet is almost completely constructed with 3/4" plywood and pocket hole joinery. The cabinet top is framed with a pine trim, the only place plywood is not used. A two layer construction in the cabinet base and top also uses wood screws that can be driven with an impact driver.
90° corner clamps will come in useful at various stages of the build for holding parts together. They are easy to make and you will see a simple plywood version in the YouTube video for this build.
A Kreg pocket hole jig is recommended for drilling the pocket hole joinery. Similar pocket hole jigs are available under other brand names, but I can only speak positively for the Kreg product, since it's the only one I've used
For cutting the plywood parts, a table saw is recommended but this can also be achieved with a circular saw and clamped straight edge.
A drill press is helpful for drilling the holes for the shelf supports and cabinet hinges. Alternatively, an electric drill will get the job done.
All surfaces of the cabinet were coated with water based polyurethane, proving future protection against scratches and spills.
Summary
I'm really happy how this cabinet turned out and look forward to using it. It will serve as a home for my new xTool laser machine and possibly a 3D printer in the near future. The additional storage space is also a bonus - you can never have enough storage space!
The cabinet also looks very smart and would fit nicely in a home office environment. Edge banding could be applied to the plywood edges to give it a more professional look.
Make sure you watch my Easy DIY Plywood Cabinet YouTube Video for this build. Every step of the cabinet build is covered.
If you have any questions about this cabinet build, just drop me a message on the website contact page.
Daniel